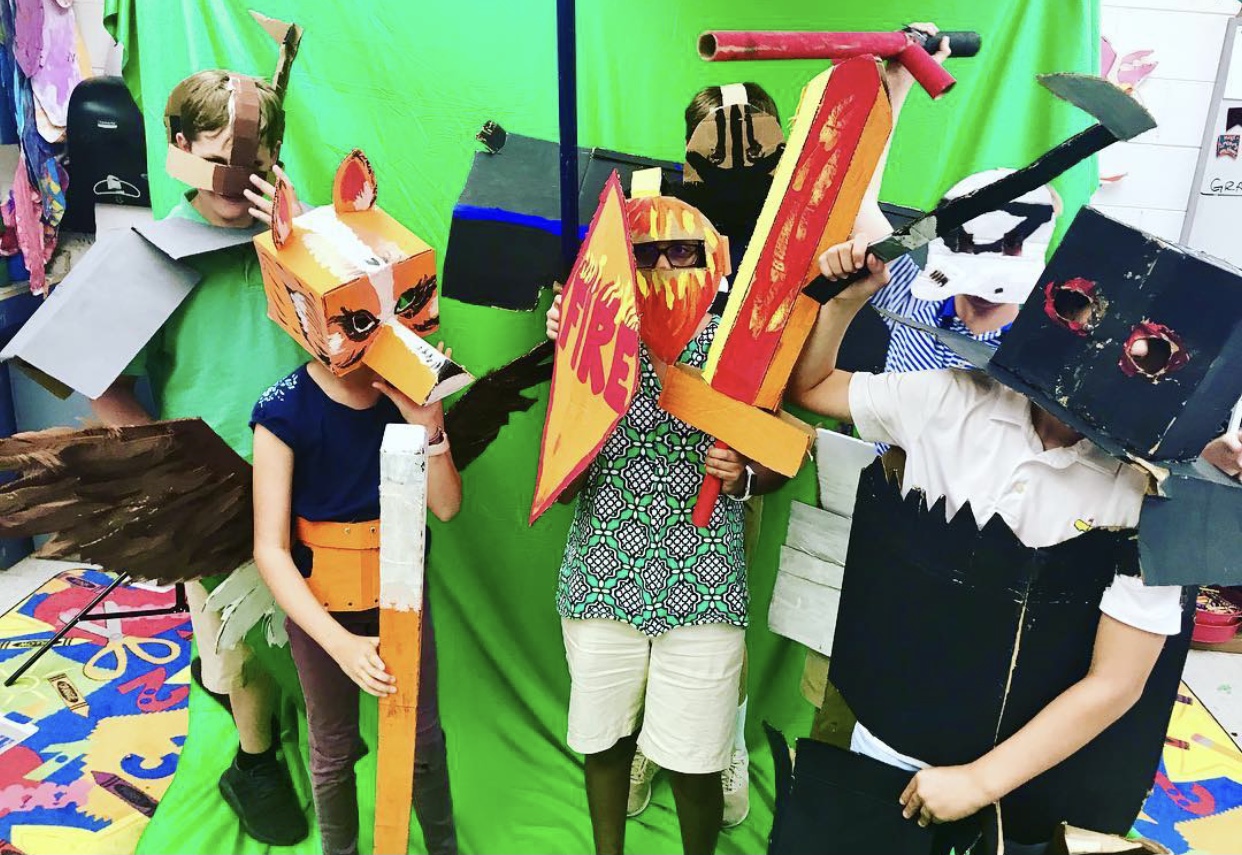
I believe the first time I decided to do cardboard costuming with students was when I was in Thomasville, Georgia. I remember doing research on cardboard costuming while I was in Singapore, but it only came to fruition when I was in Thomasville. At the time, I was thinking strictly about traditional armor that you would see in historical documents from the Middle Ages; like chainmail, shields, swords, and helmets with face guards that raise up.
I was teaching middle school students and researching lots of longer term projects that would be fun and engaging for students between the ages of 11 and 13. But, the more I thought about this armor project for middle school students, the more I realized that armor could mean anything. And my students ran with that idea!
Don’t we get out of bed every morning and put on some kind of armor to deal with the day? And isn’t middle school, for some of us, the most challenging point in our schooling experience? Wouldn’t it be great to create armor that shields us from hurt and pain and crushes and embarrassments? Is it possible to create something that lets us hide in plain sight?
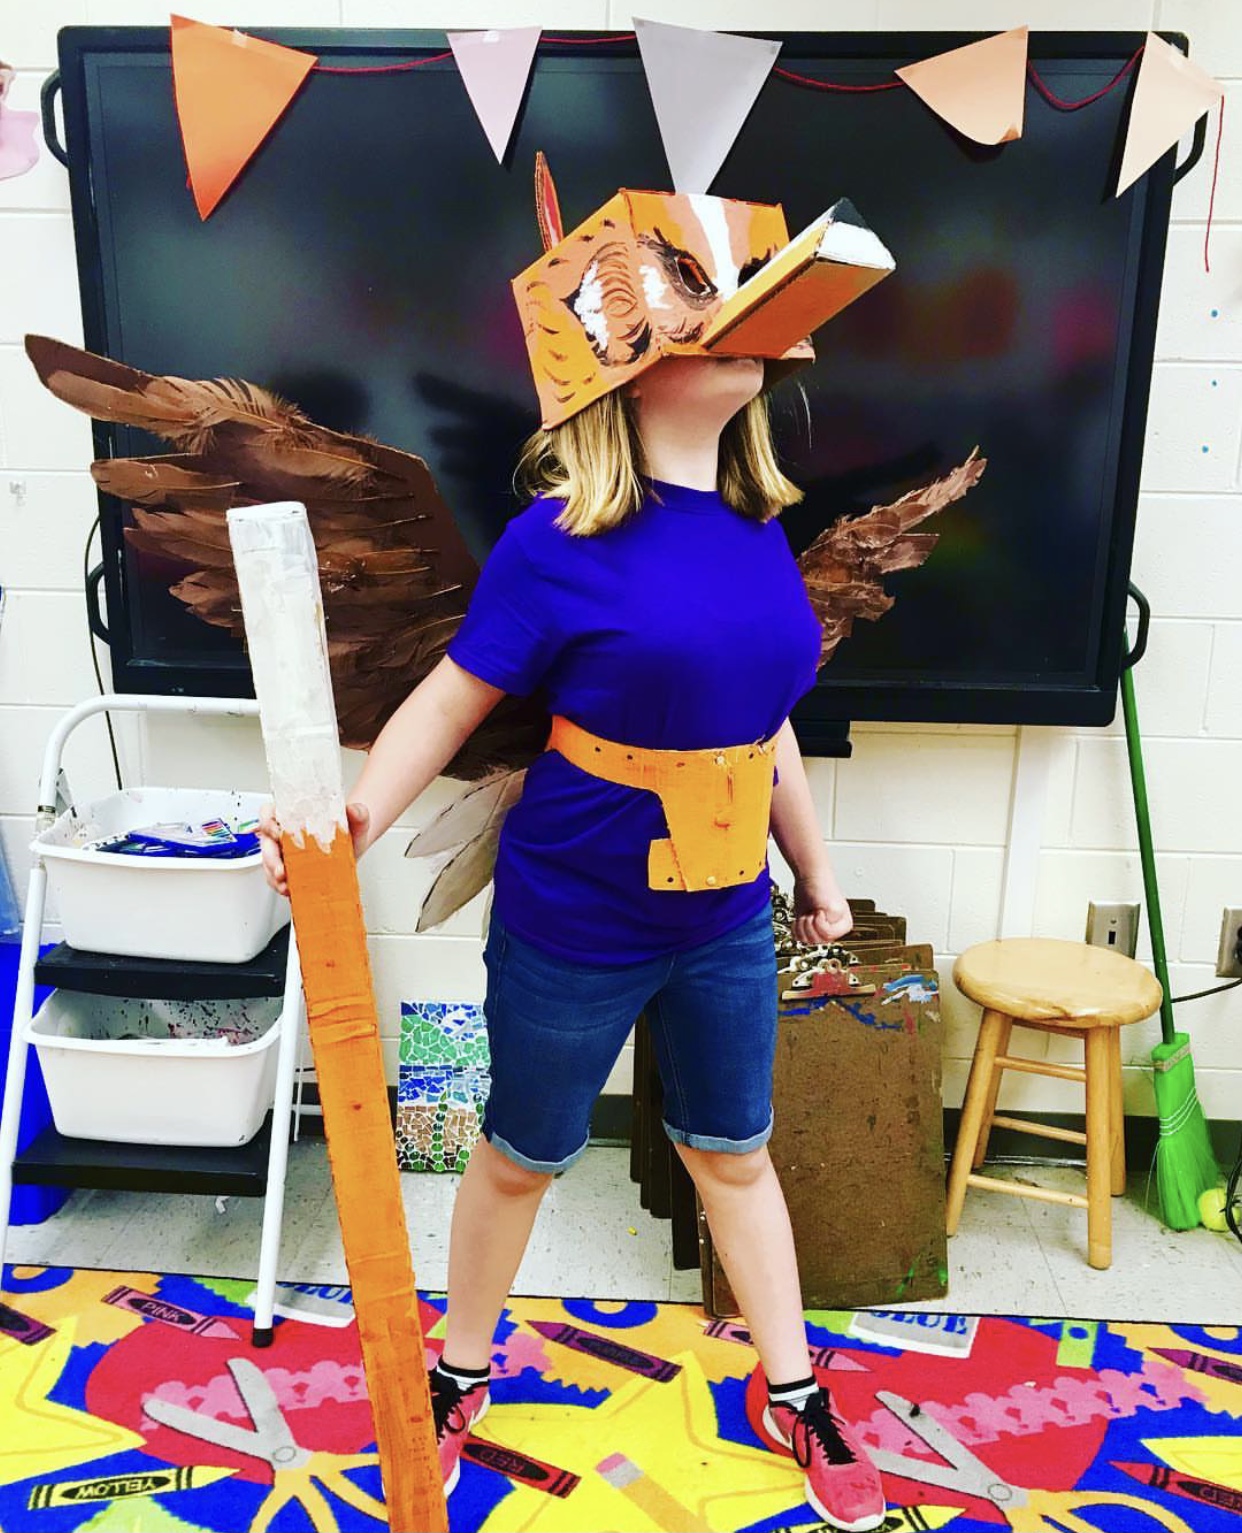
So, as I continued on with this project throughout my time in Thomasville, and then throughout my years in China, and over this past year in Cambodia, I engaged students to explore costuming and design by investigating the concept of “armor” and how we utilize devices to protect ourselves on a daily basis.
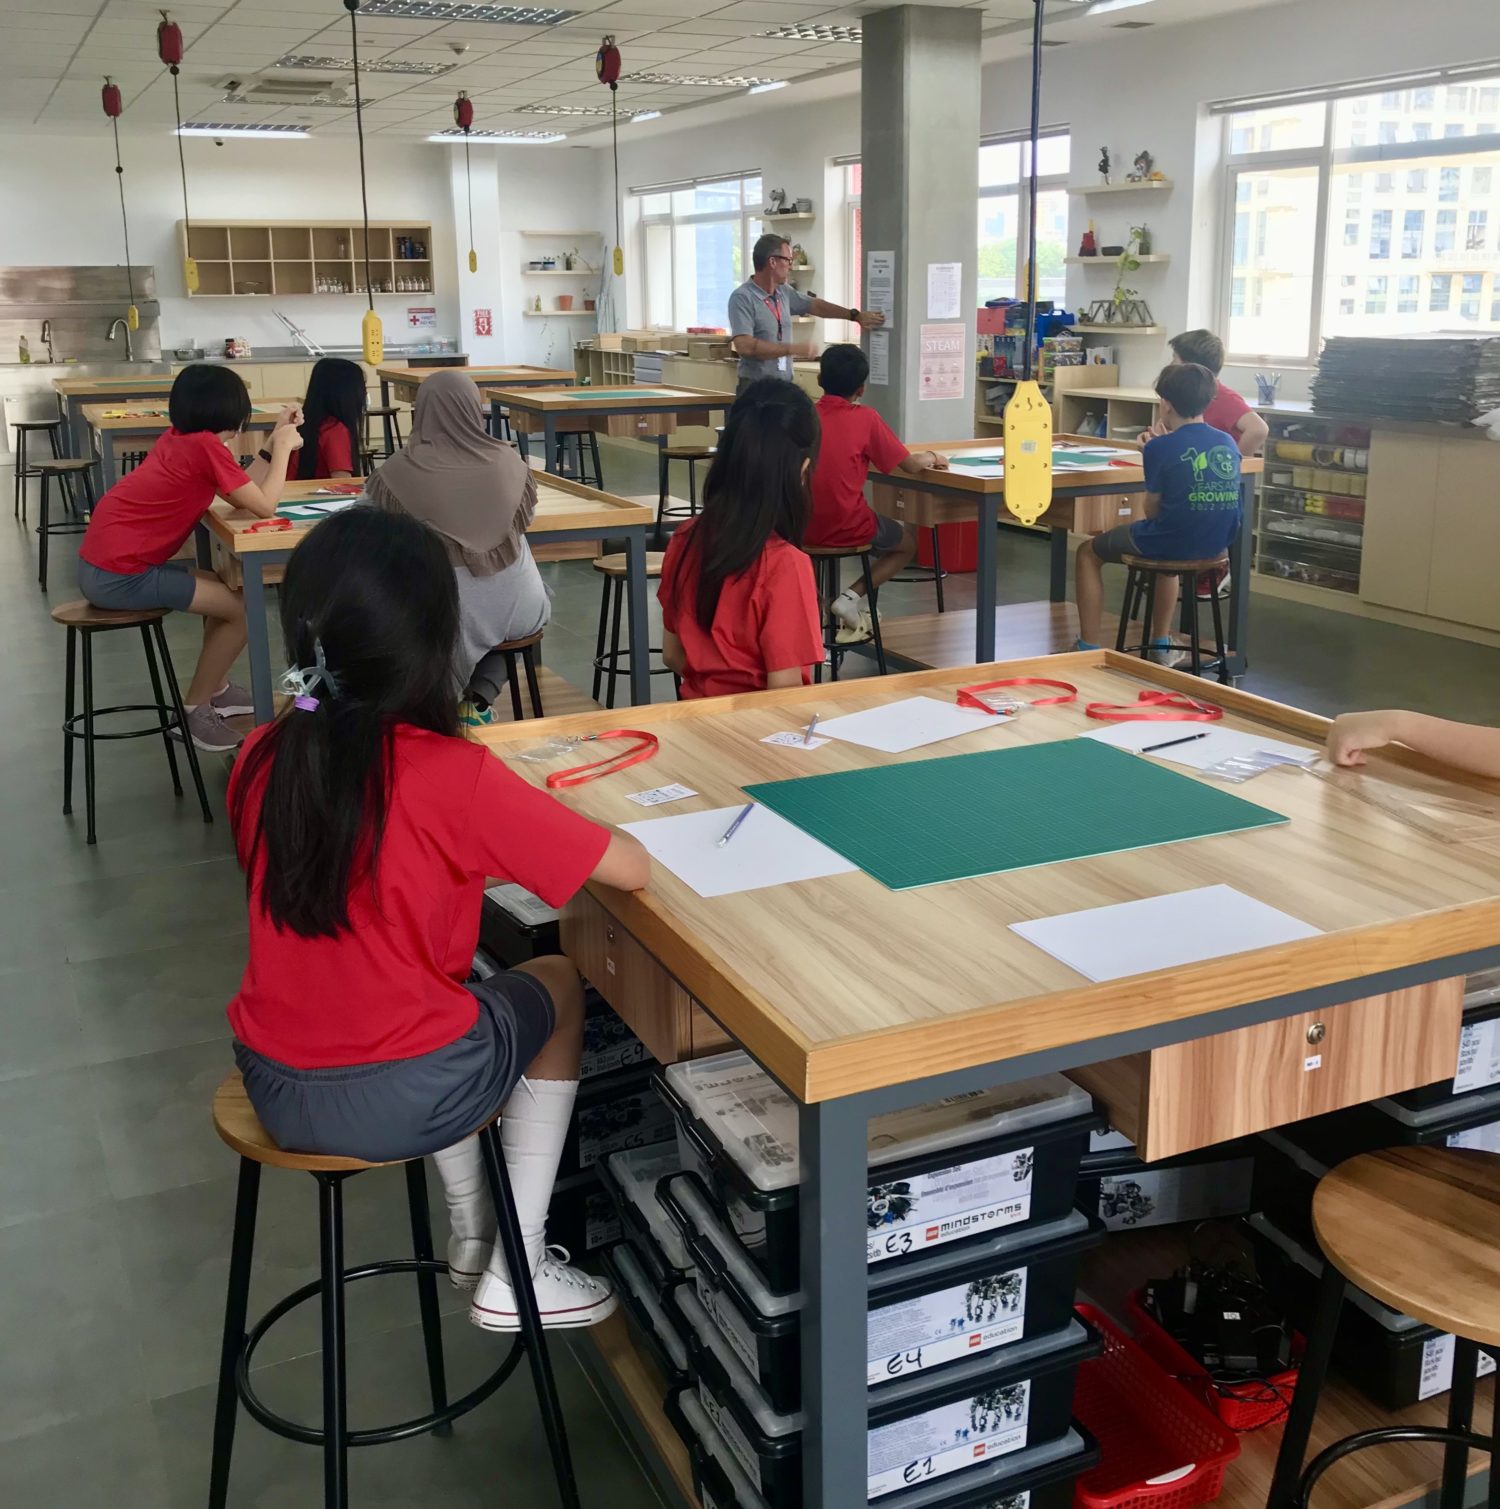
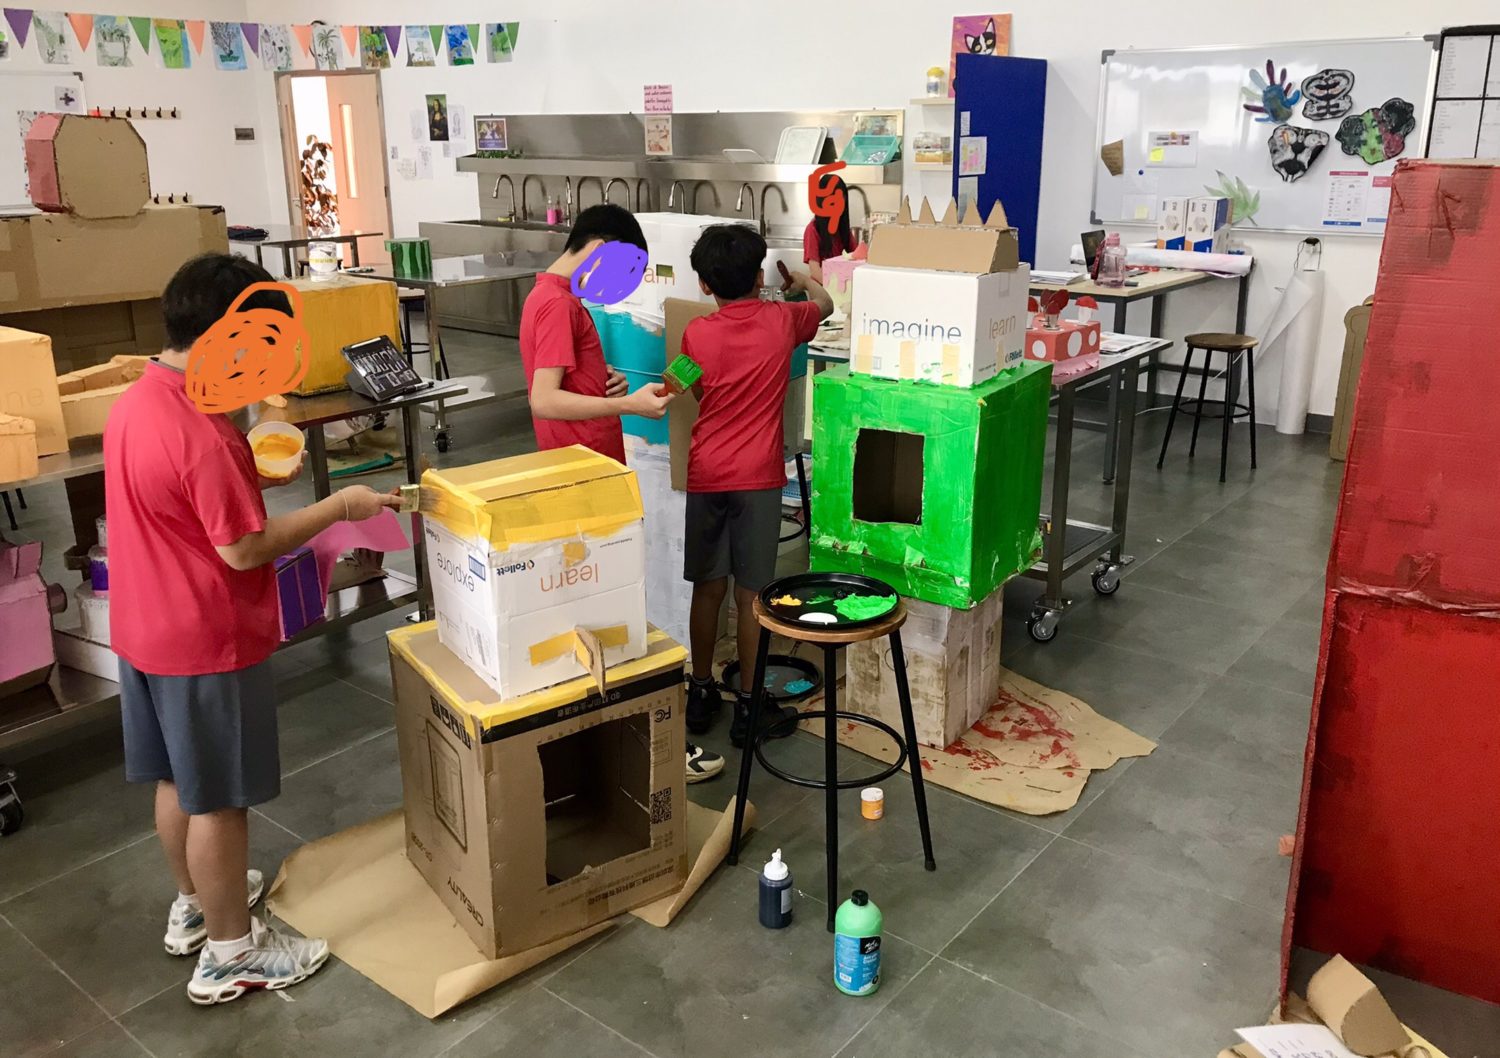
This year in Cambodia was particularly special because the students worked on their armor and costumes in the Makerspace, which is run by my friend Steve. He is a master engineer and tech guru. He is brilliant at coming up with MacGyver-style craft solutions that encourage my students to think outside the box and really use their materials to the fullest of potential.
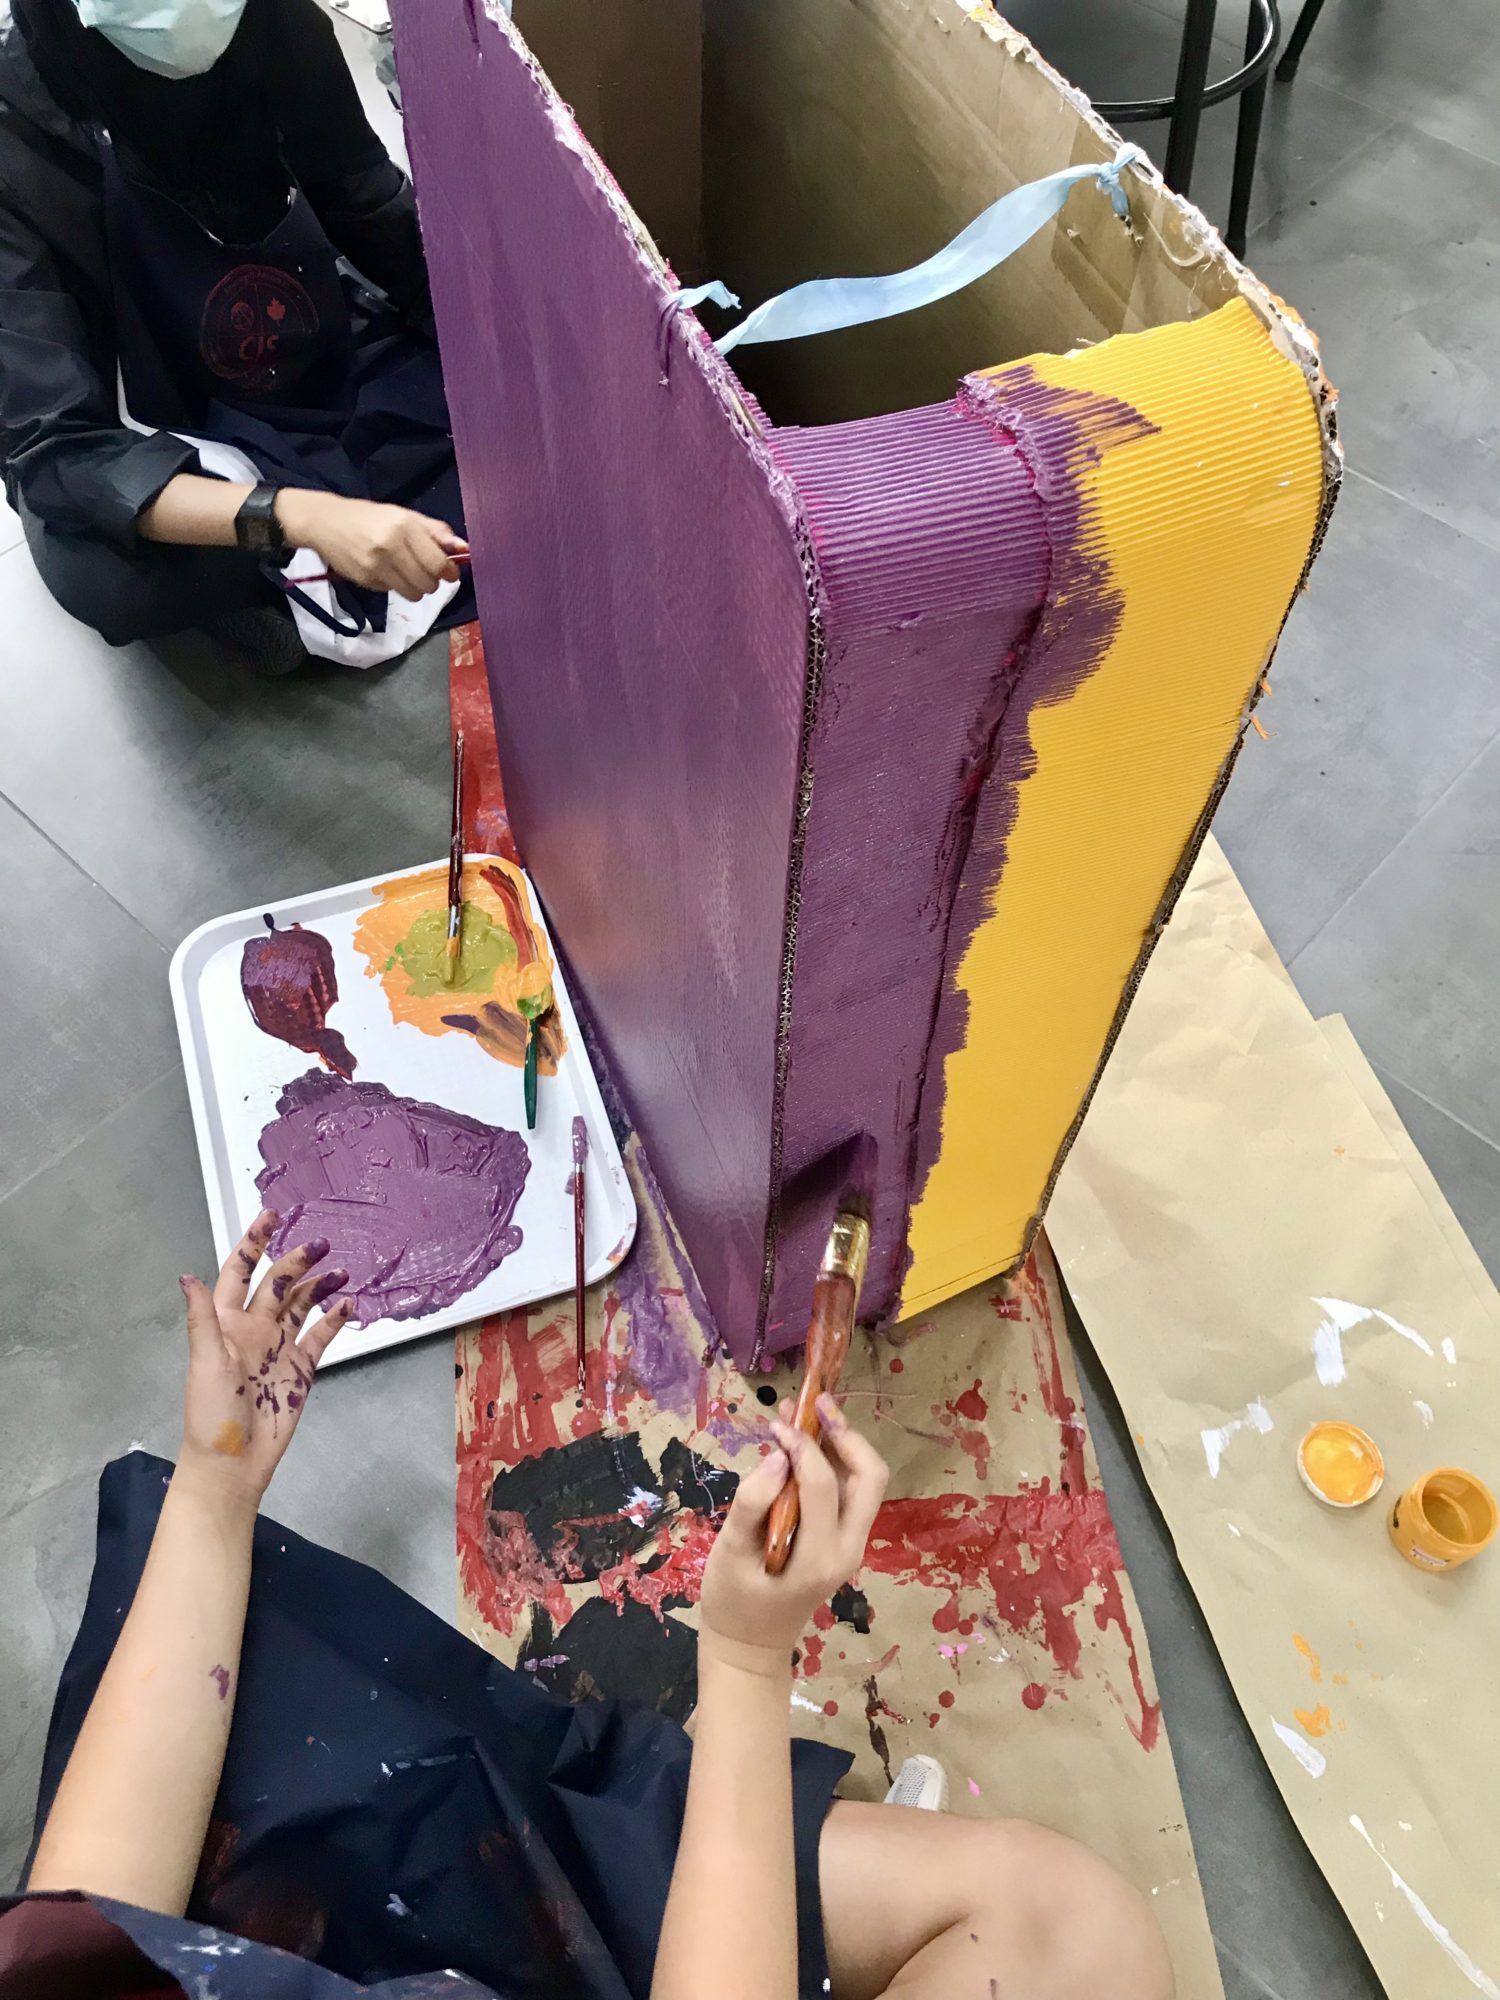
During this project, my students employed a variety of expertise in creating these pieces: drawing, improvisation, cutting, painting, gluing, crafting, digital media play, and design. We spent about 12 weeks working on this project and could have worked on it for another 12 weeks. But, I had to give a final cut off date or the tinkering never would’ve ended! As it stands now, ever since this project has taken place, my Grade 6 students have spent time making their own creations in the Makerspace during recess, advisory, and lunch. They are inspired!!
Step 1: Students spend one or two class periods designing and researching. I allow them to work in groups of 3 or individually. They make drawings that include front, side, and back profiles plus a variety of accessories that they think they might need. Their designs need to be drawn in full detail, outlined in black thin-tipped permanent markers, and fully colored so that I know exactly what they are thinking heading into this project. I need to understand their ideas before I can help them construct. I also want my students to understand that their drawings need to be able to stand alone as a work of art and that the drawings will potentially be shown with their finished armor projects during our art show.
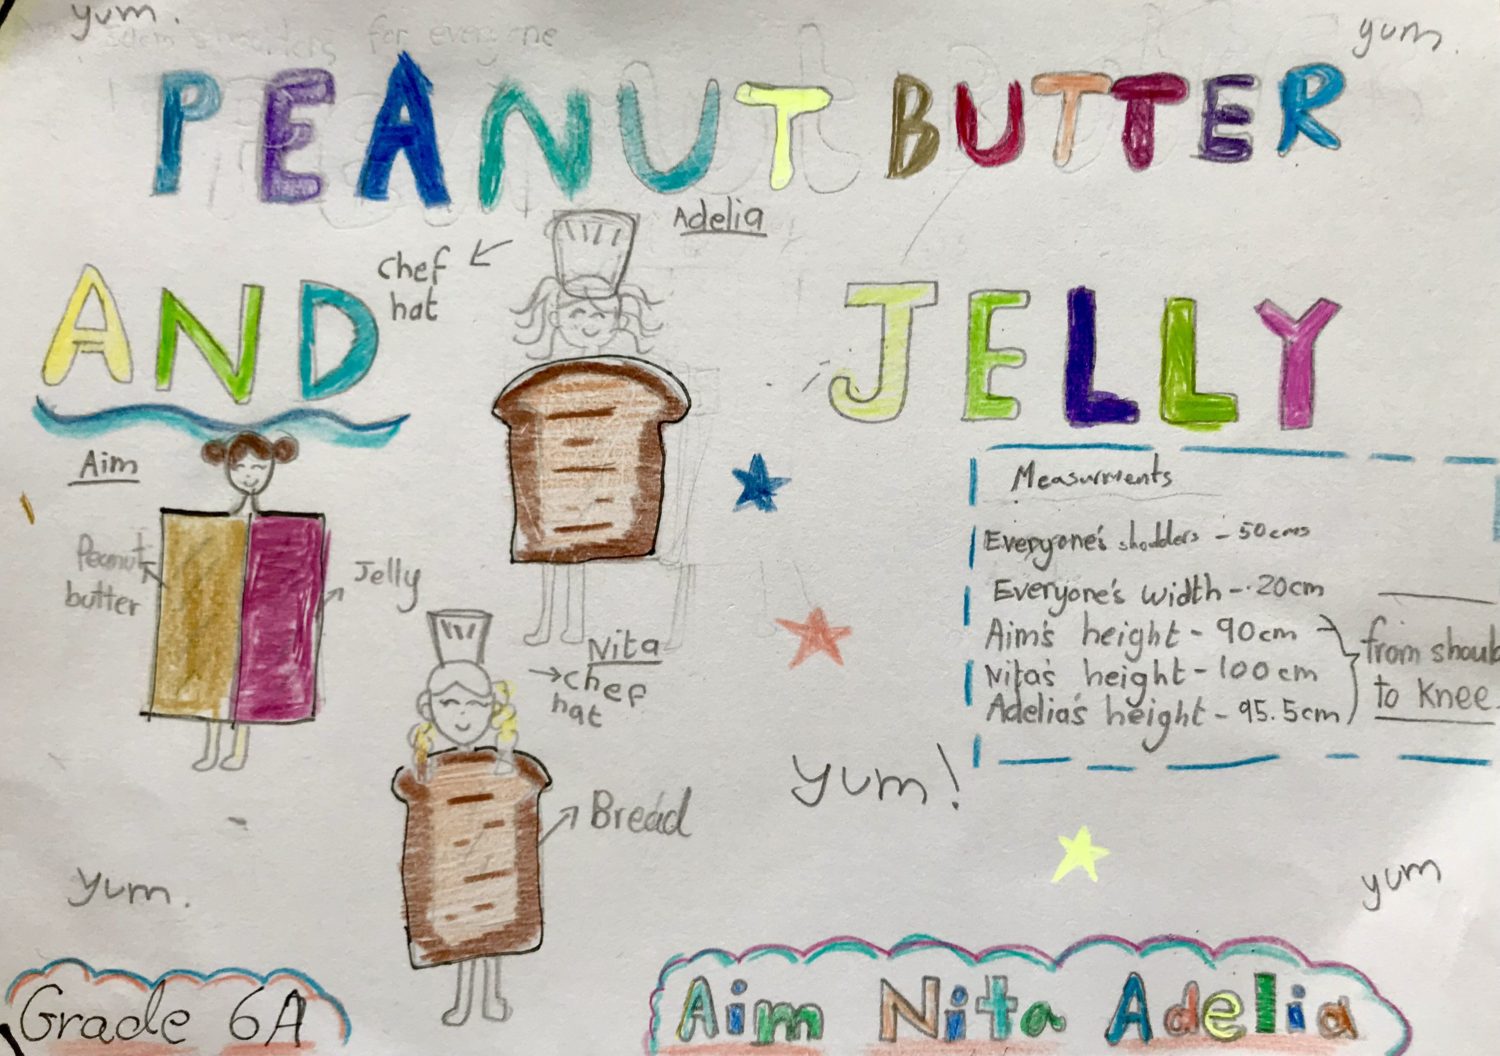
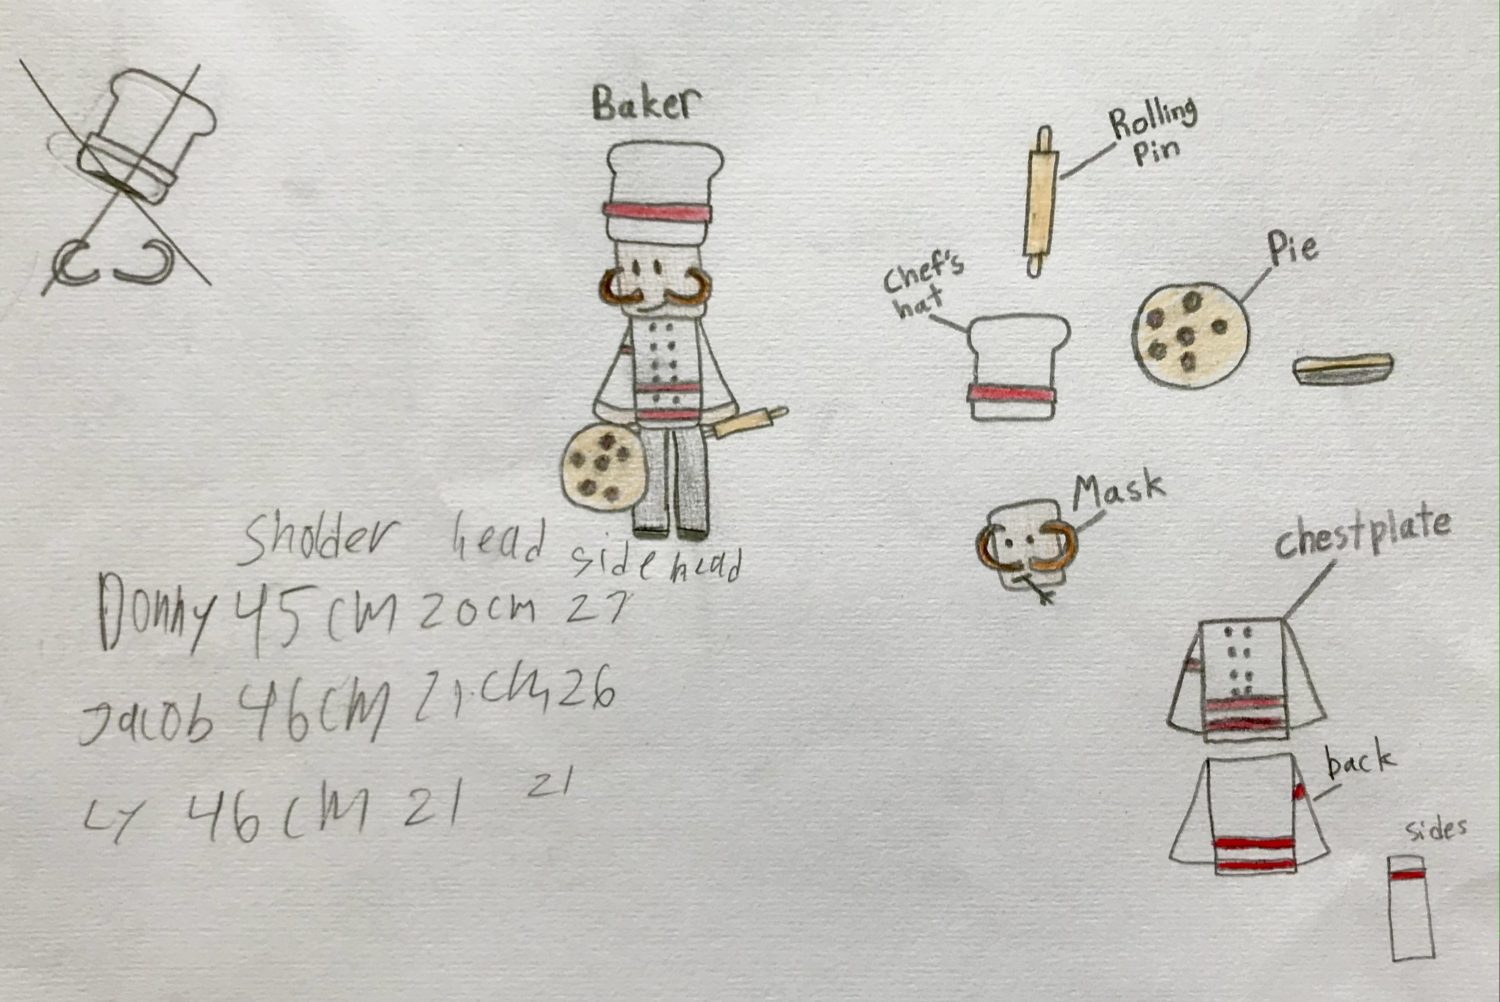
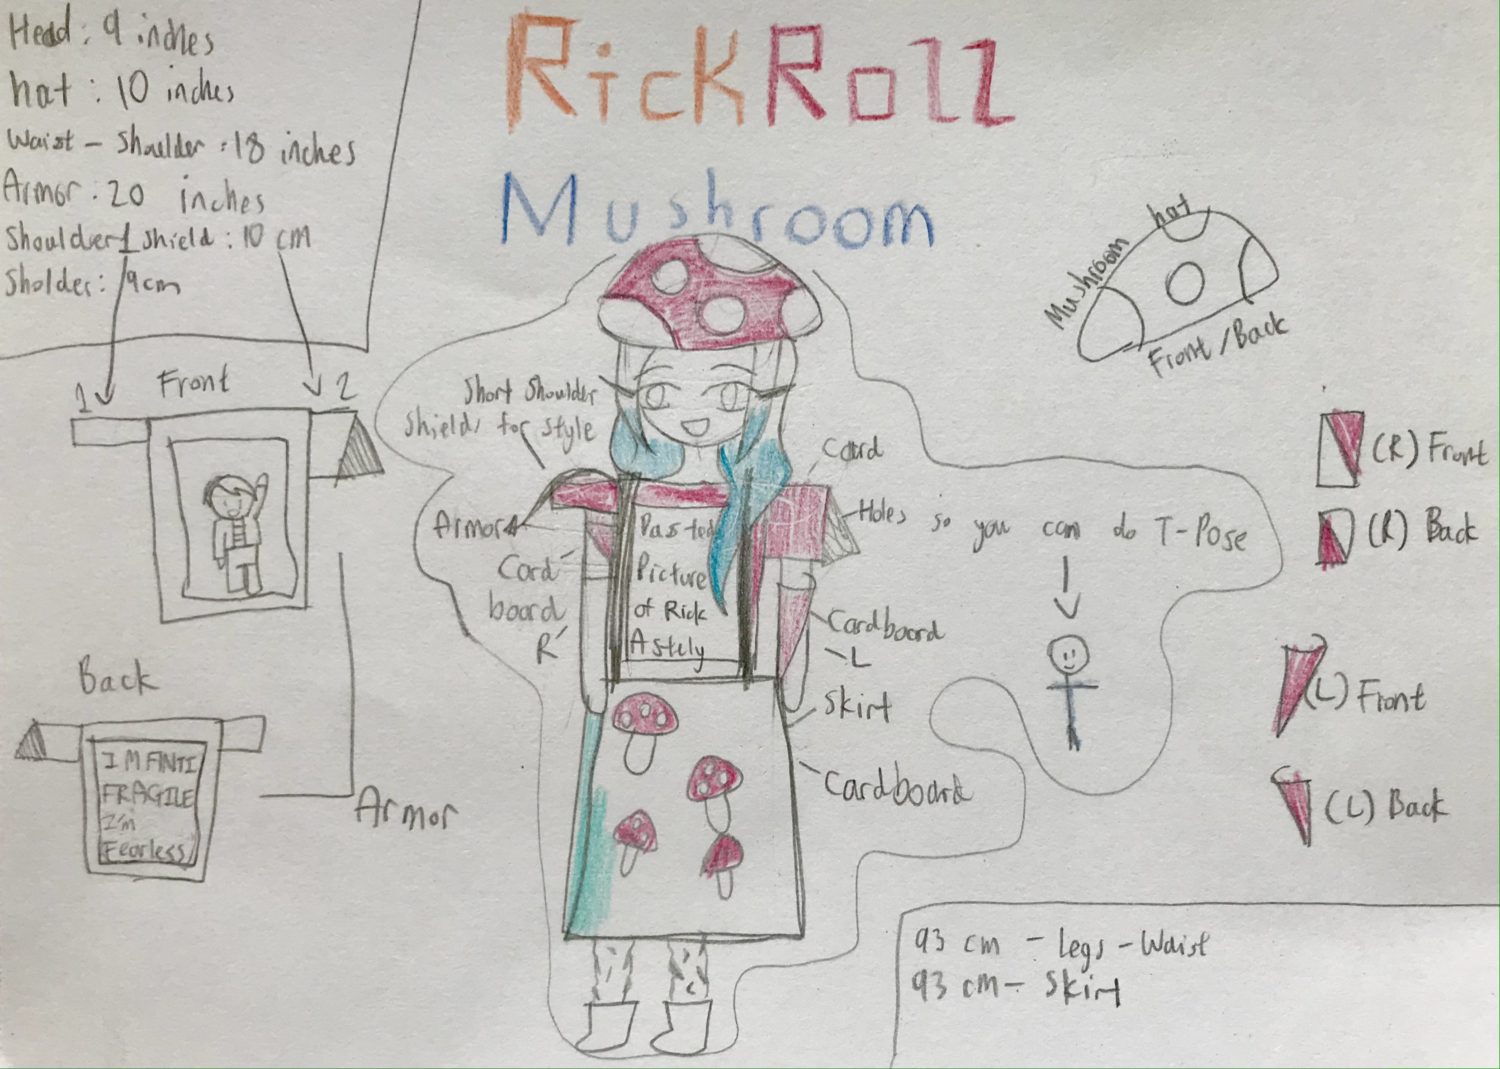
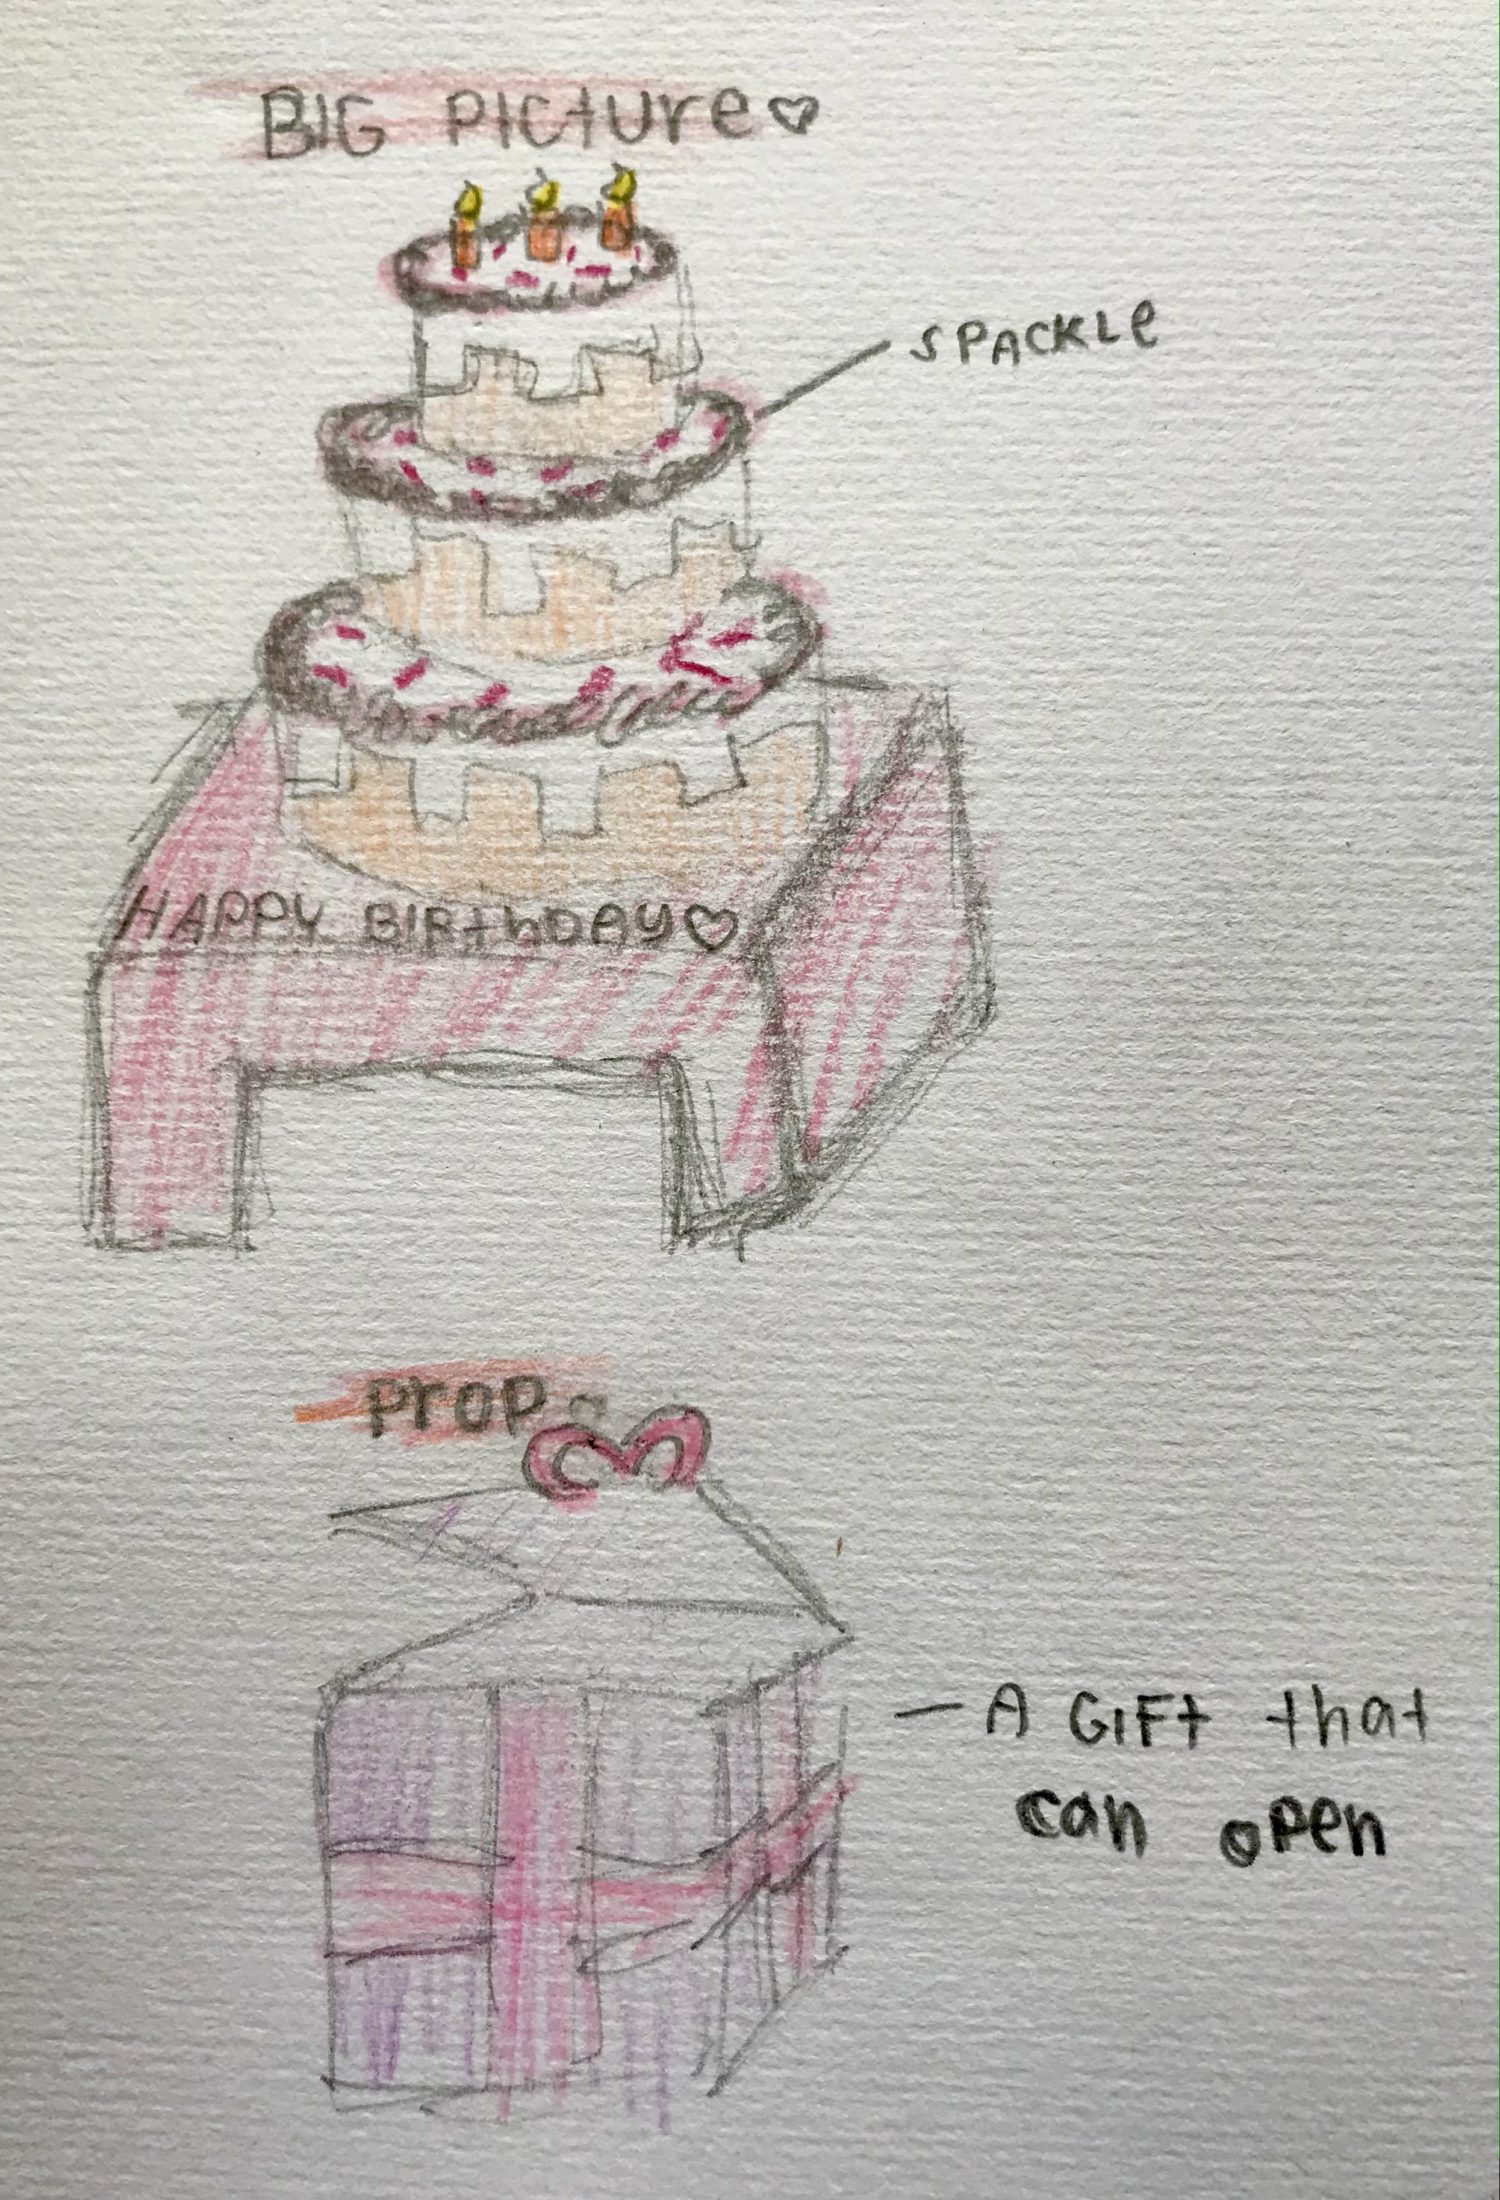
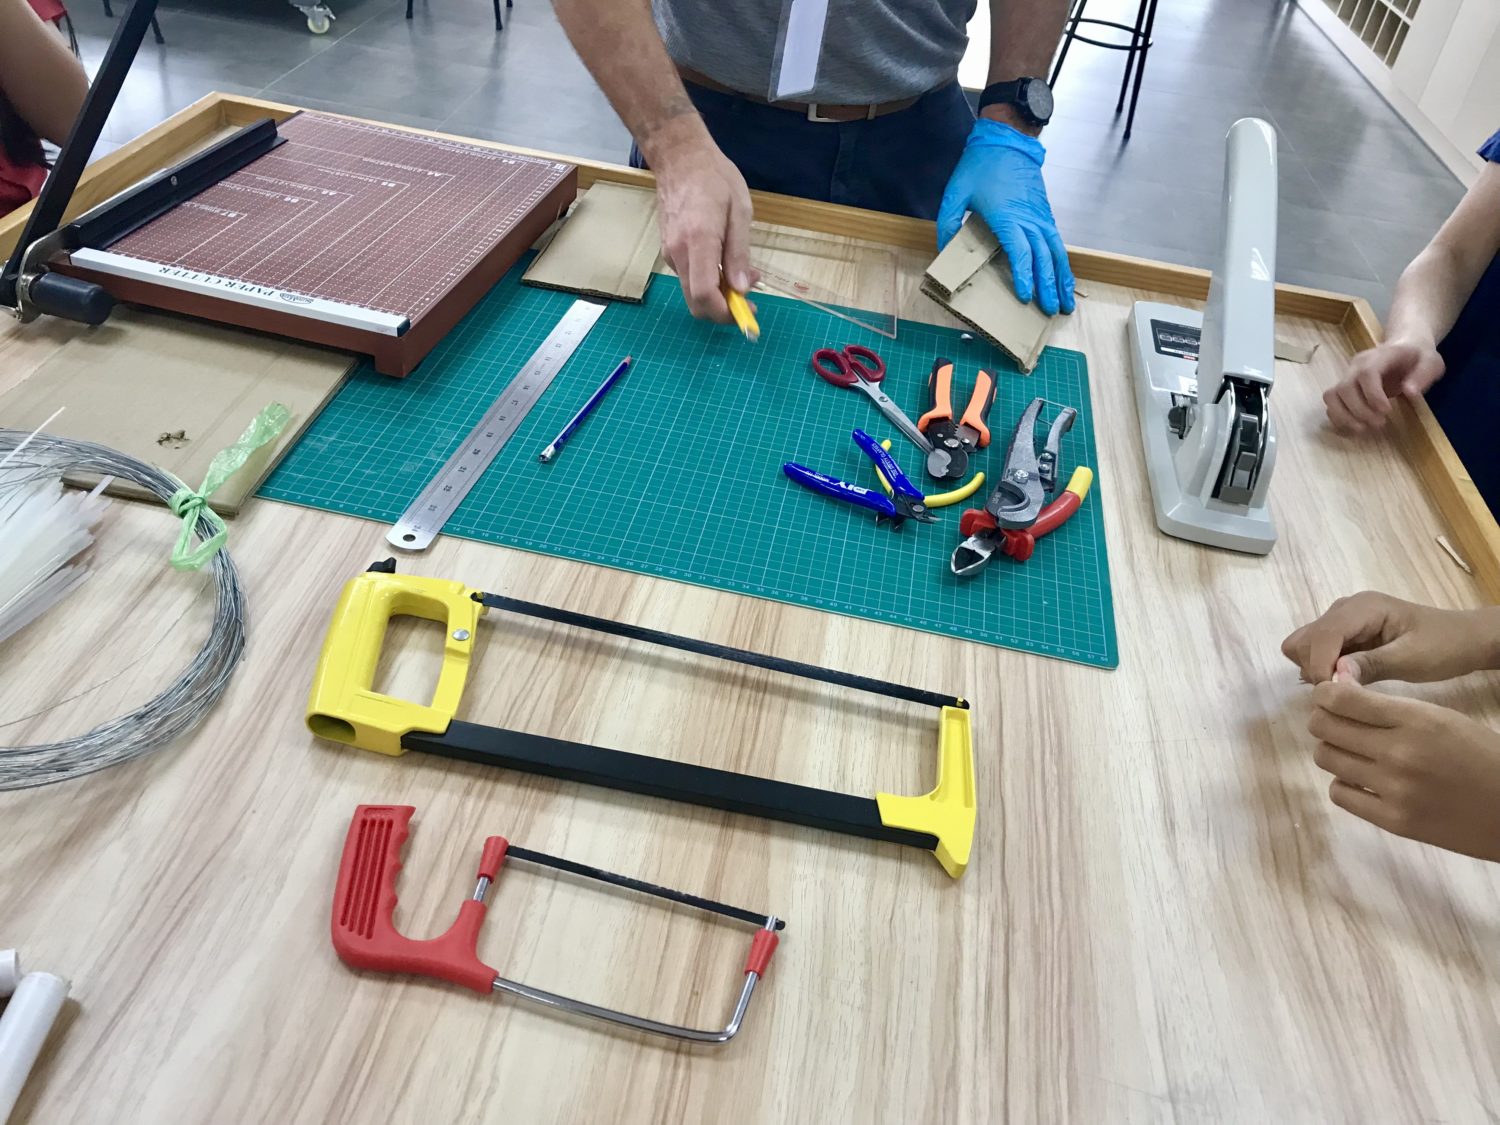
Step 2: Students are given a full tour of the Makerspace and tool options by Steve. This included demonstrations on different ways to attach cardboard, how to cut pipe, and all the ways you can fasten things (glue gun, heavy duty stapler, zip ties, and string). He also went over the rules and expectations for using the Makerspace. This step was an absolute game-changer for this project and will be a guide for how I navigate this assignment in the future.
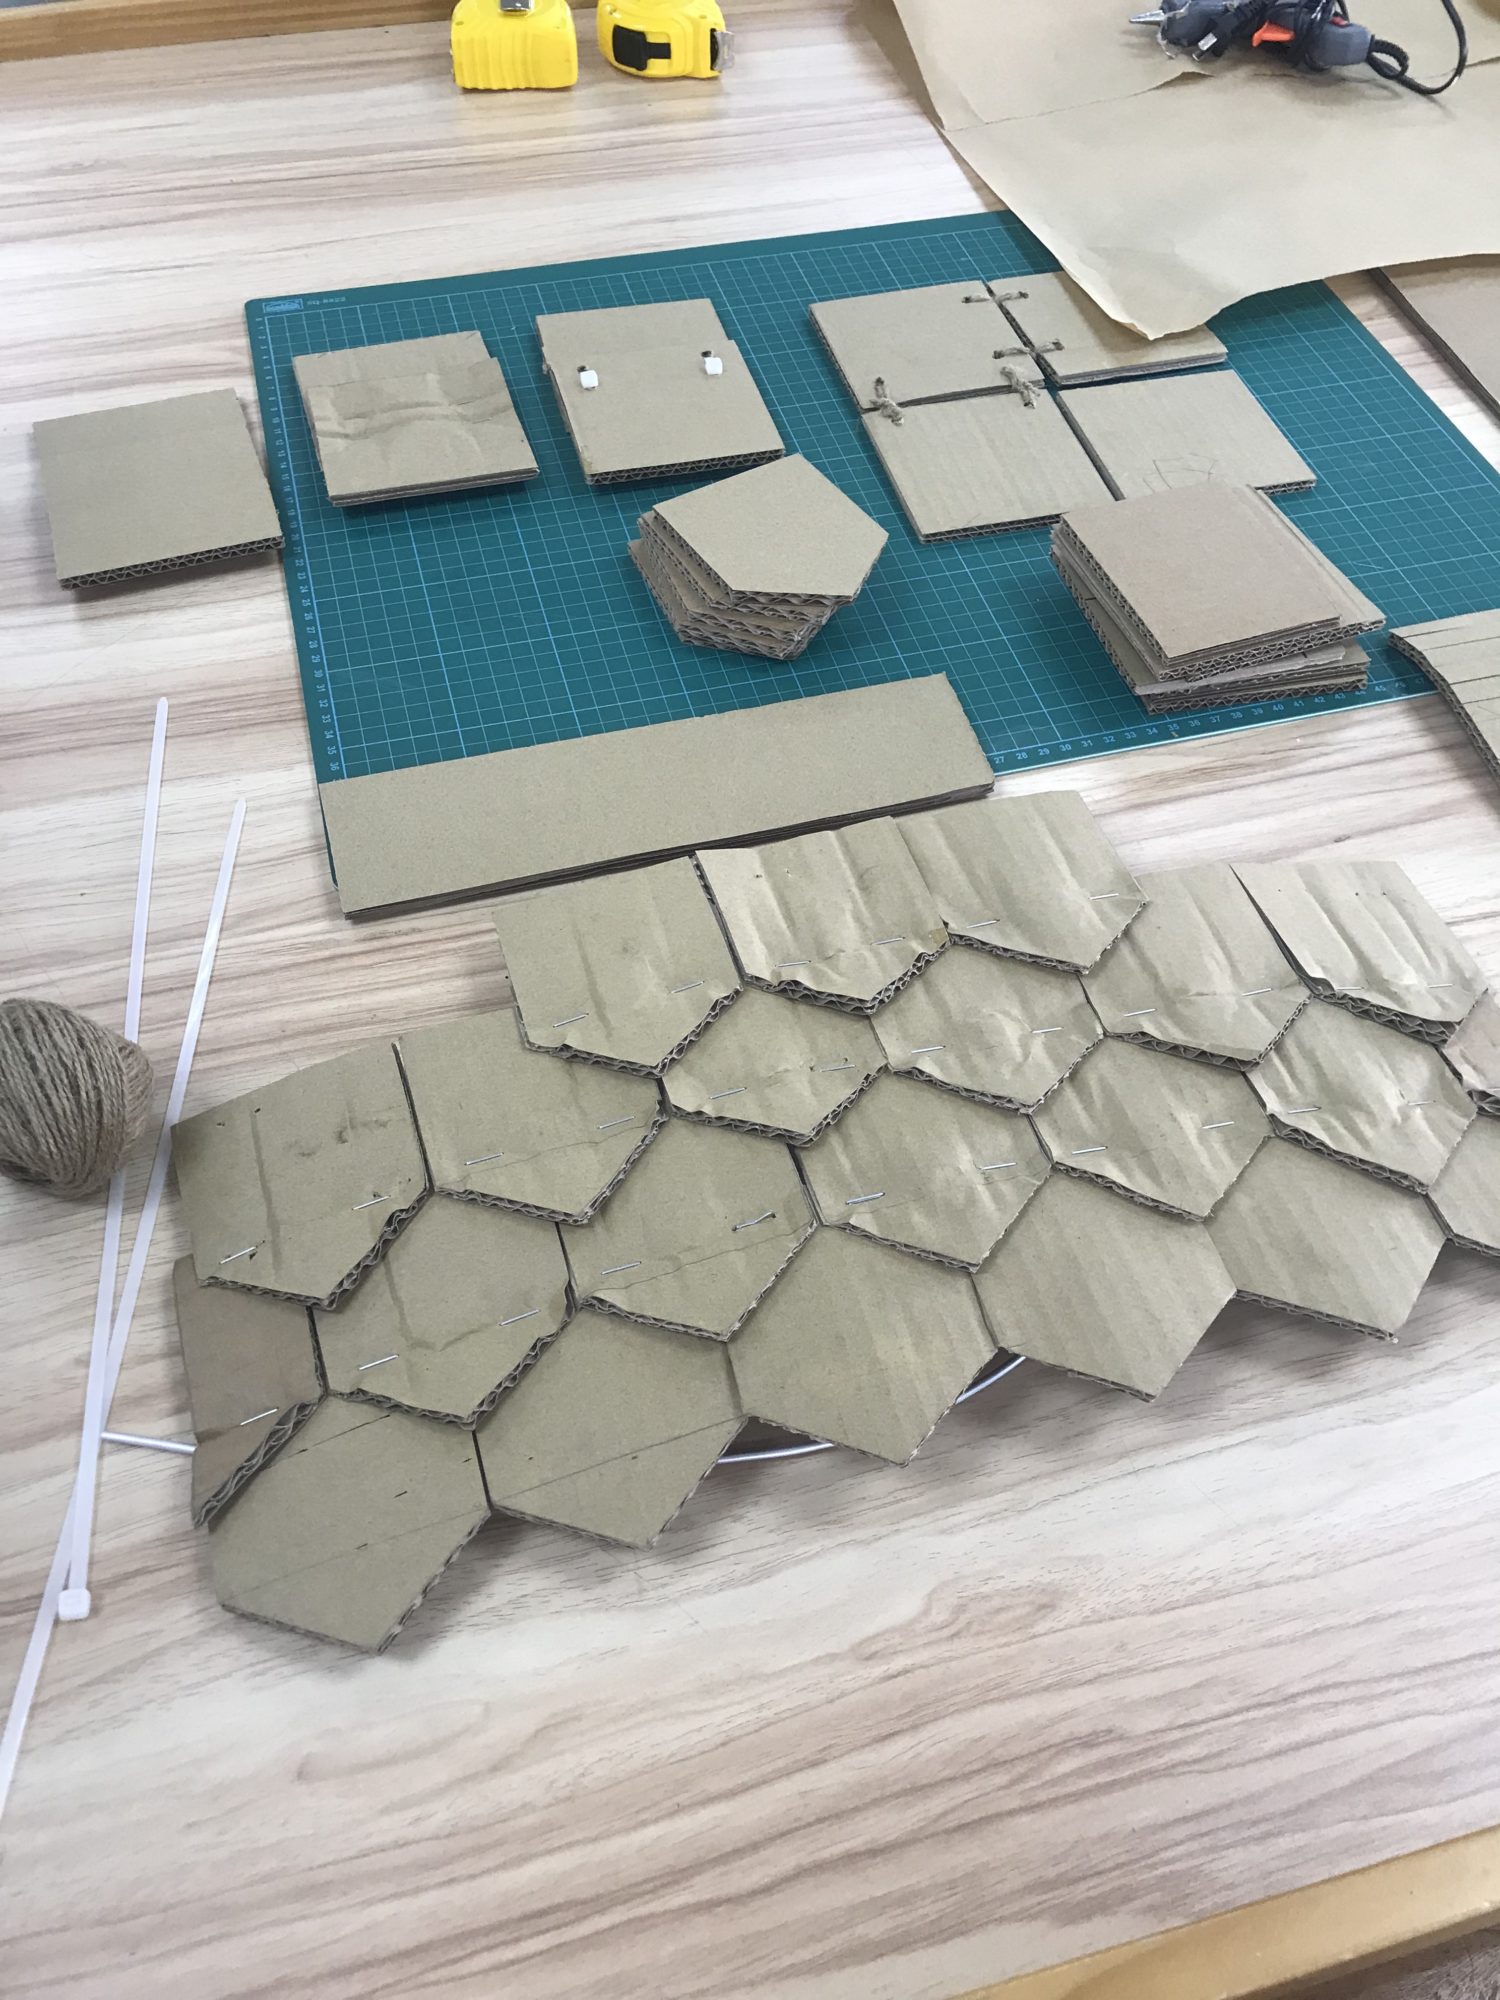
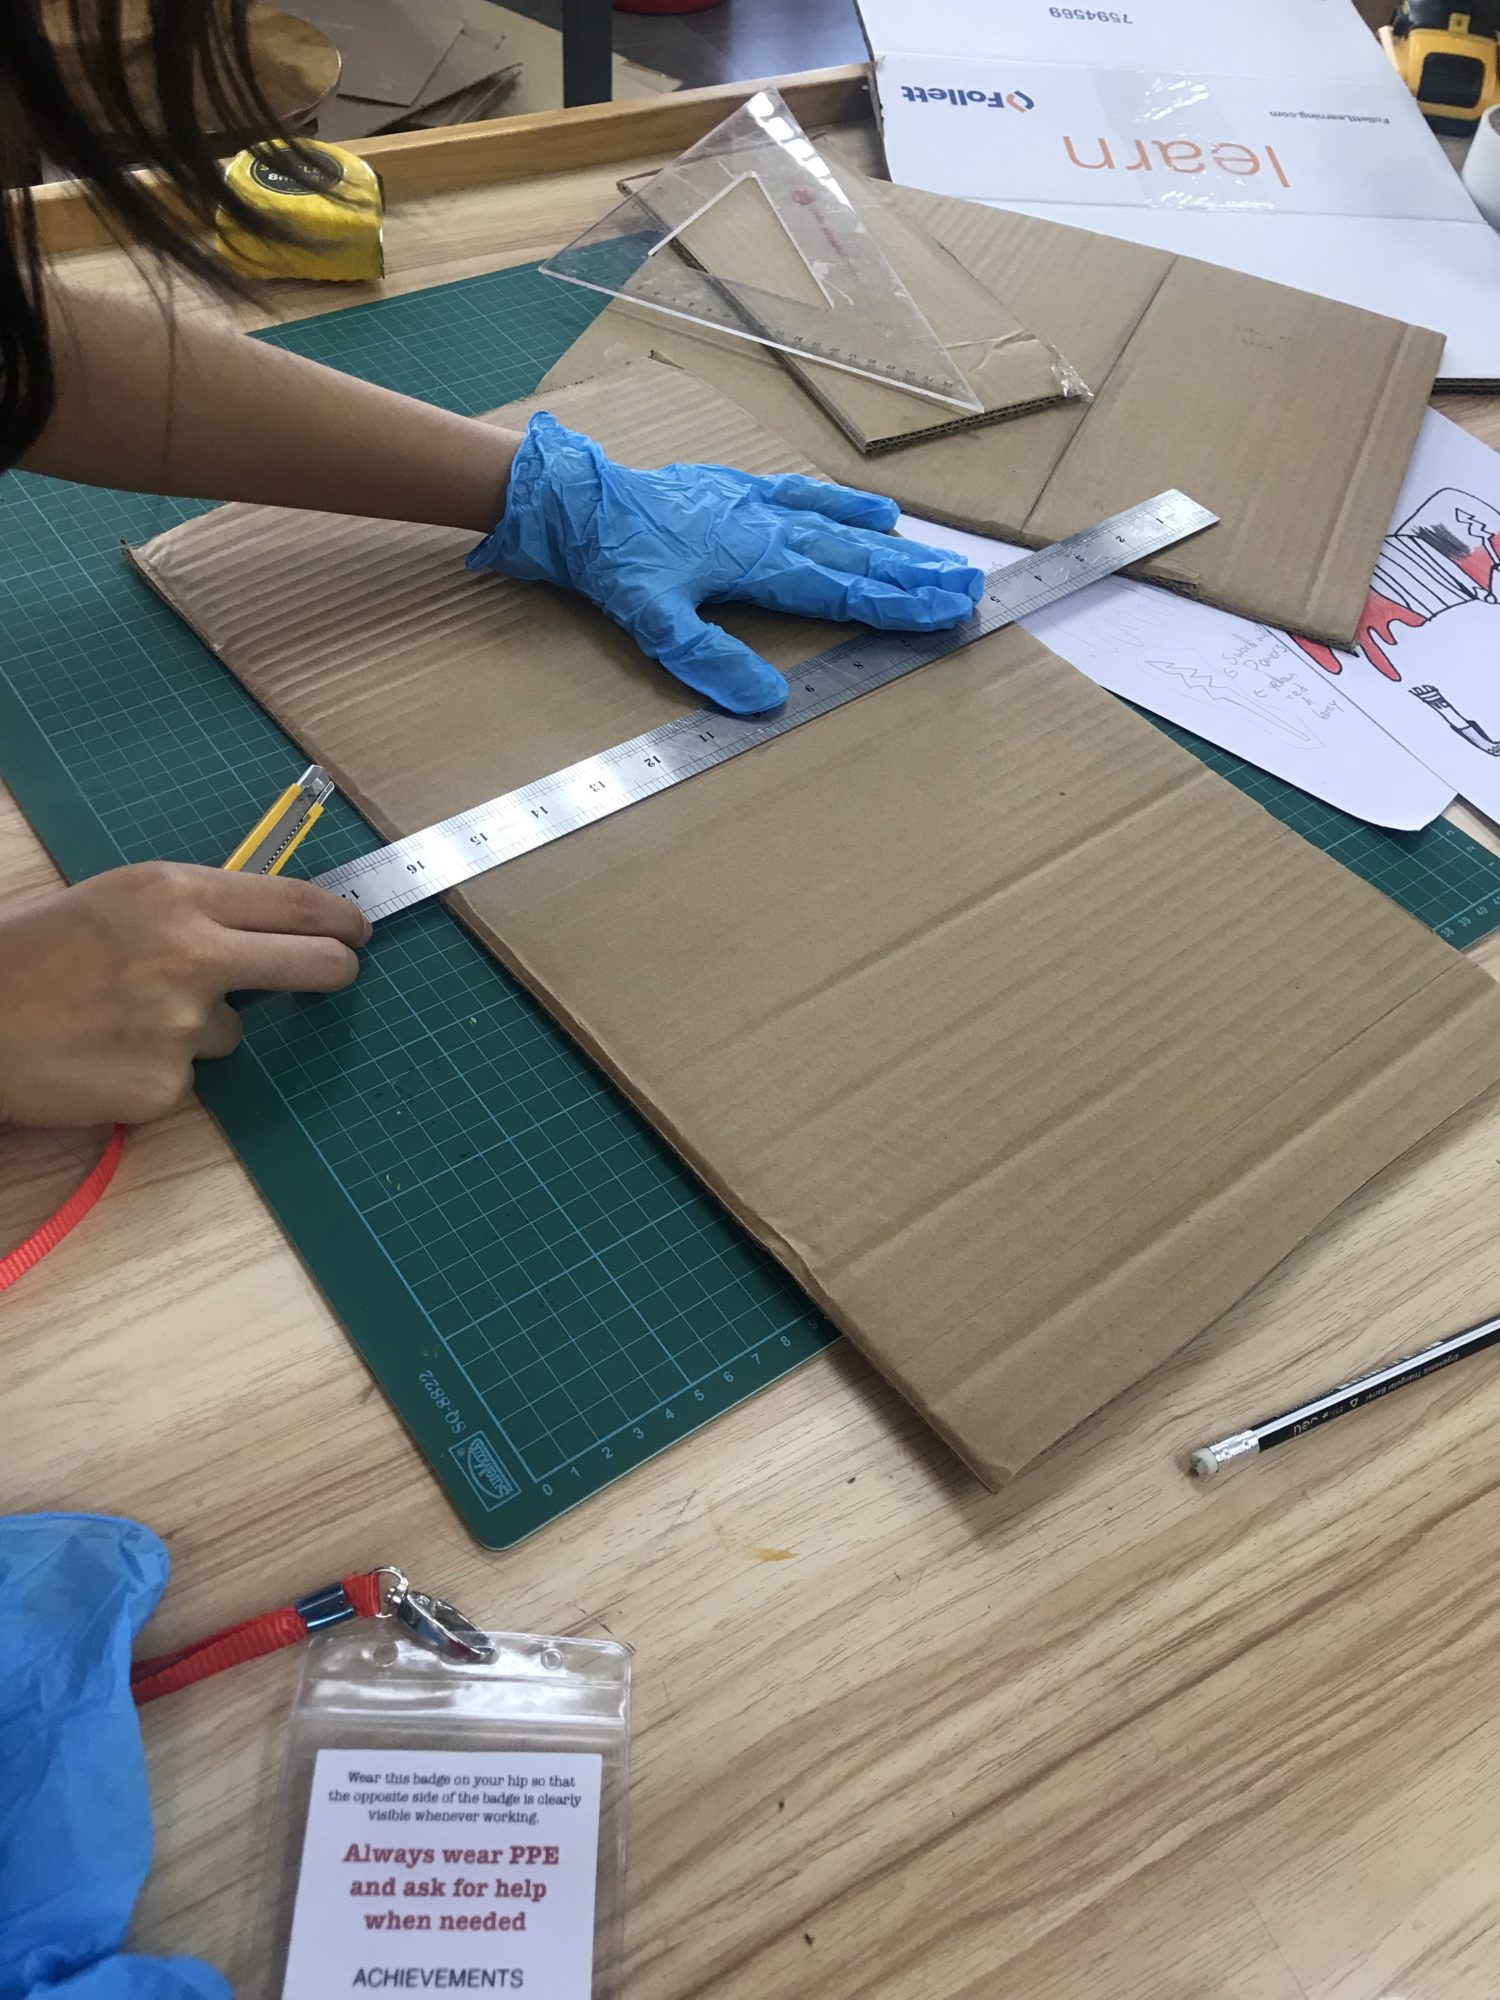
Step 3: Students start the construction phase. They use their drawings as a map and make a plan for how many sheets of cardboard they might need and what tools they need to begin. This year, my students had to meet with either Steve or myself to explain their starting points and next steps. This was crucial for getting the students moving forward and helped to ward off creative blocks and fear of making a mistake.
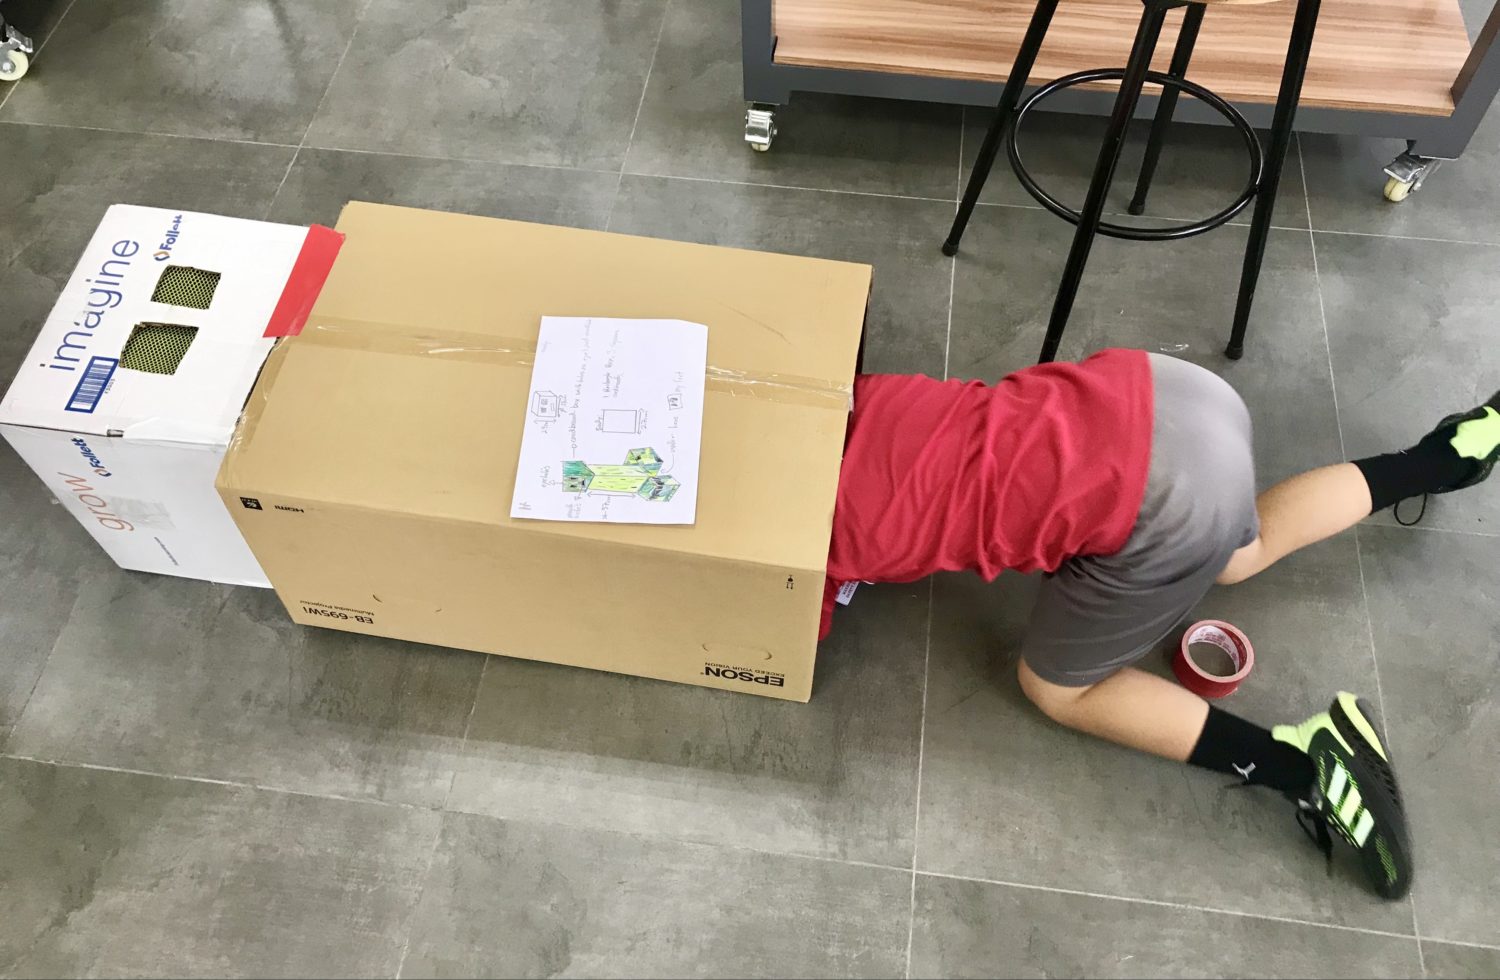
The construction phase varied in length for each project. Some of the students took the entire 9 weeks to build and three weeks to paint. And some of them took only two weeks to build. It depended on their drawings, their goals, and their investment.
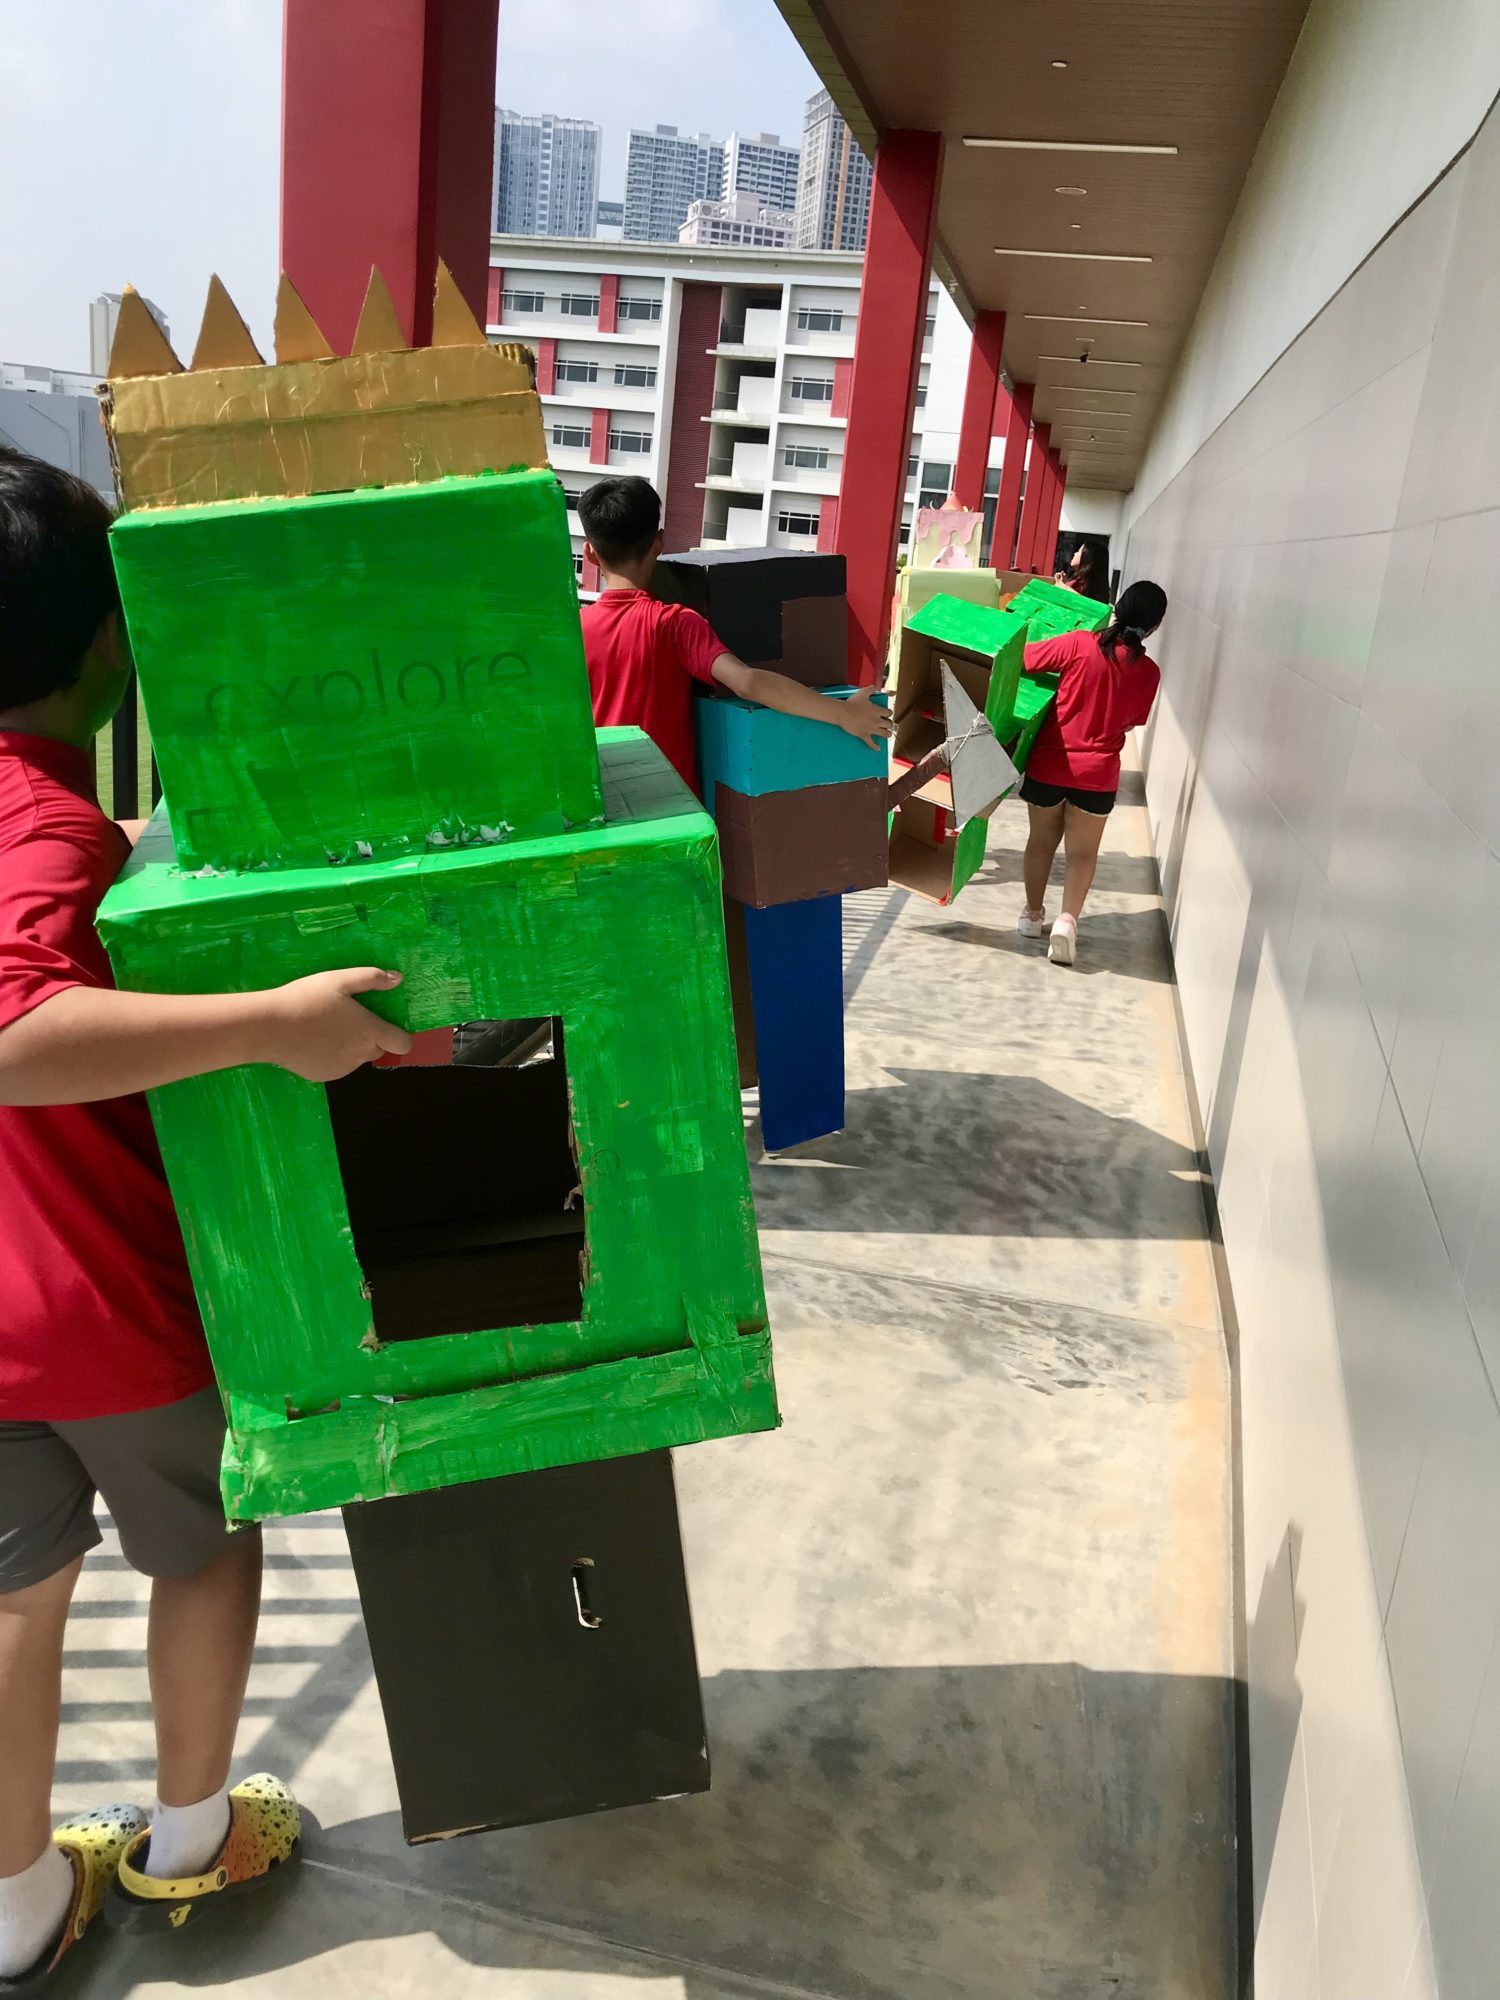
One of my students created a Minecraft Steve. By all accounts, this is a blocky suit of armor because everything in Minecraft is constructed by blocks. So, building with cardboard boxes simplifies things. But, he was so invested and wanted it perfect that he spent the entire 12 weeks on the project and his piece was awesome! Like with anything, the more invested the kids are, the stronger the final projects will be.
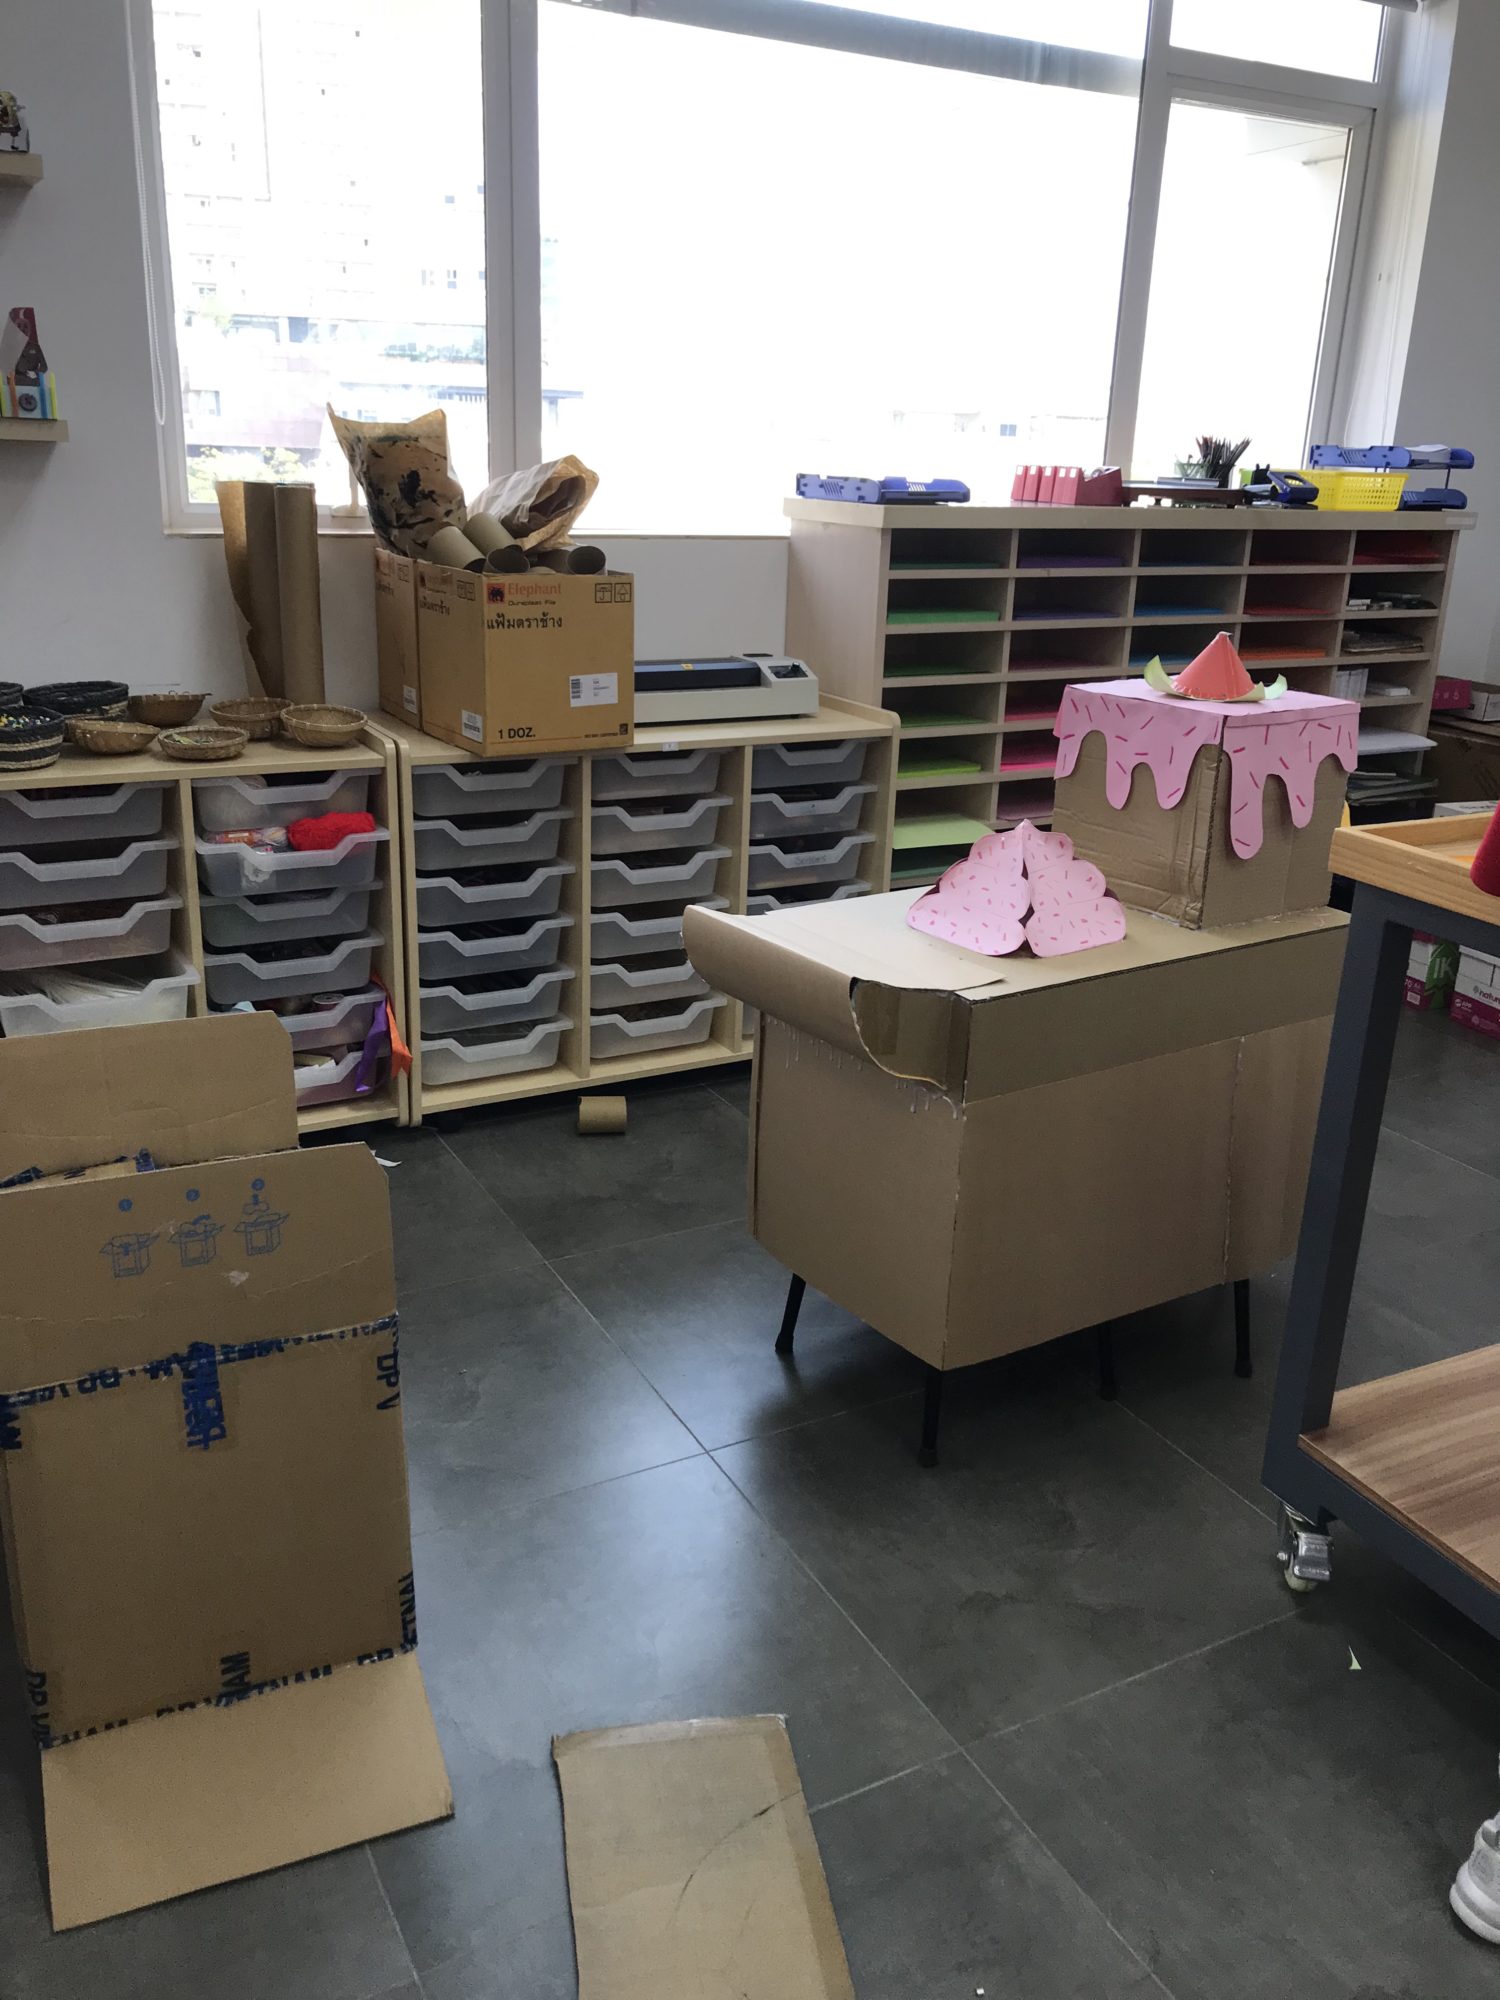
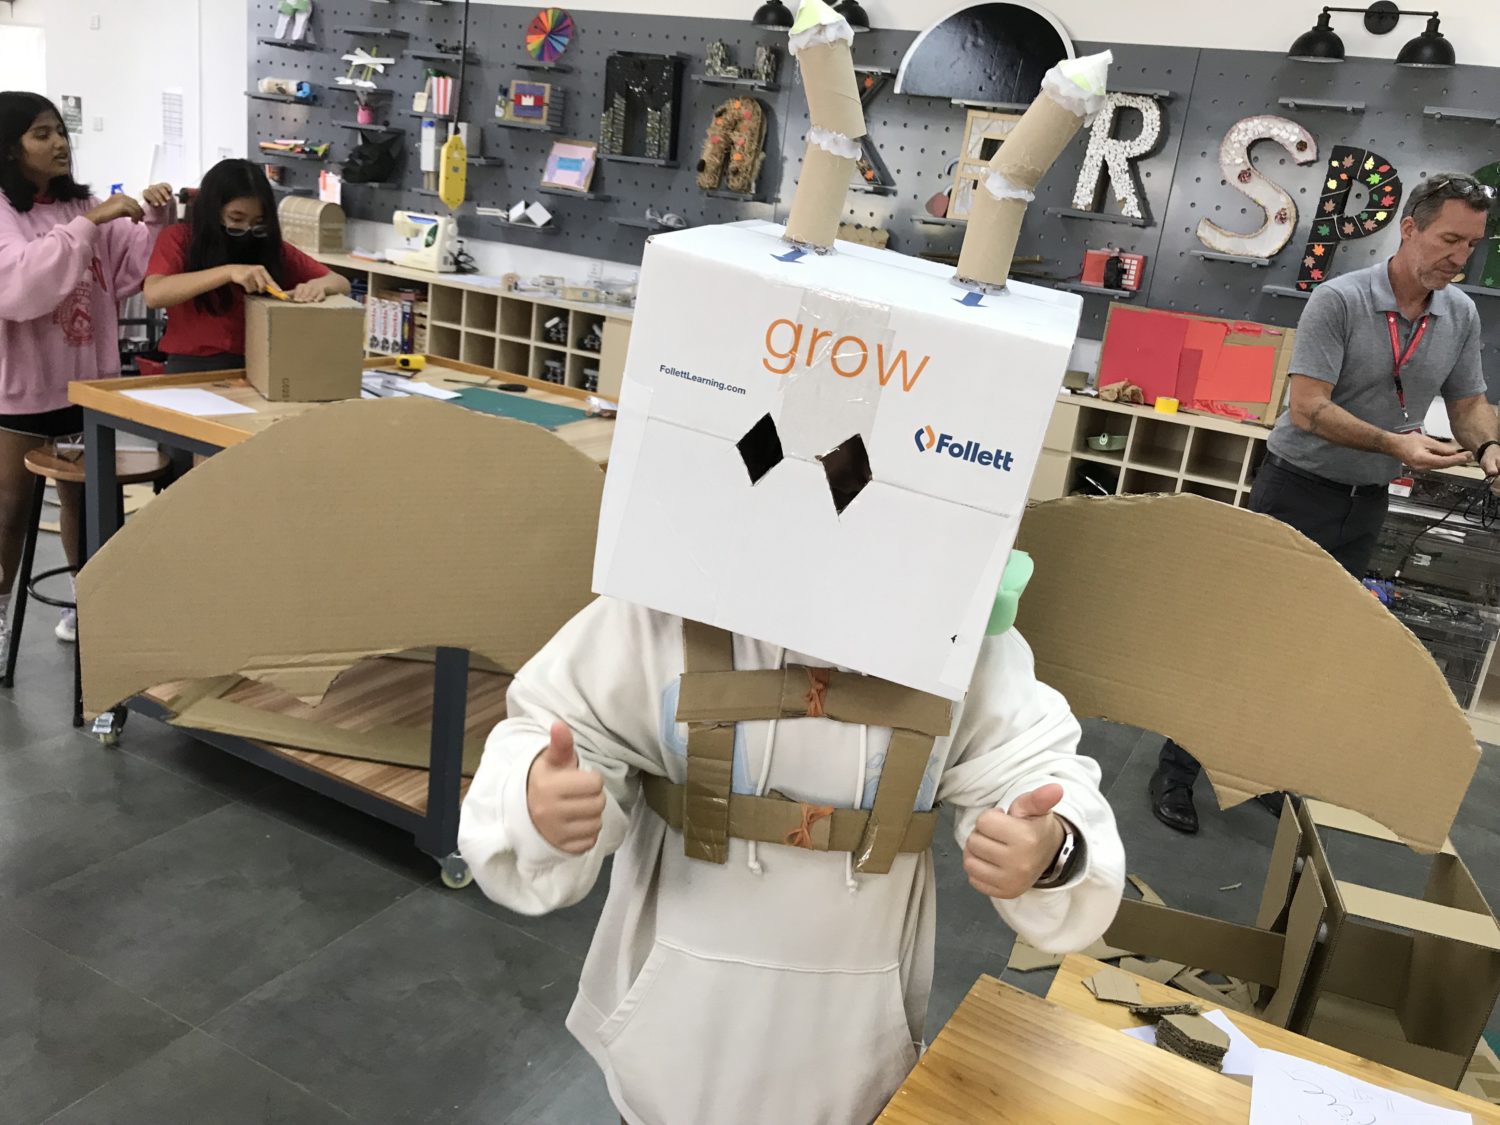

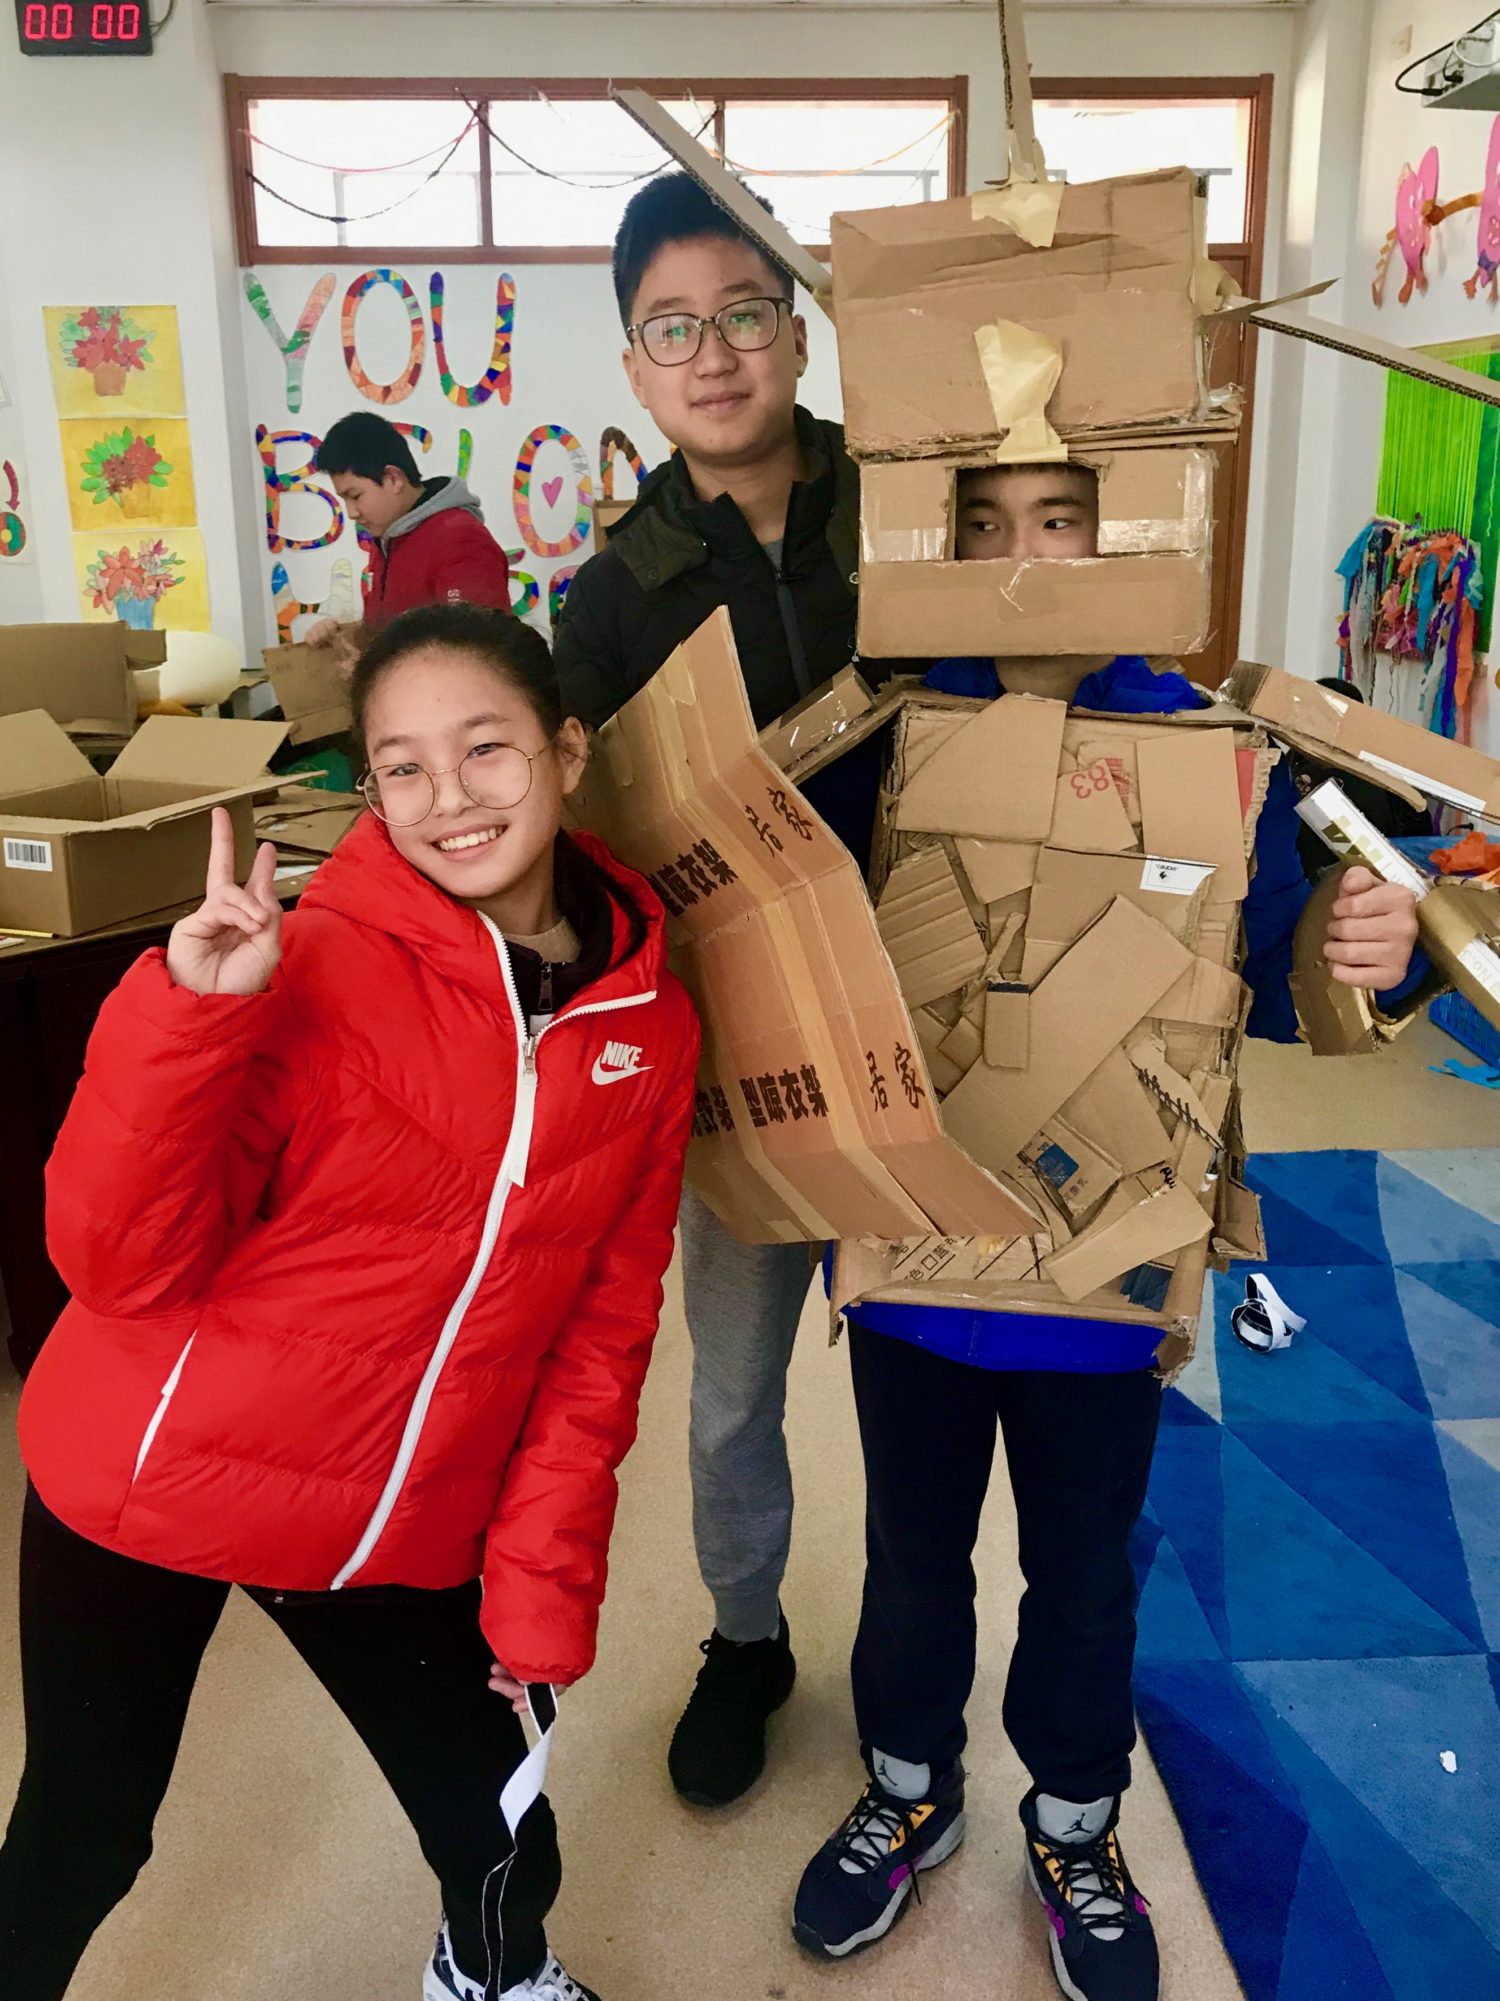
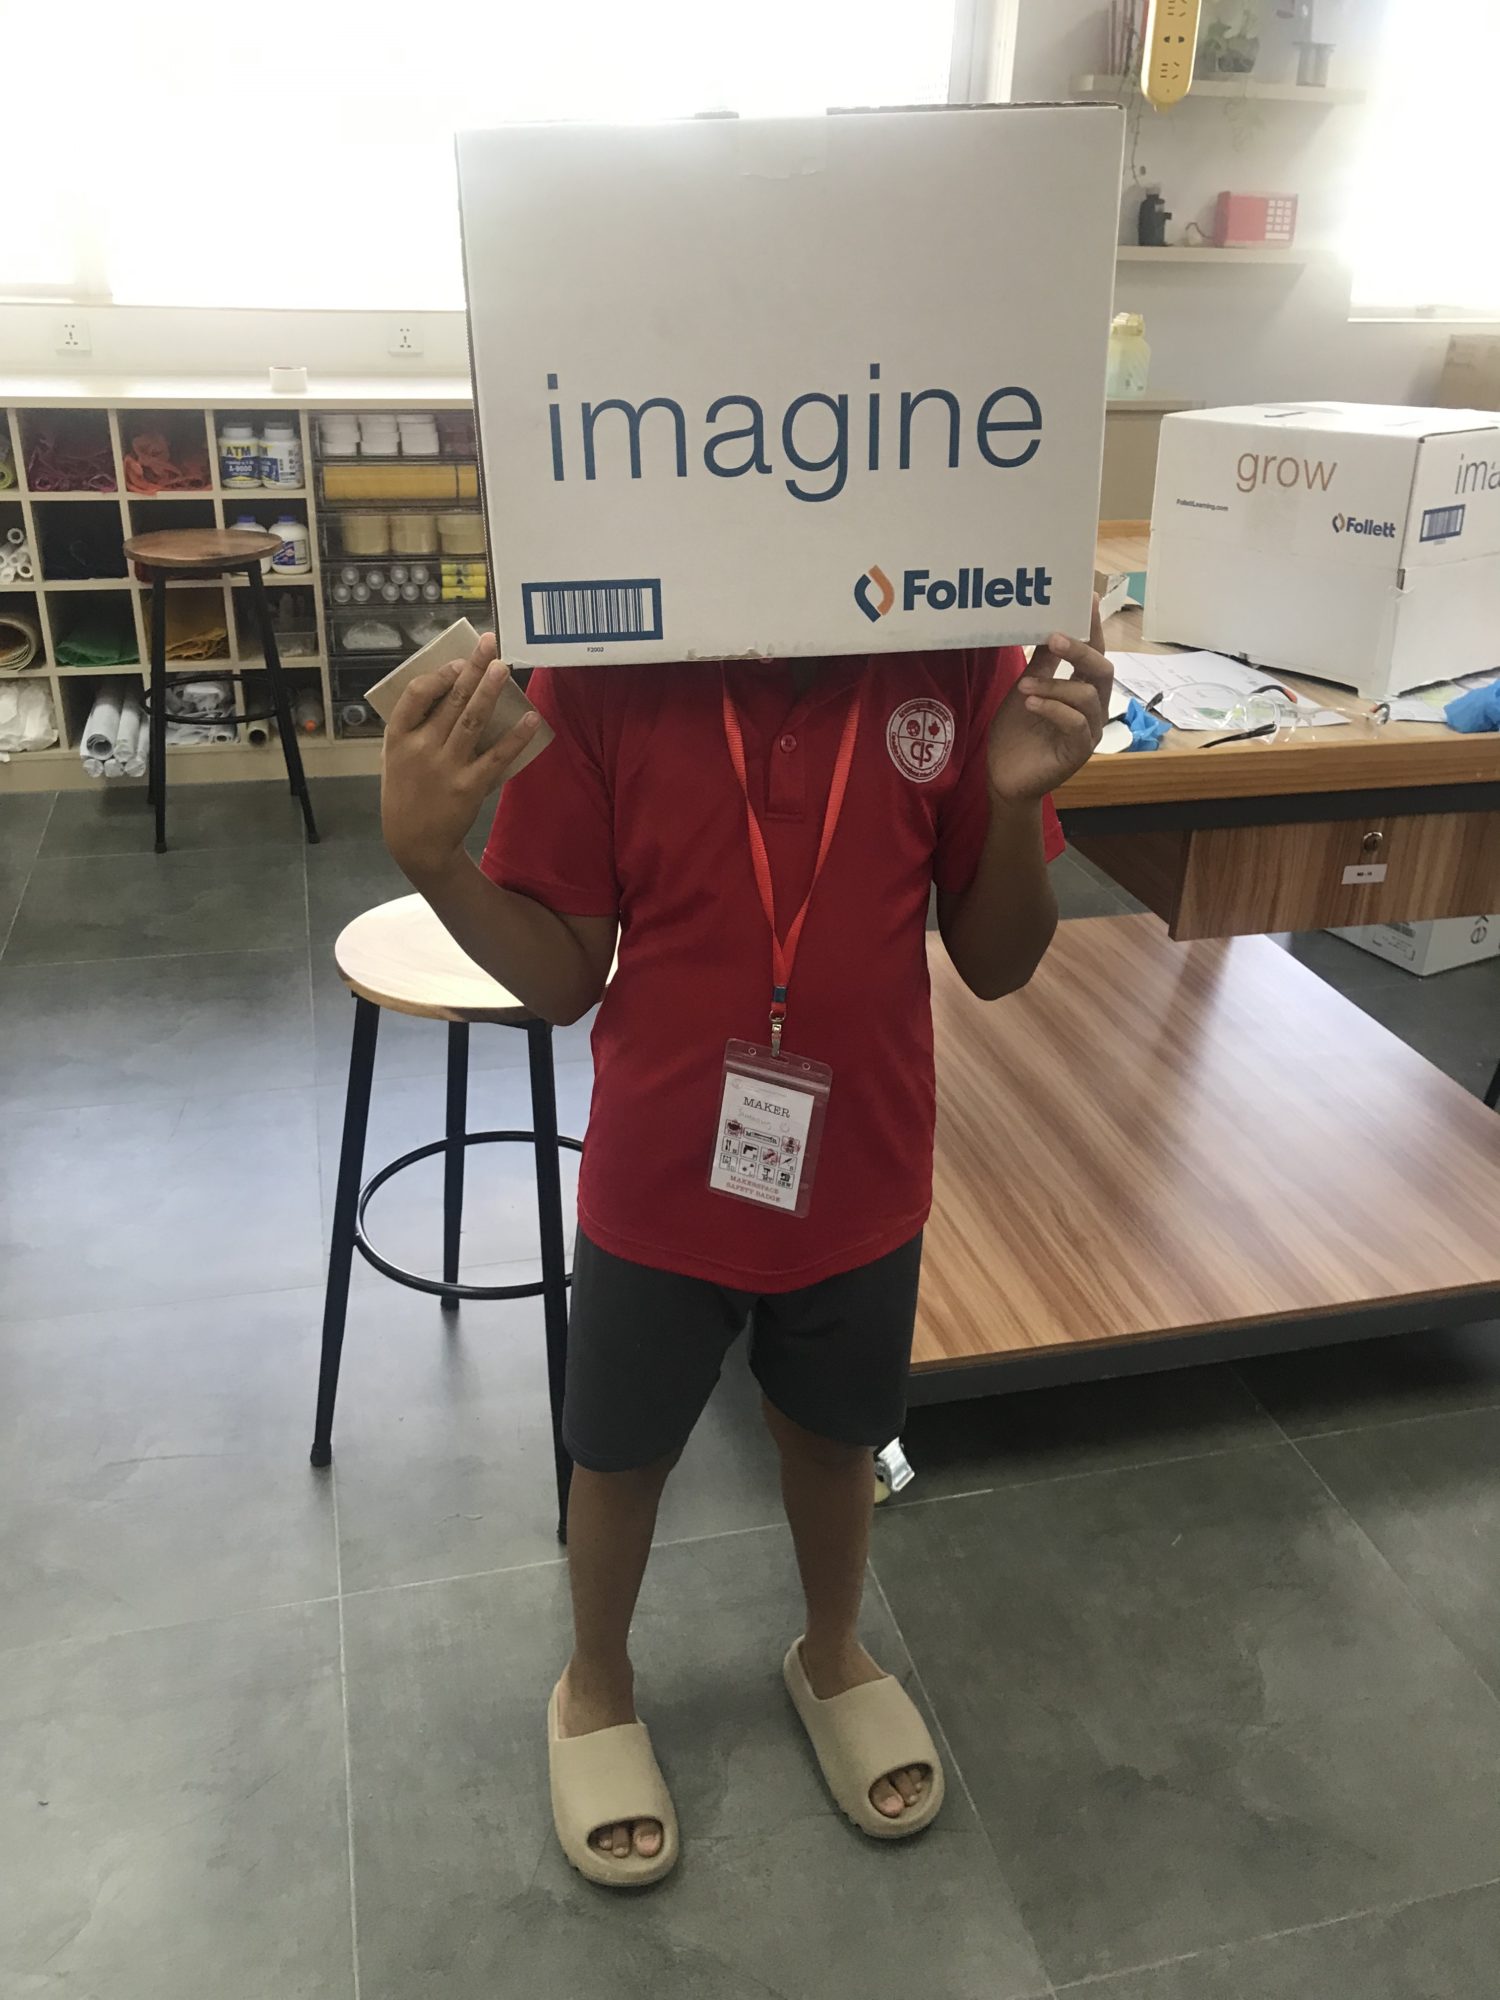
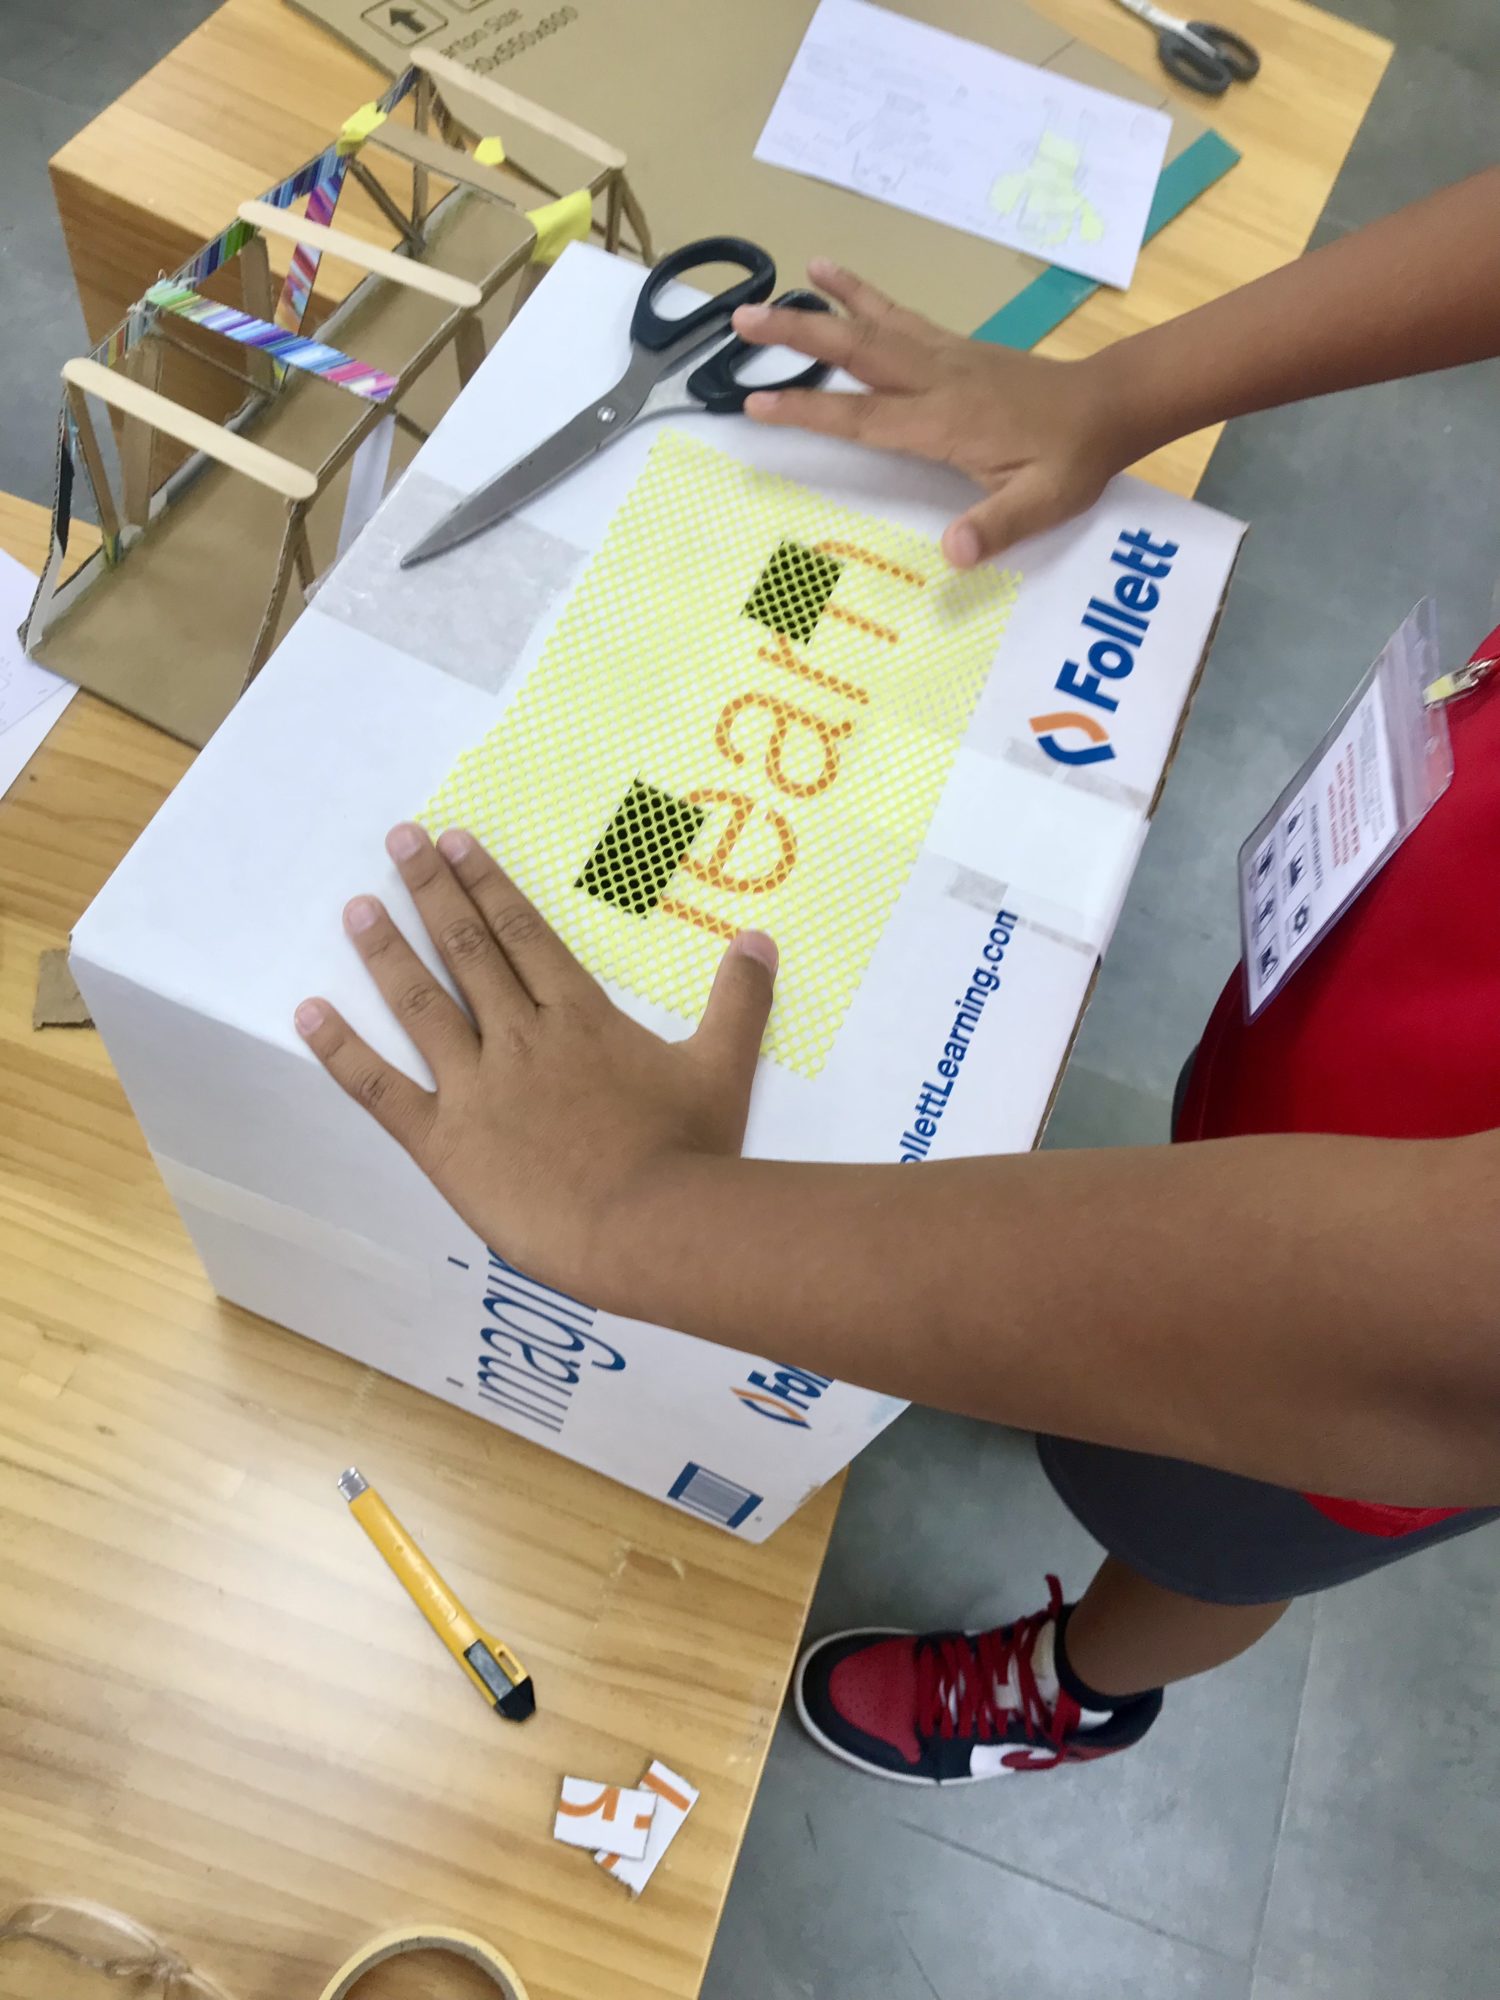
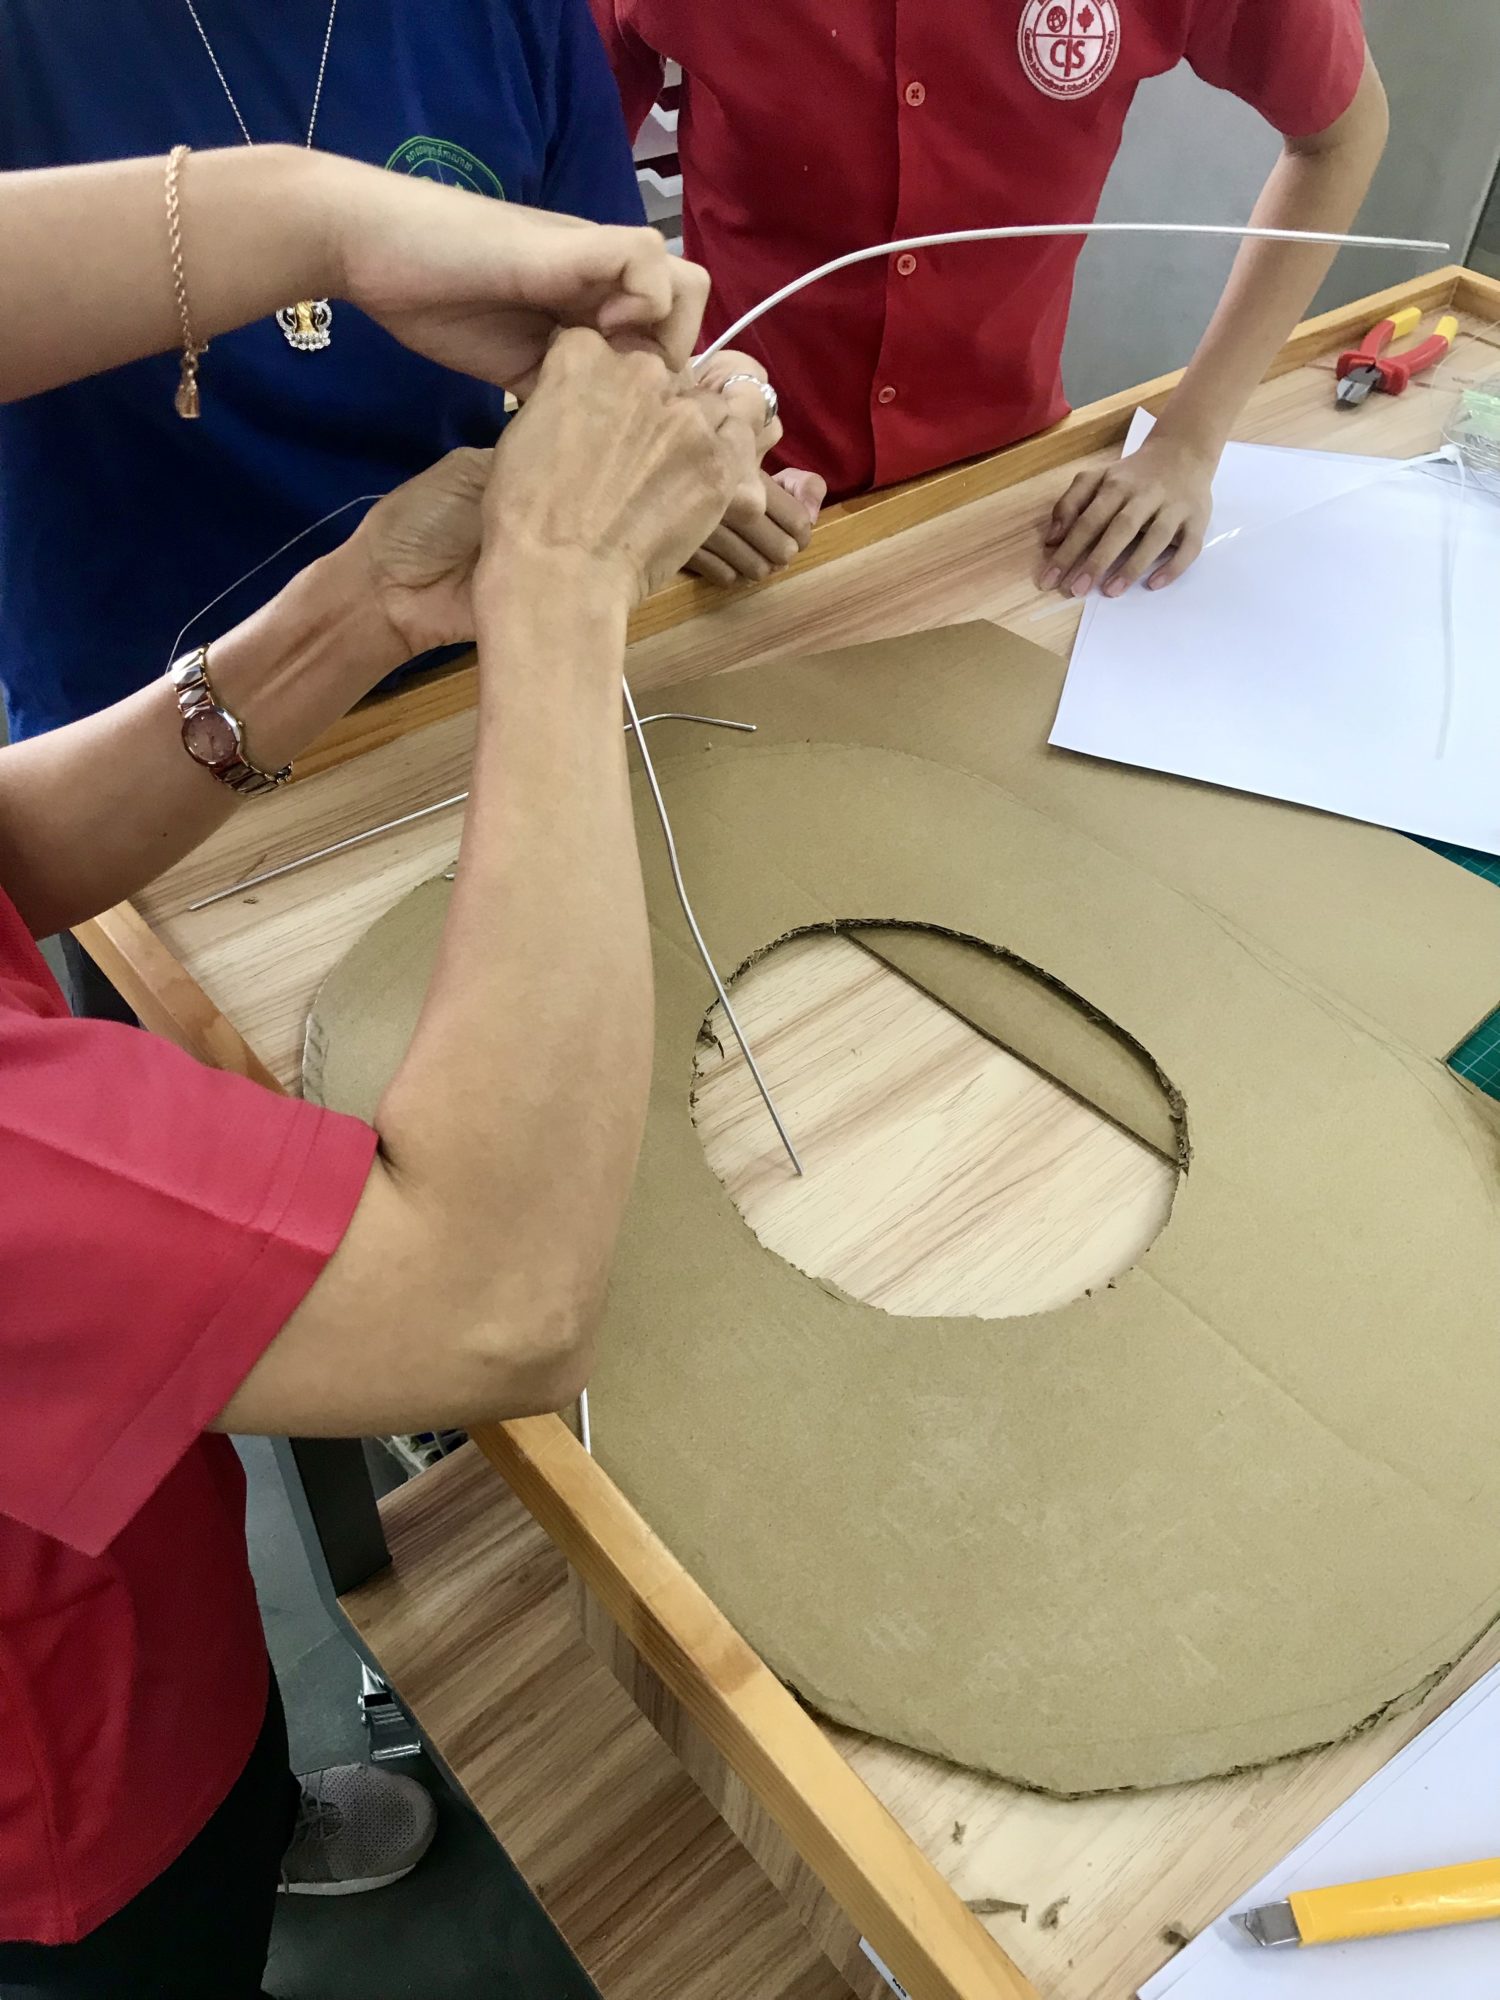
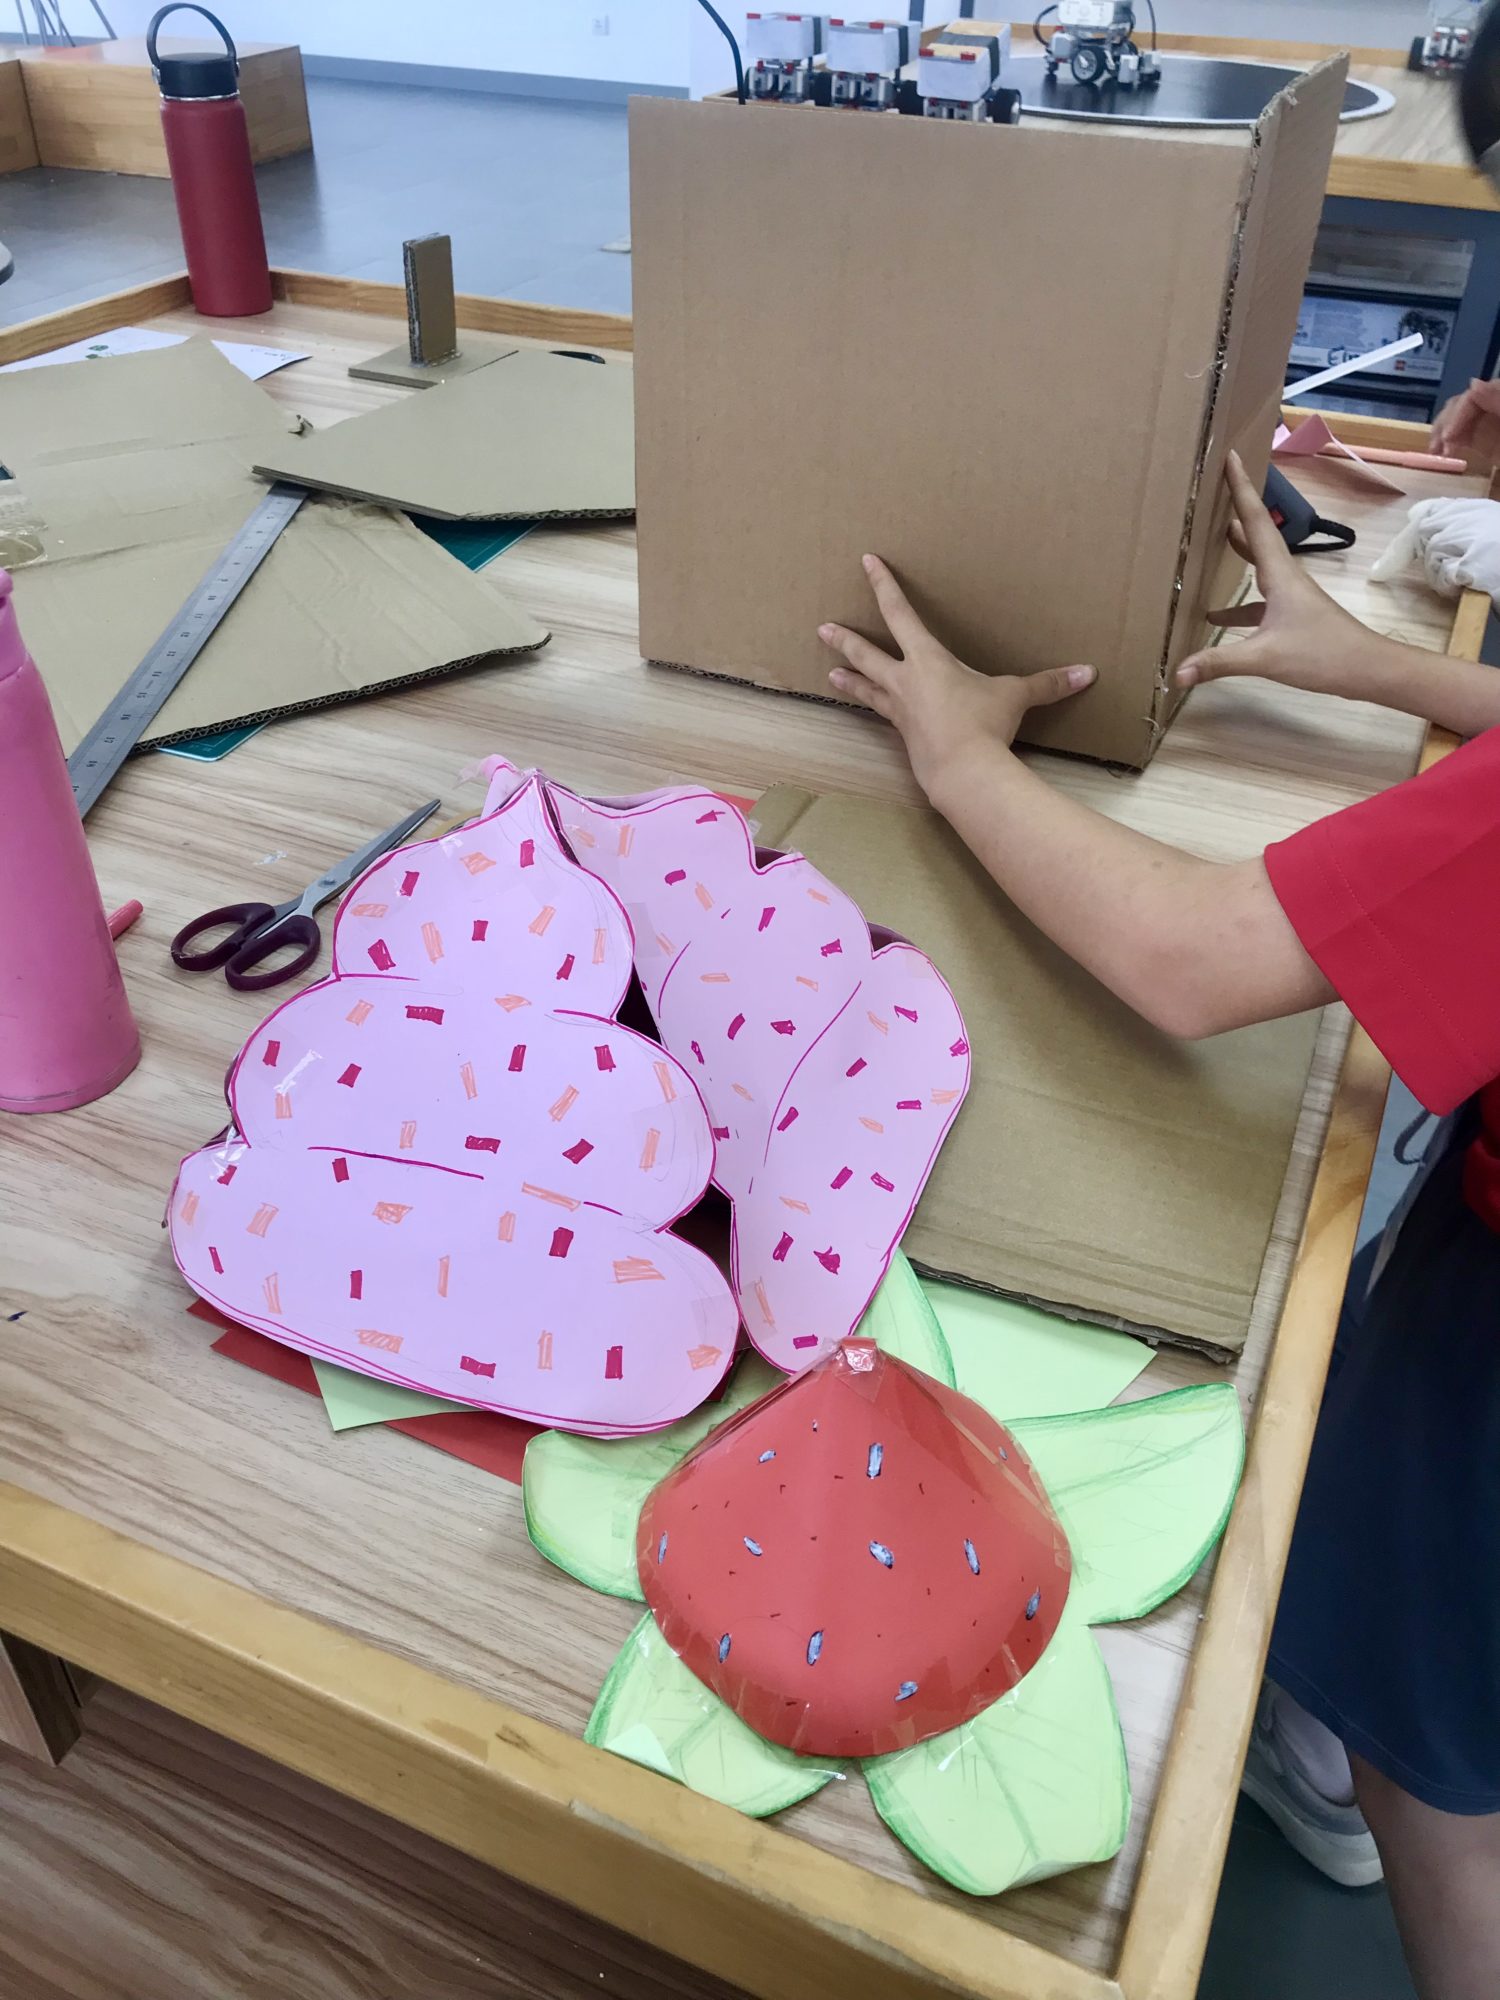
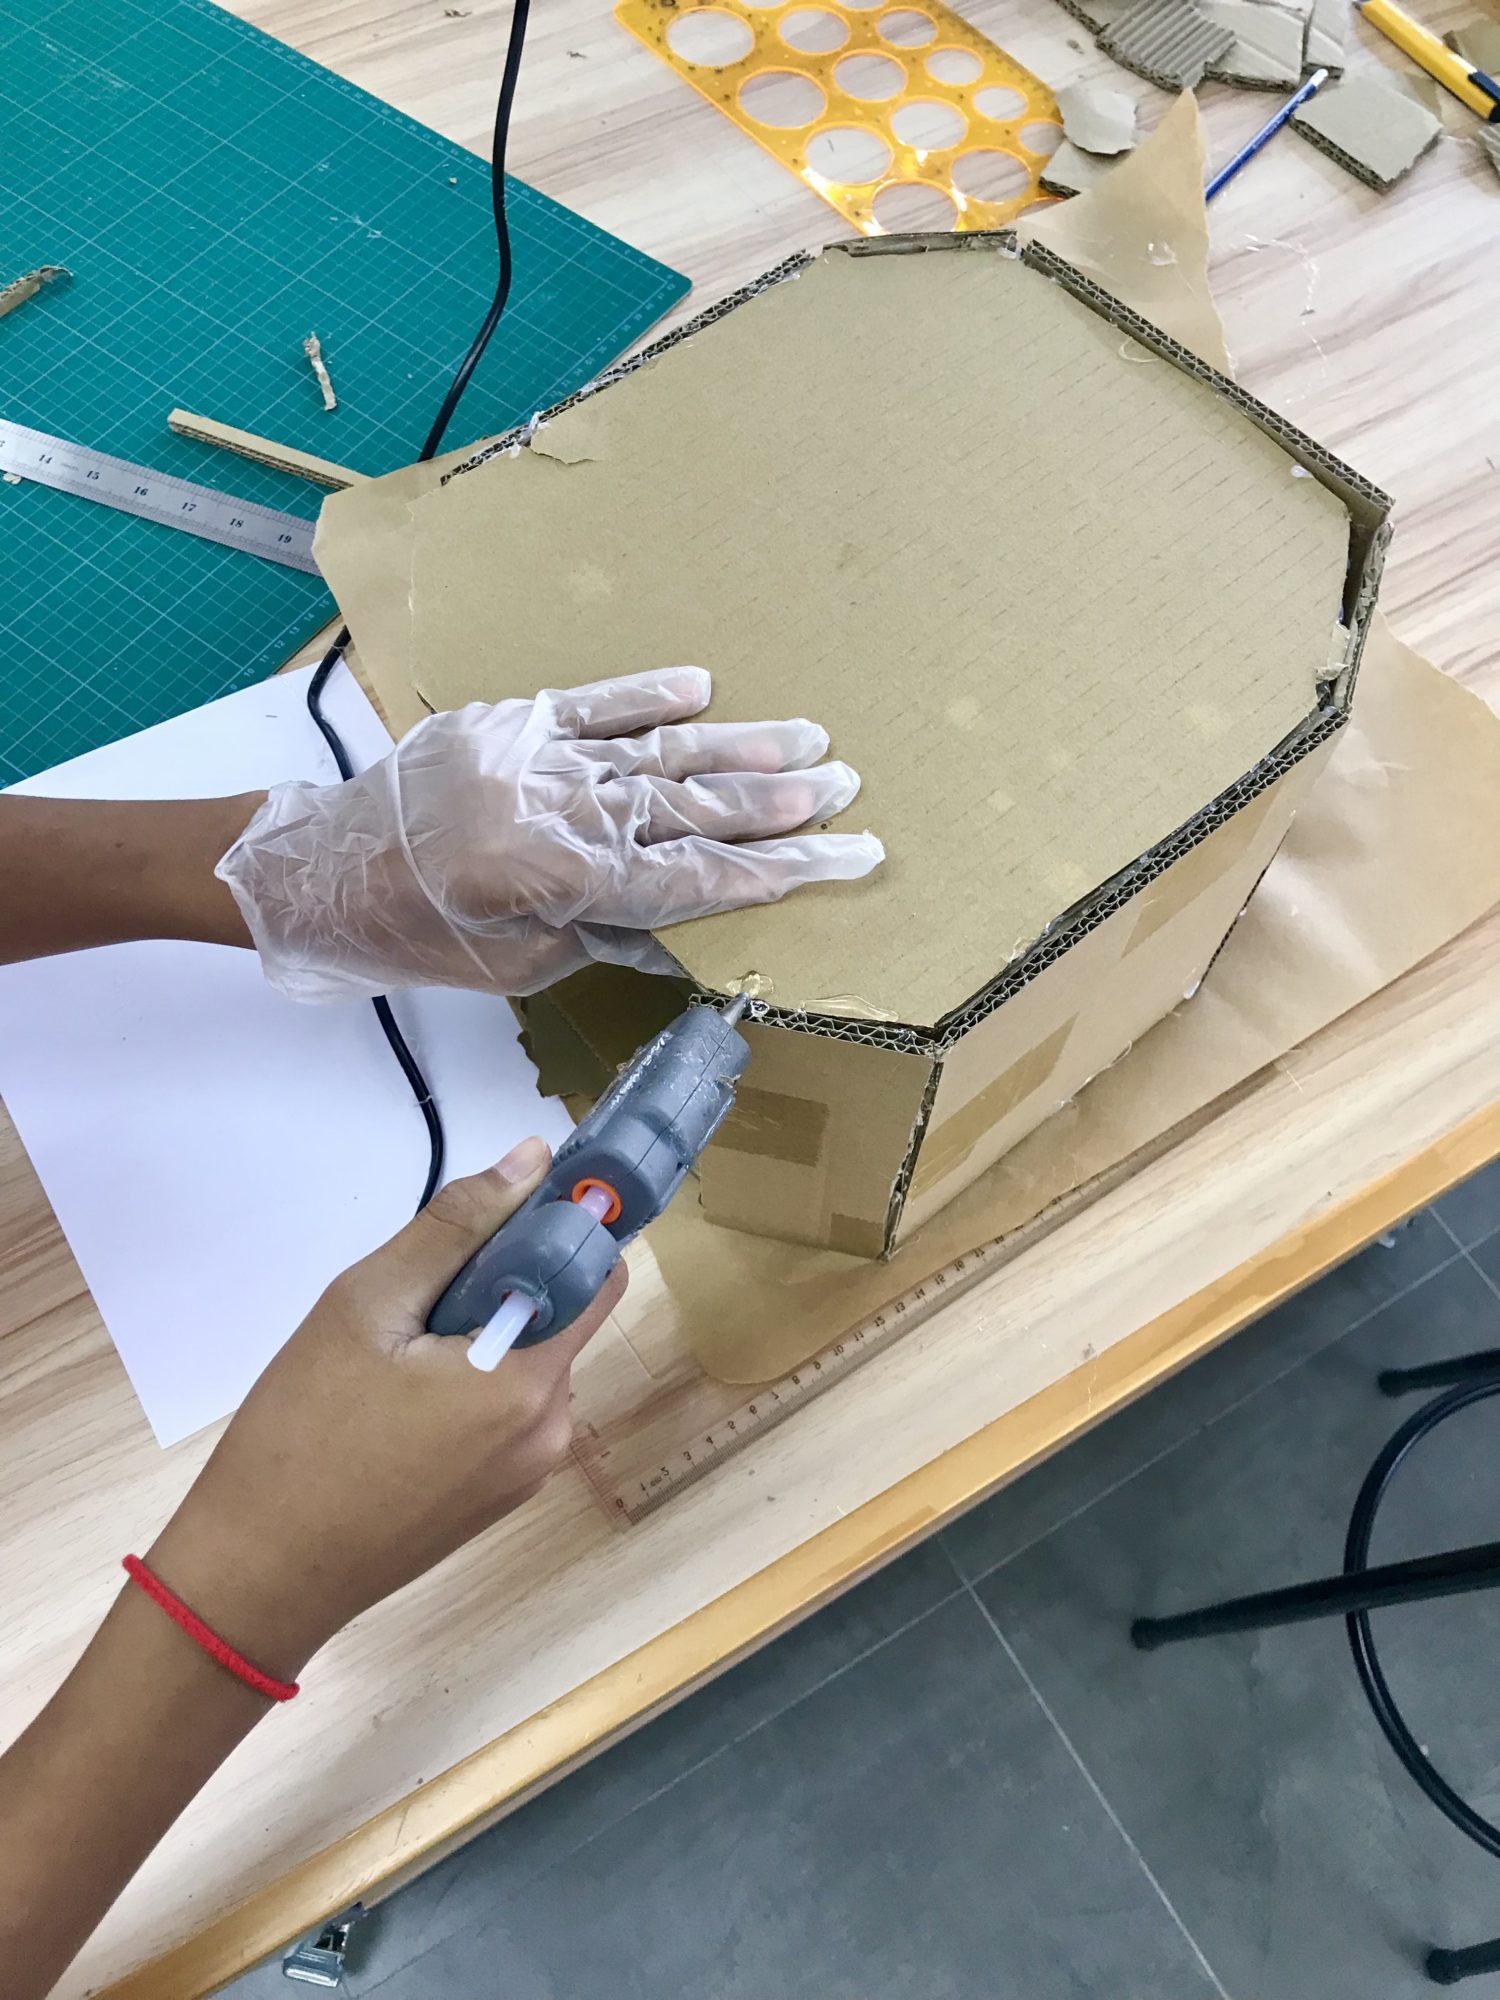
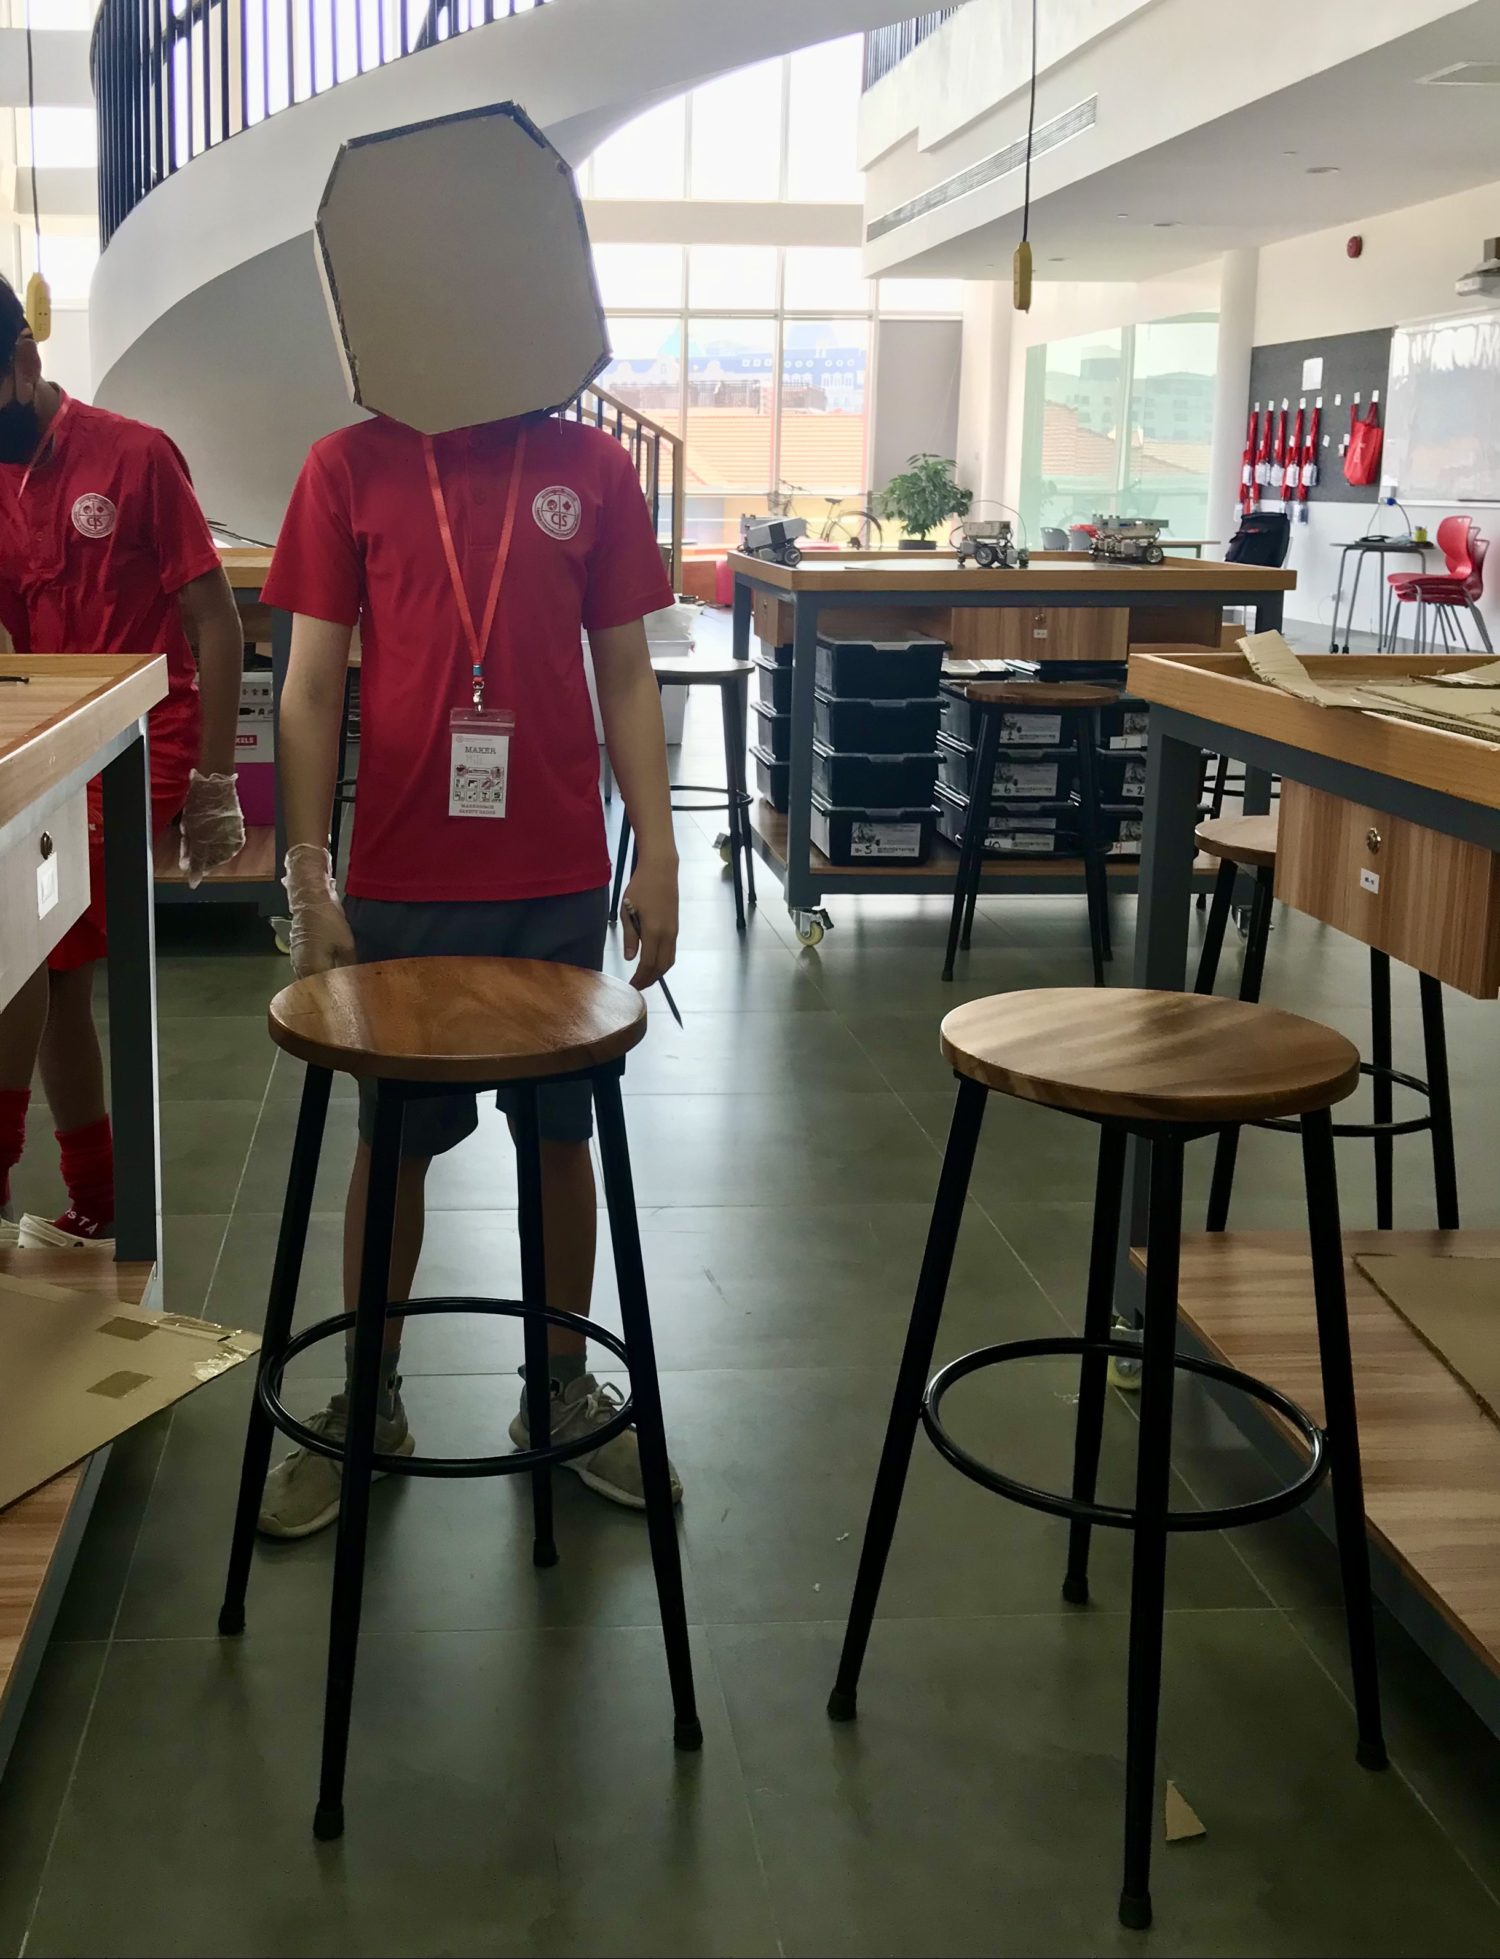
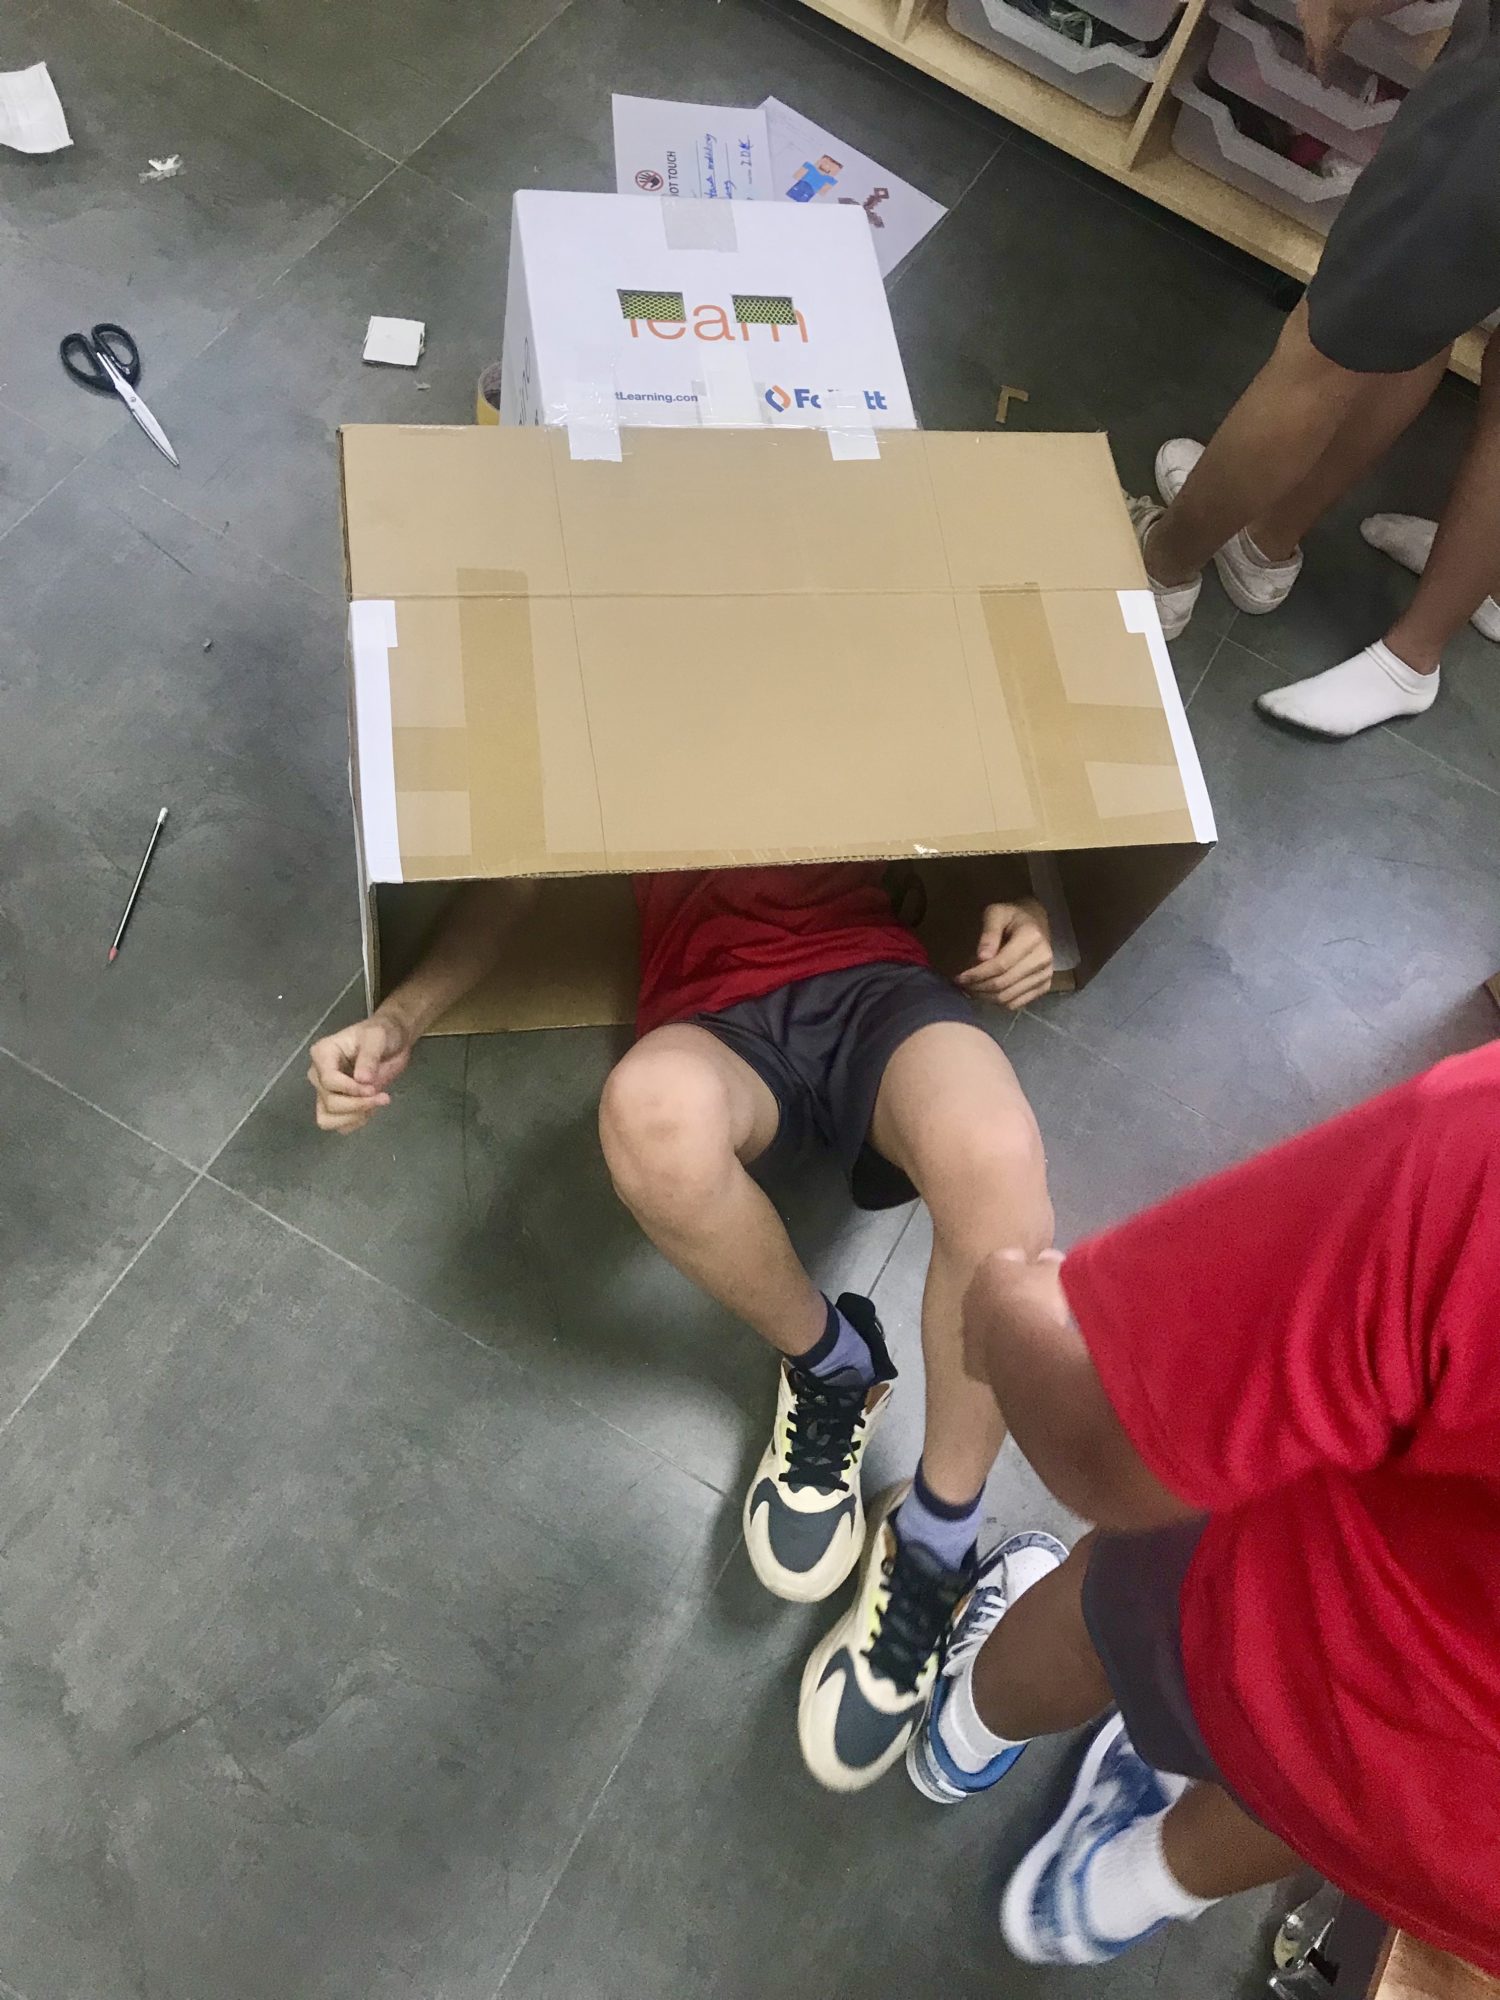
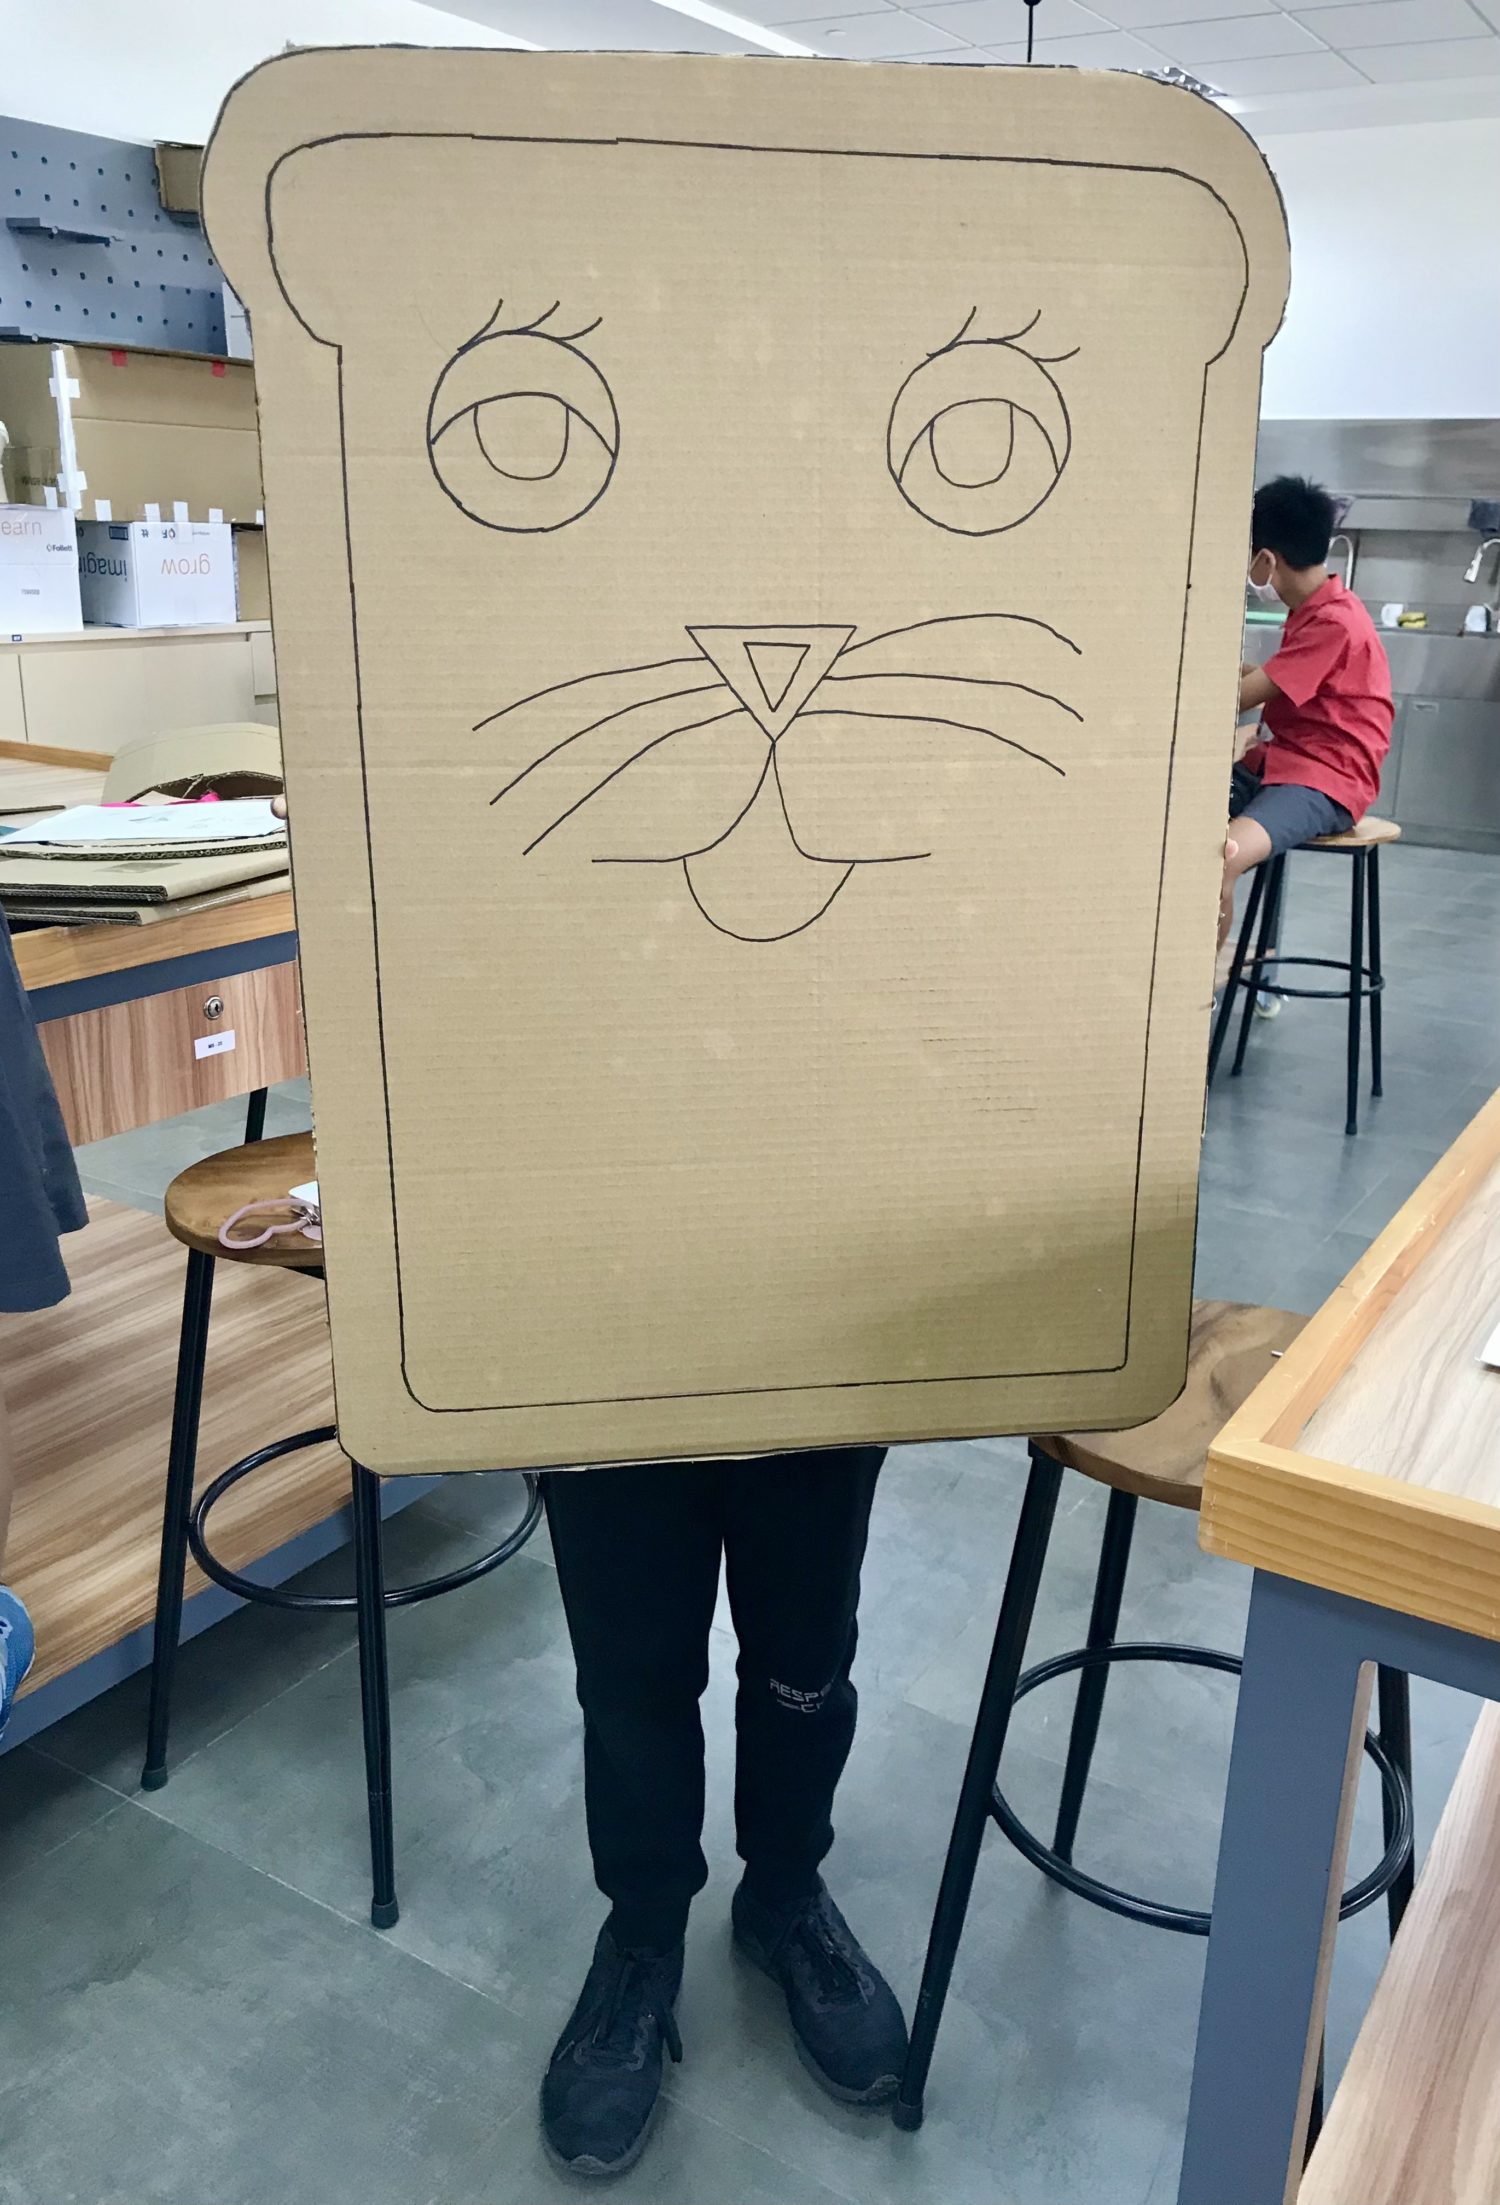
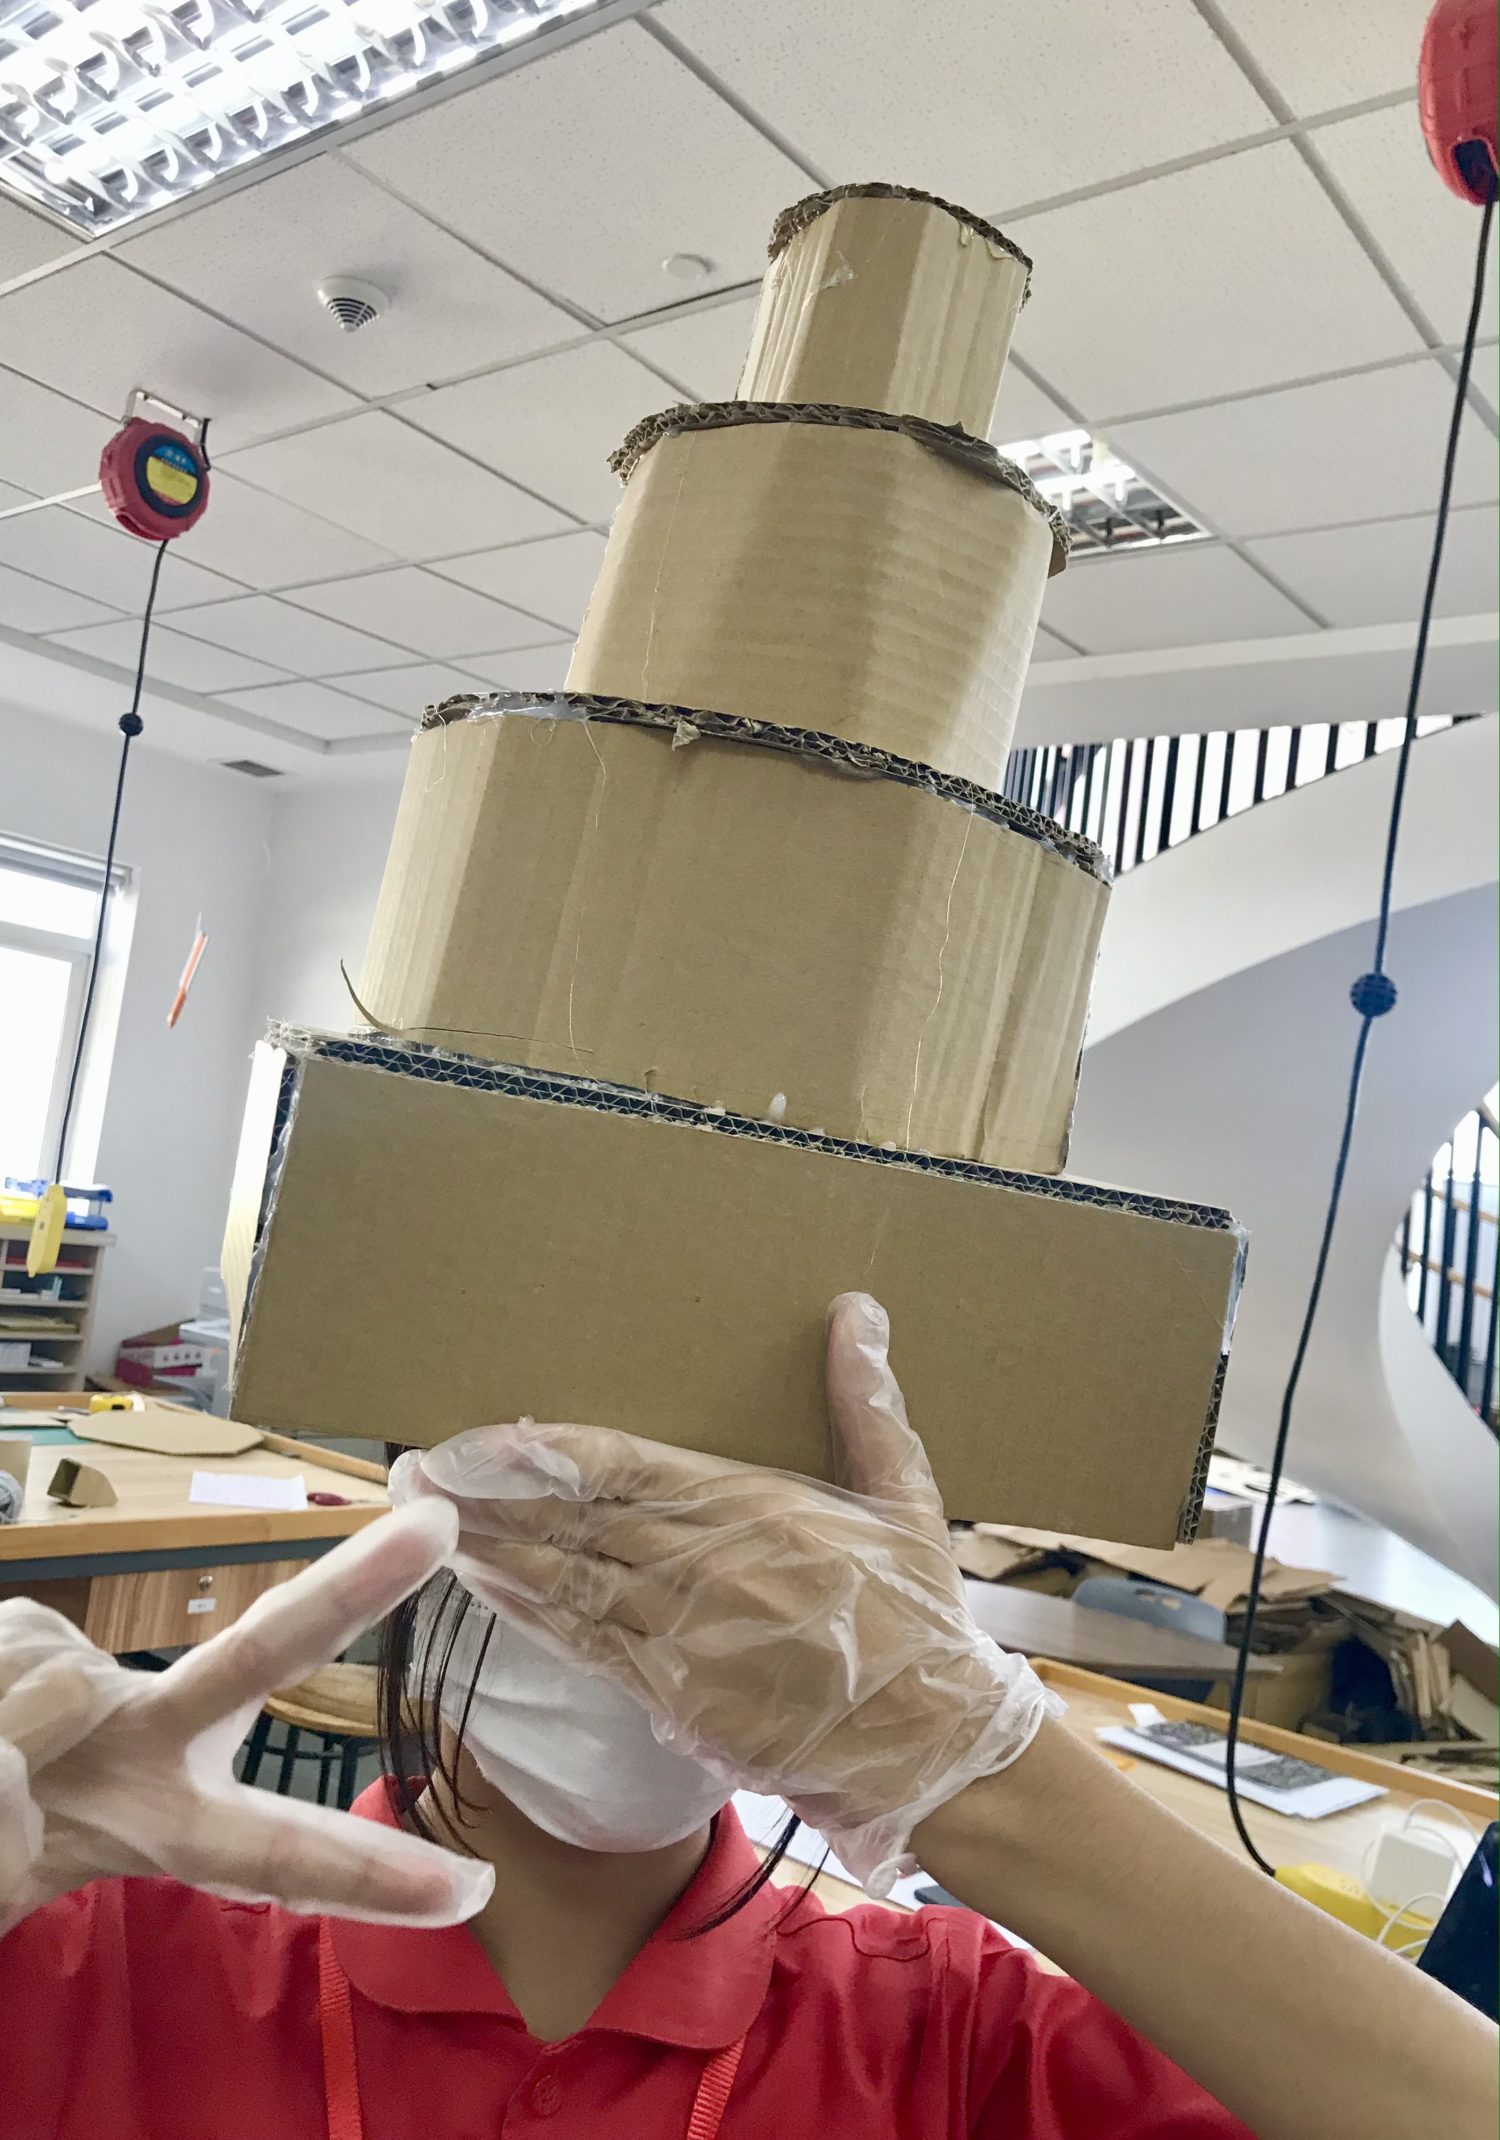
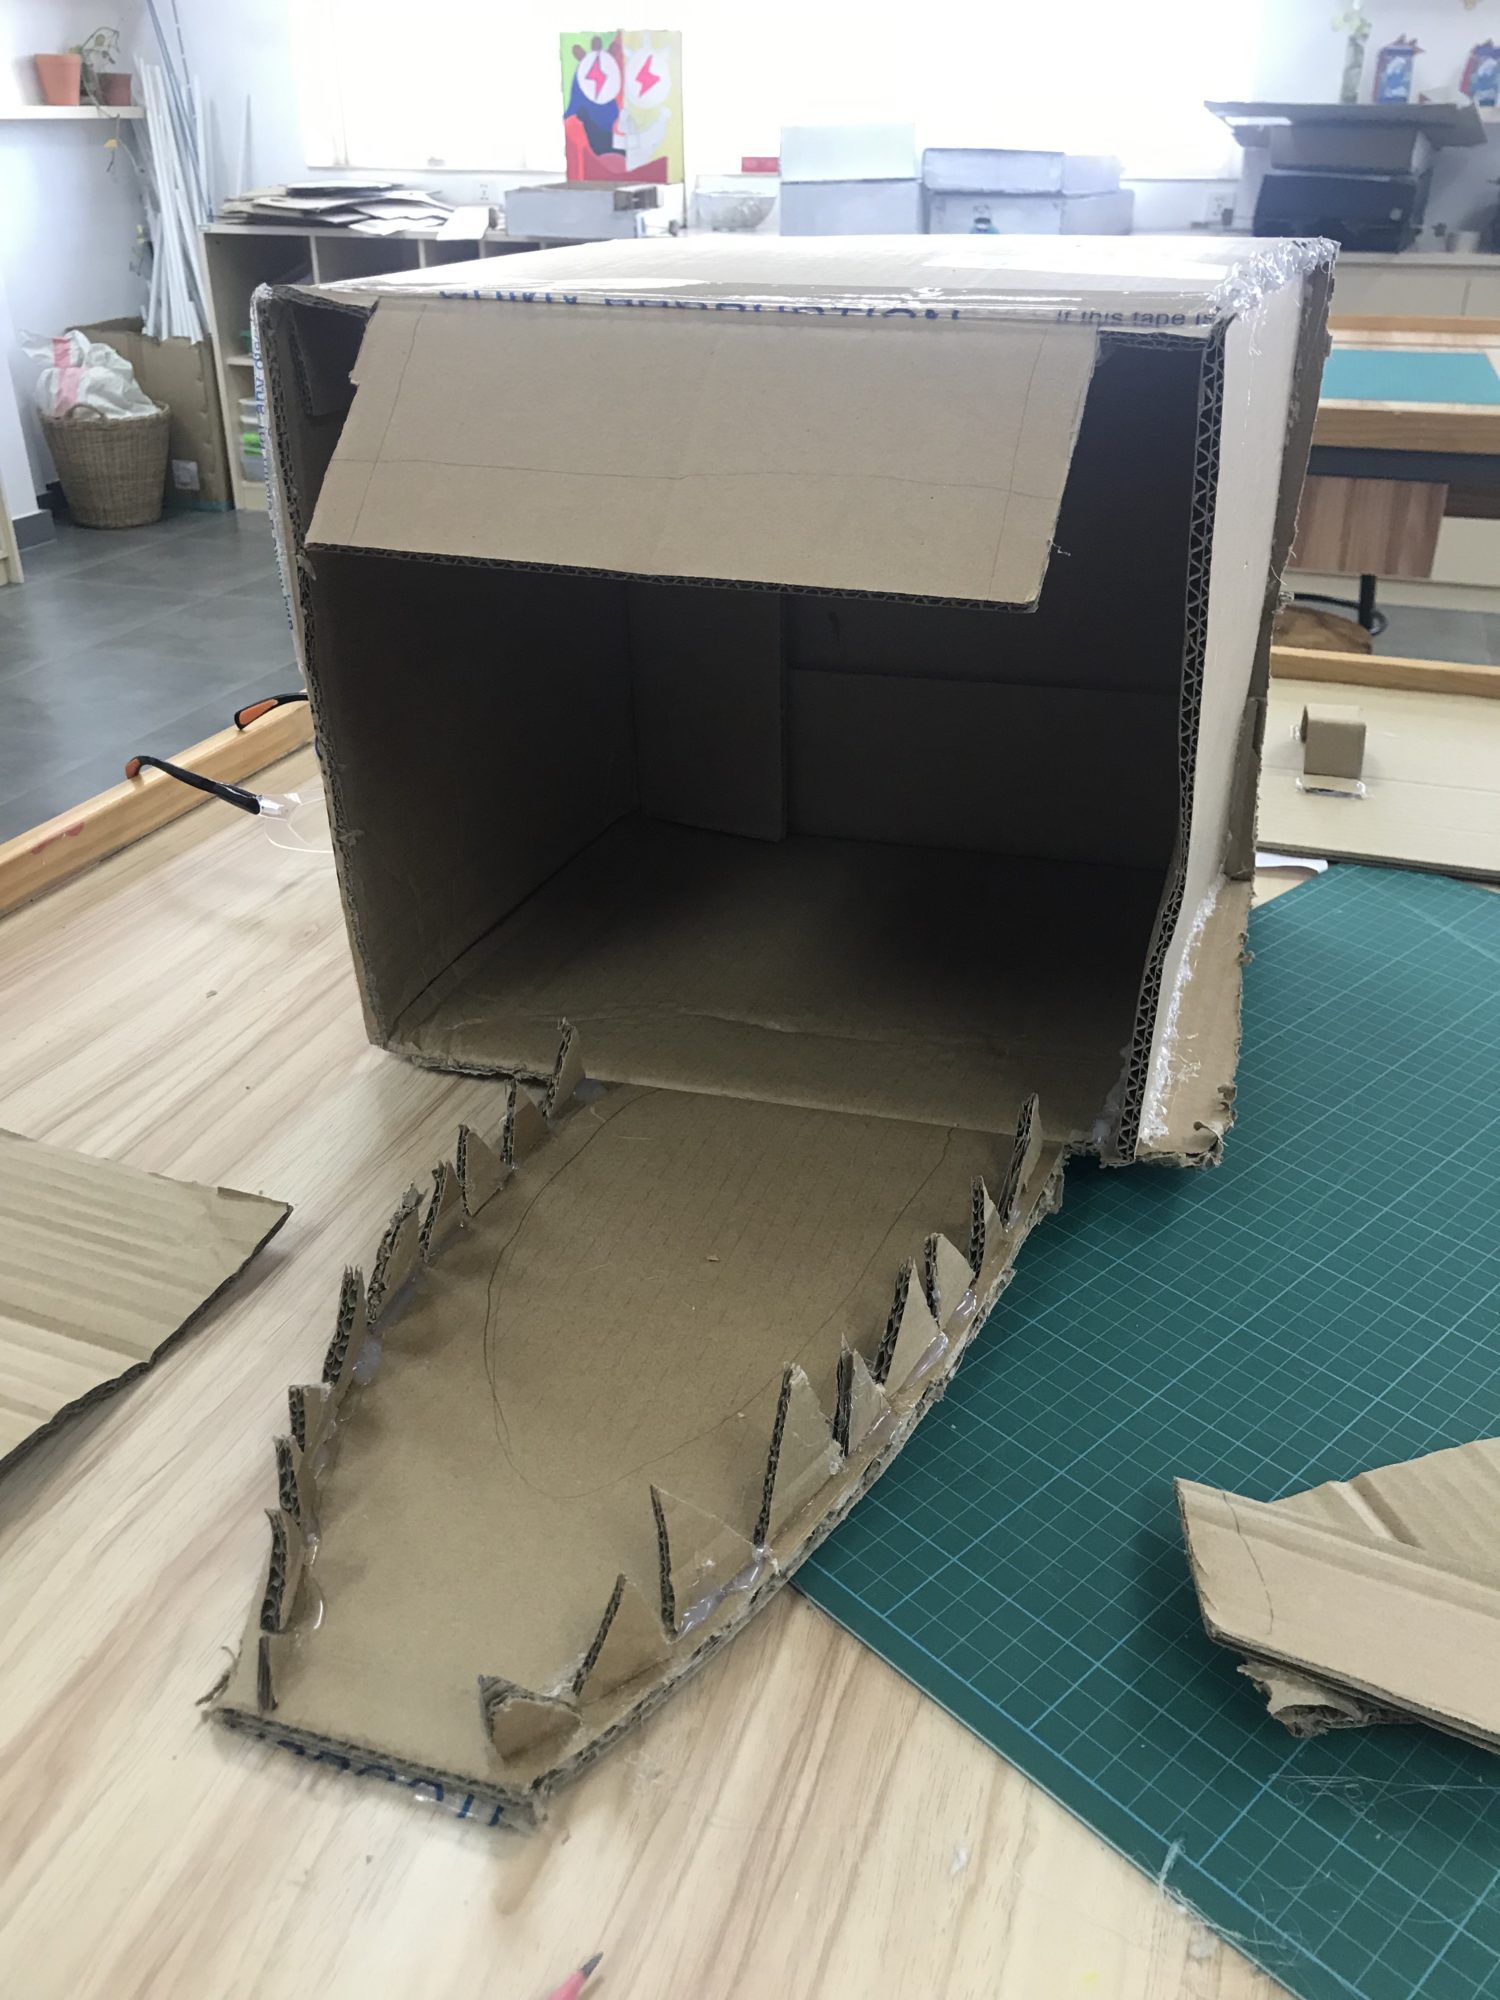
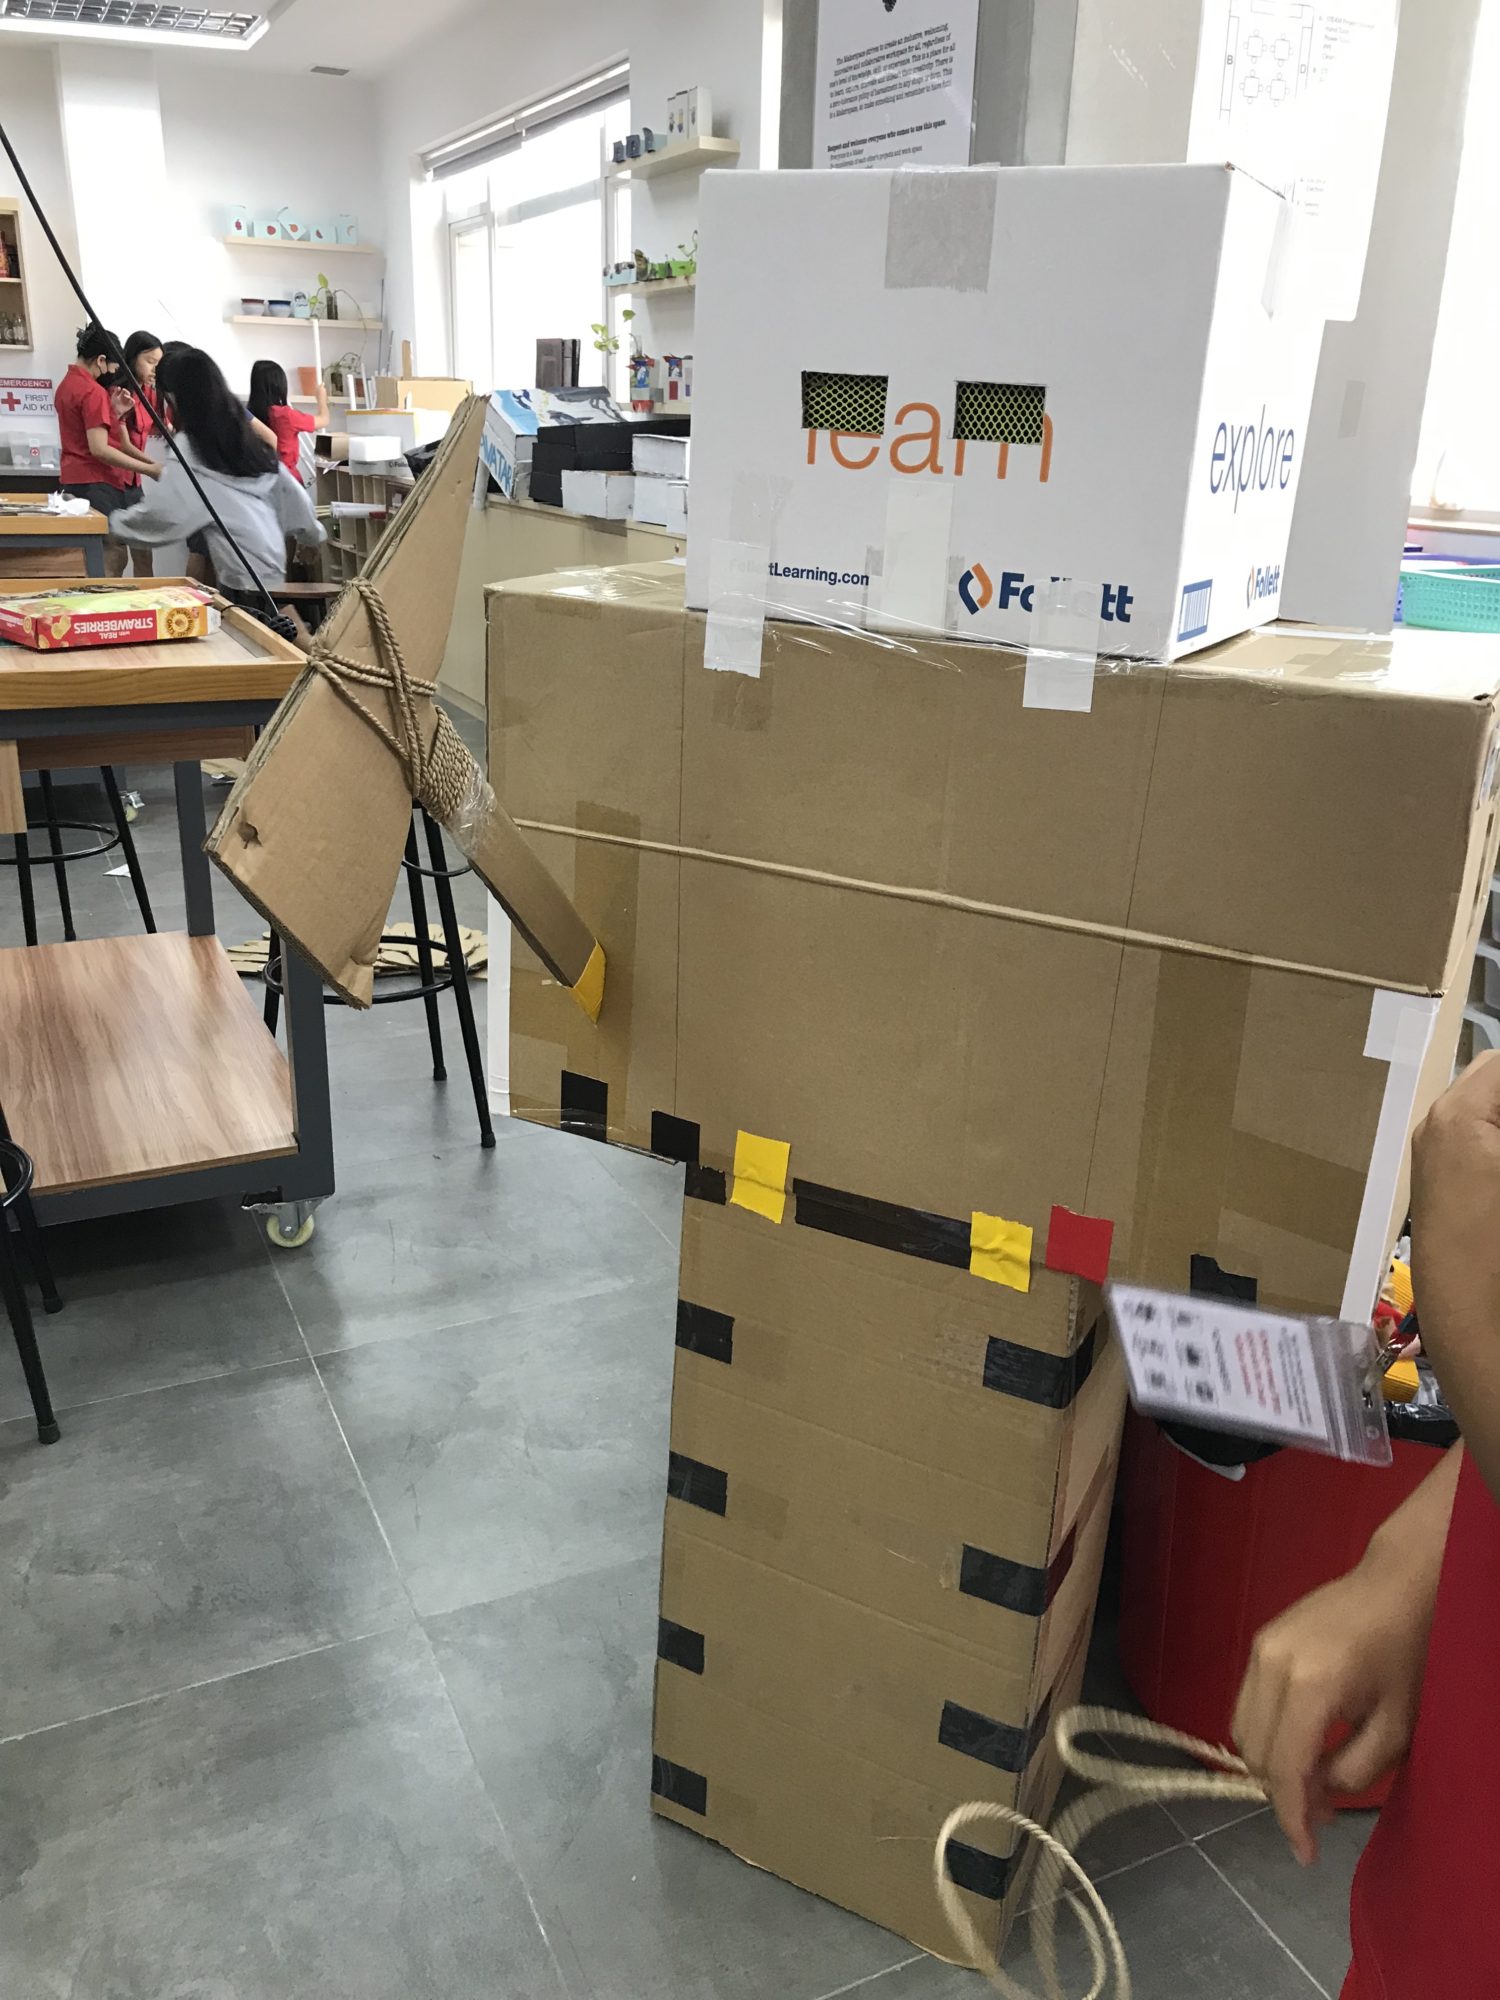
Step 4: Once the students’ forms are in good shape and complete, they can begin painting. I had students asking me at every step of the process if they could start painting. I kept saying, “No!” No, no, no. Like how I was taught in college at The University of Texas at Austin: color should never even enter the project until the form can tell a story on its own.
So once the students have created their armor out of cardboard, tried it on, and are genuinely happy with how it fits and looks, they can begin to paint or add color. At this stage, they can use colorful paper, papier mache, or acrylic paint to create the finishing touches on their work. Some of them may use yarn, some may use sequins, and some may even add pipe cleaners into the mix. It doesn’t really matter how they finish it off, as long as they started this step with a completely realized form.
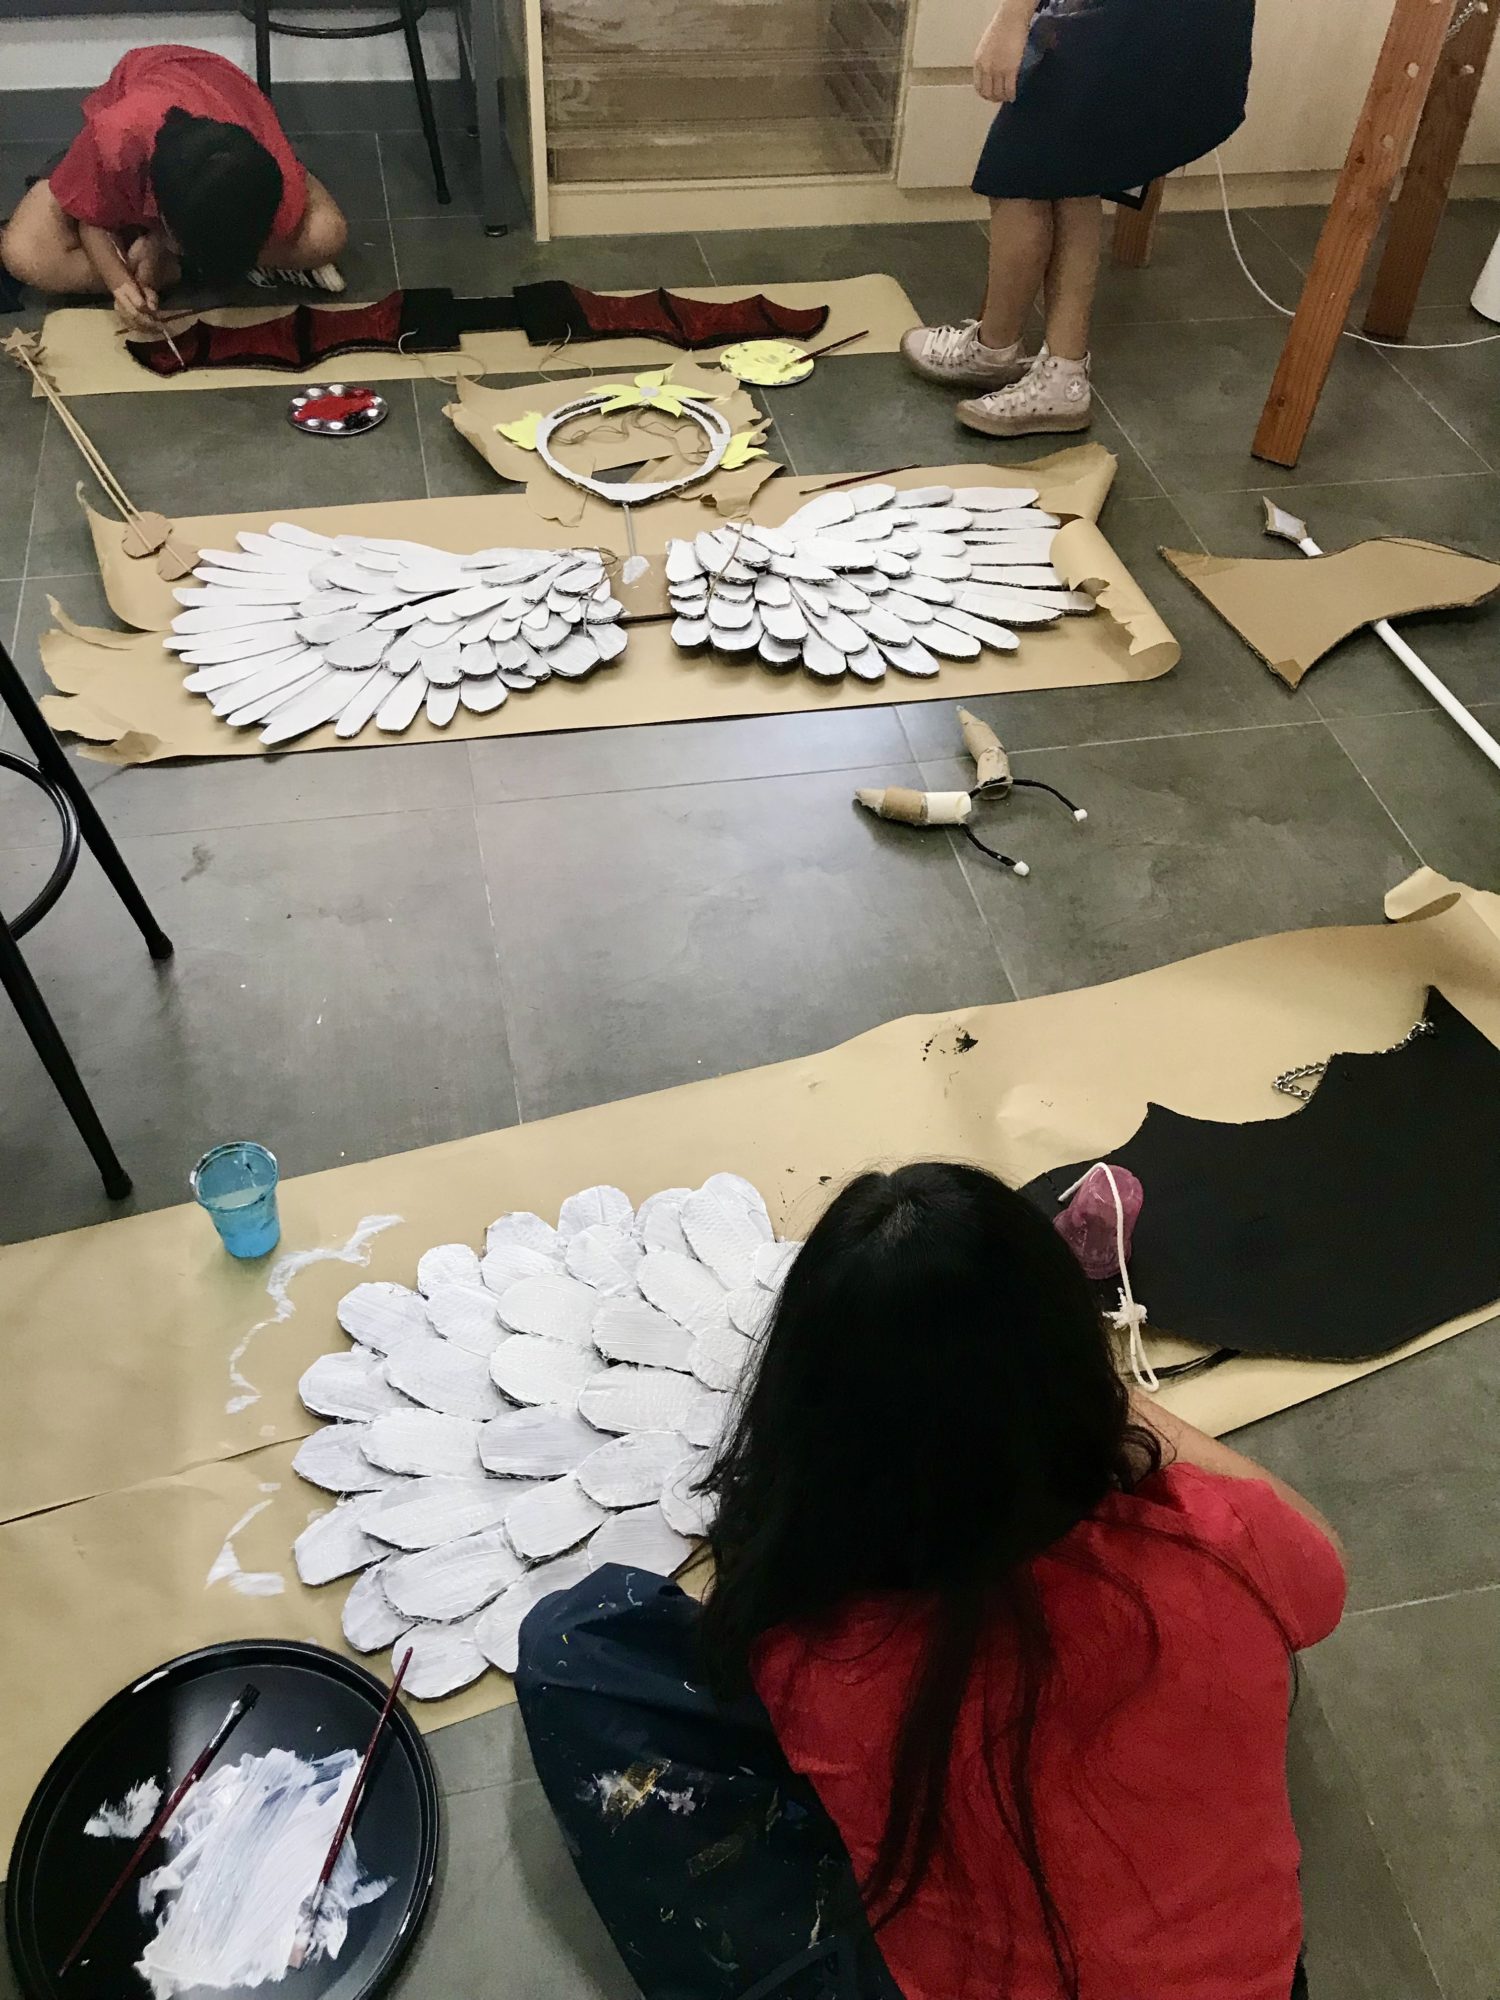
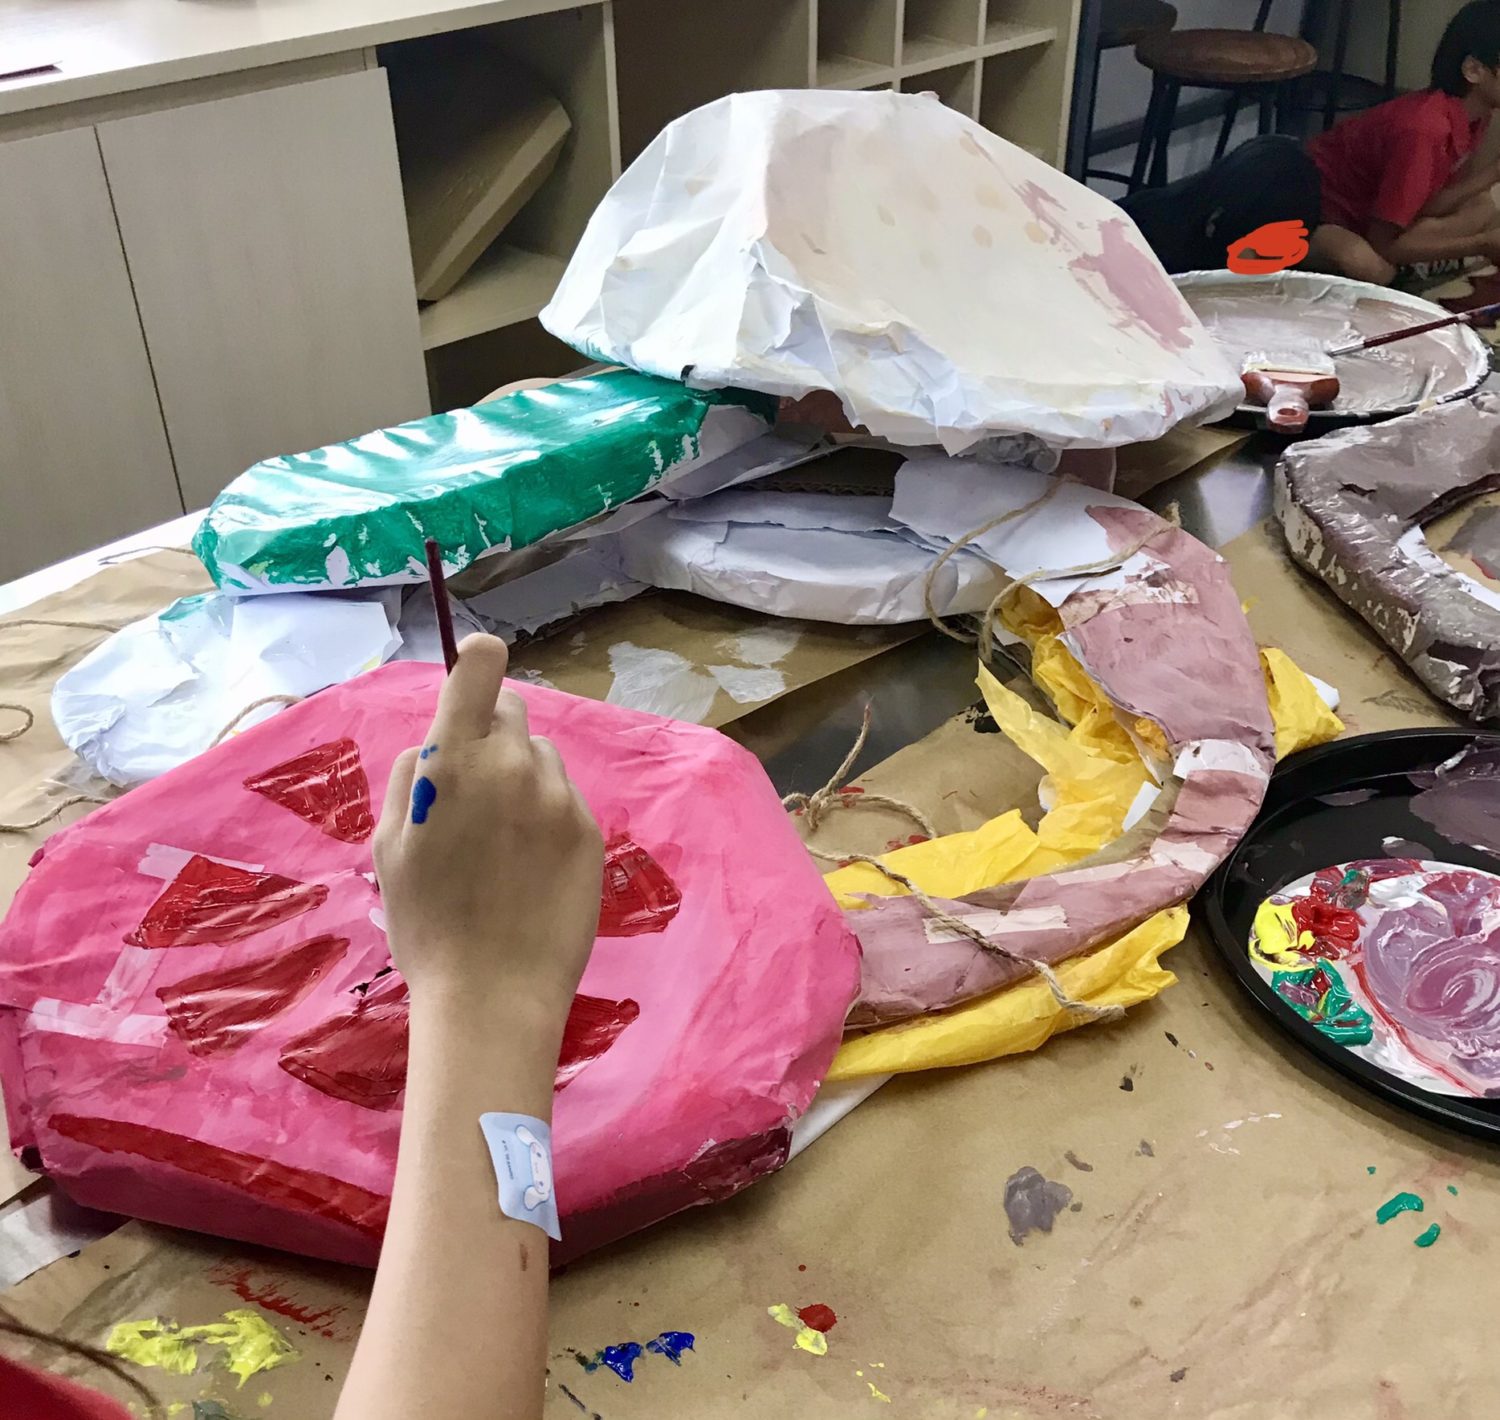
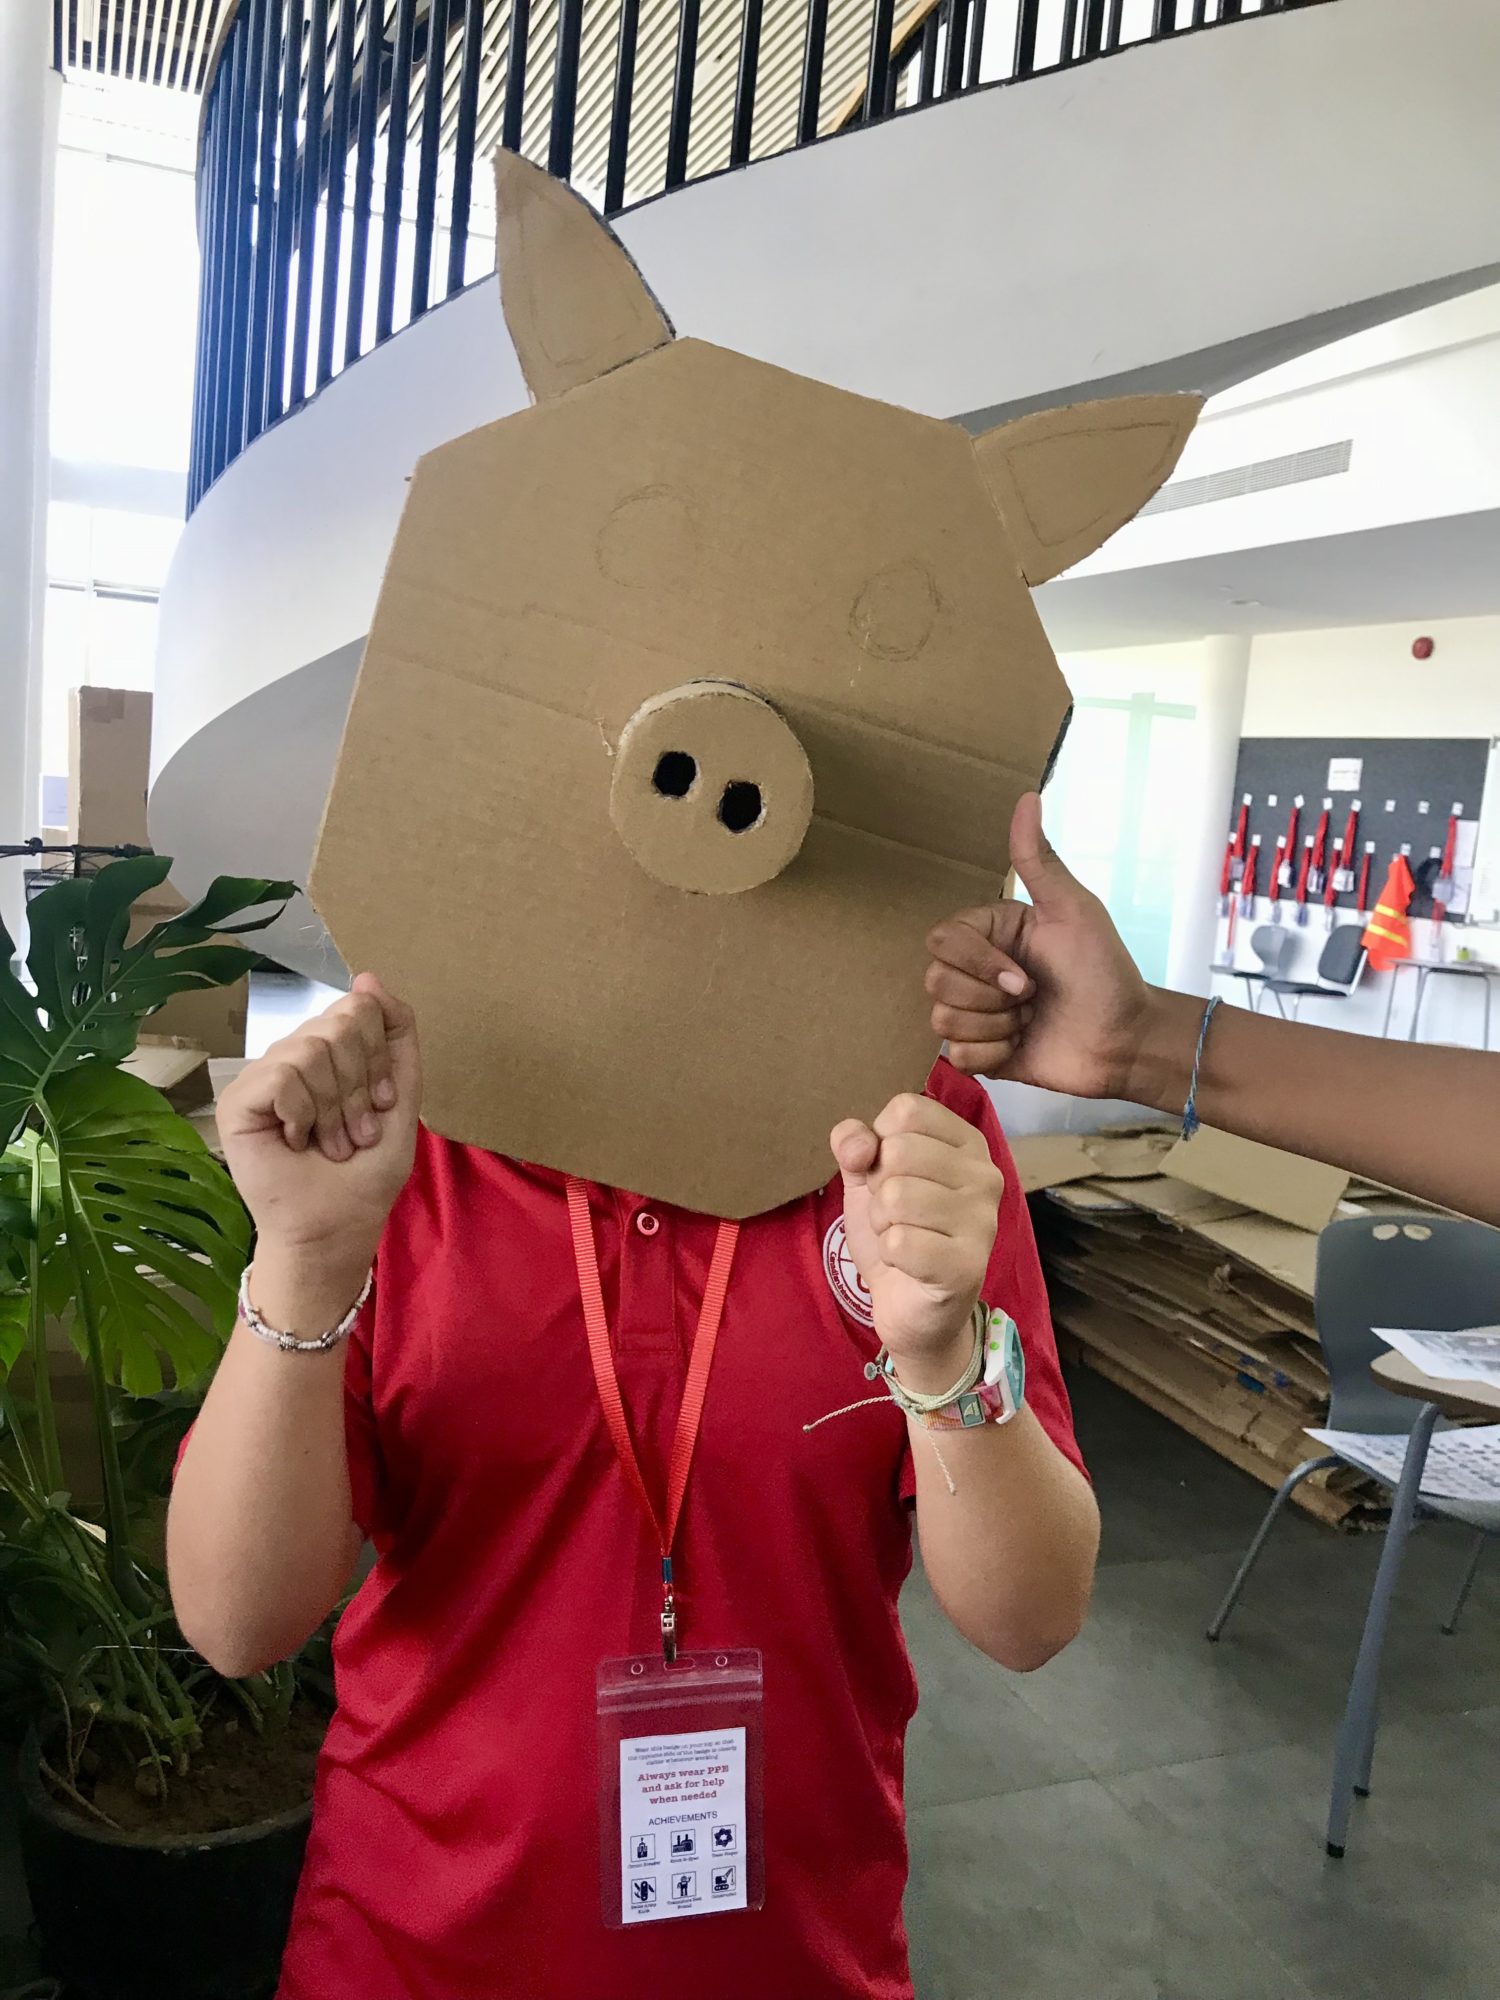
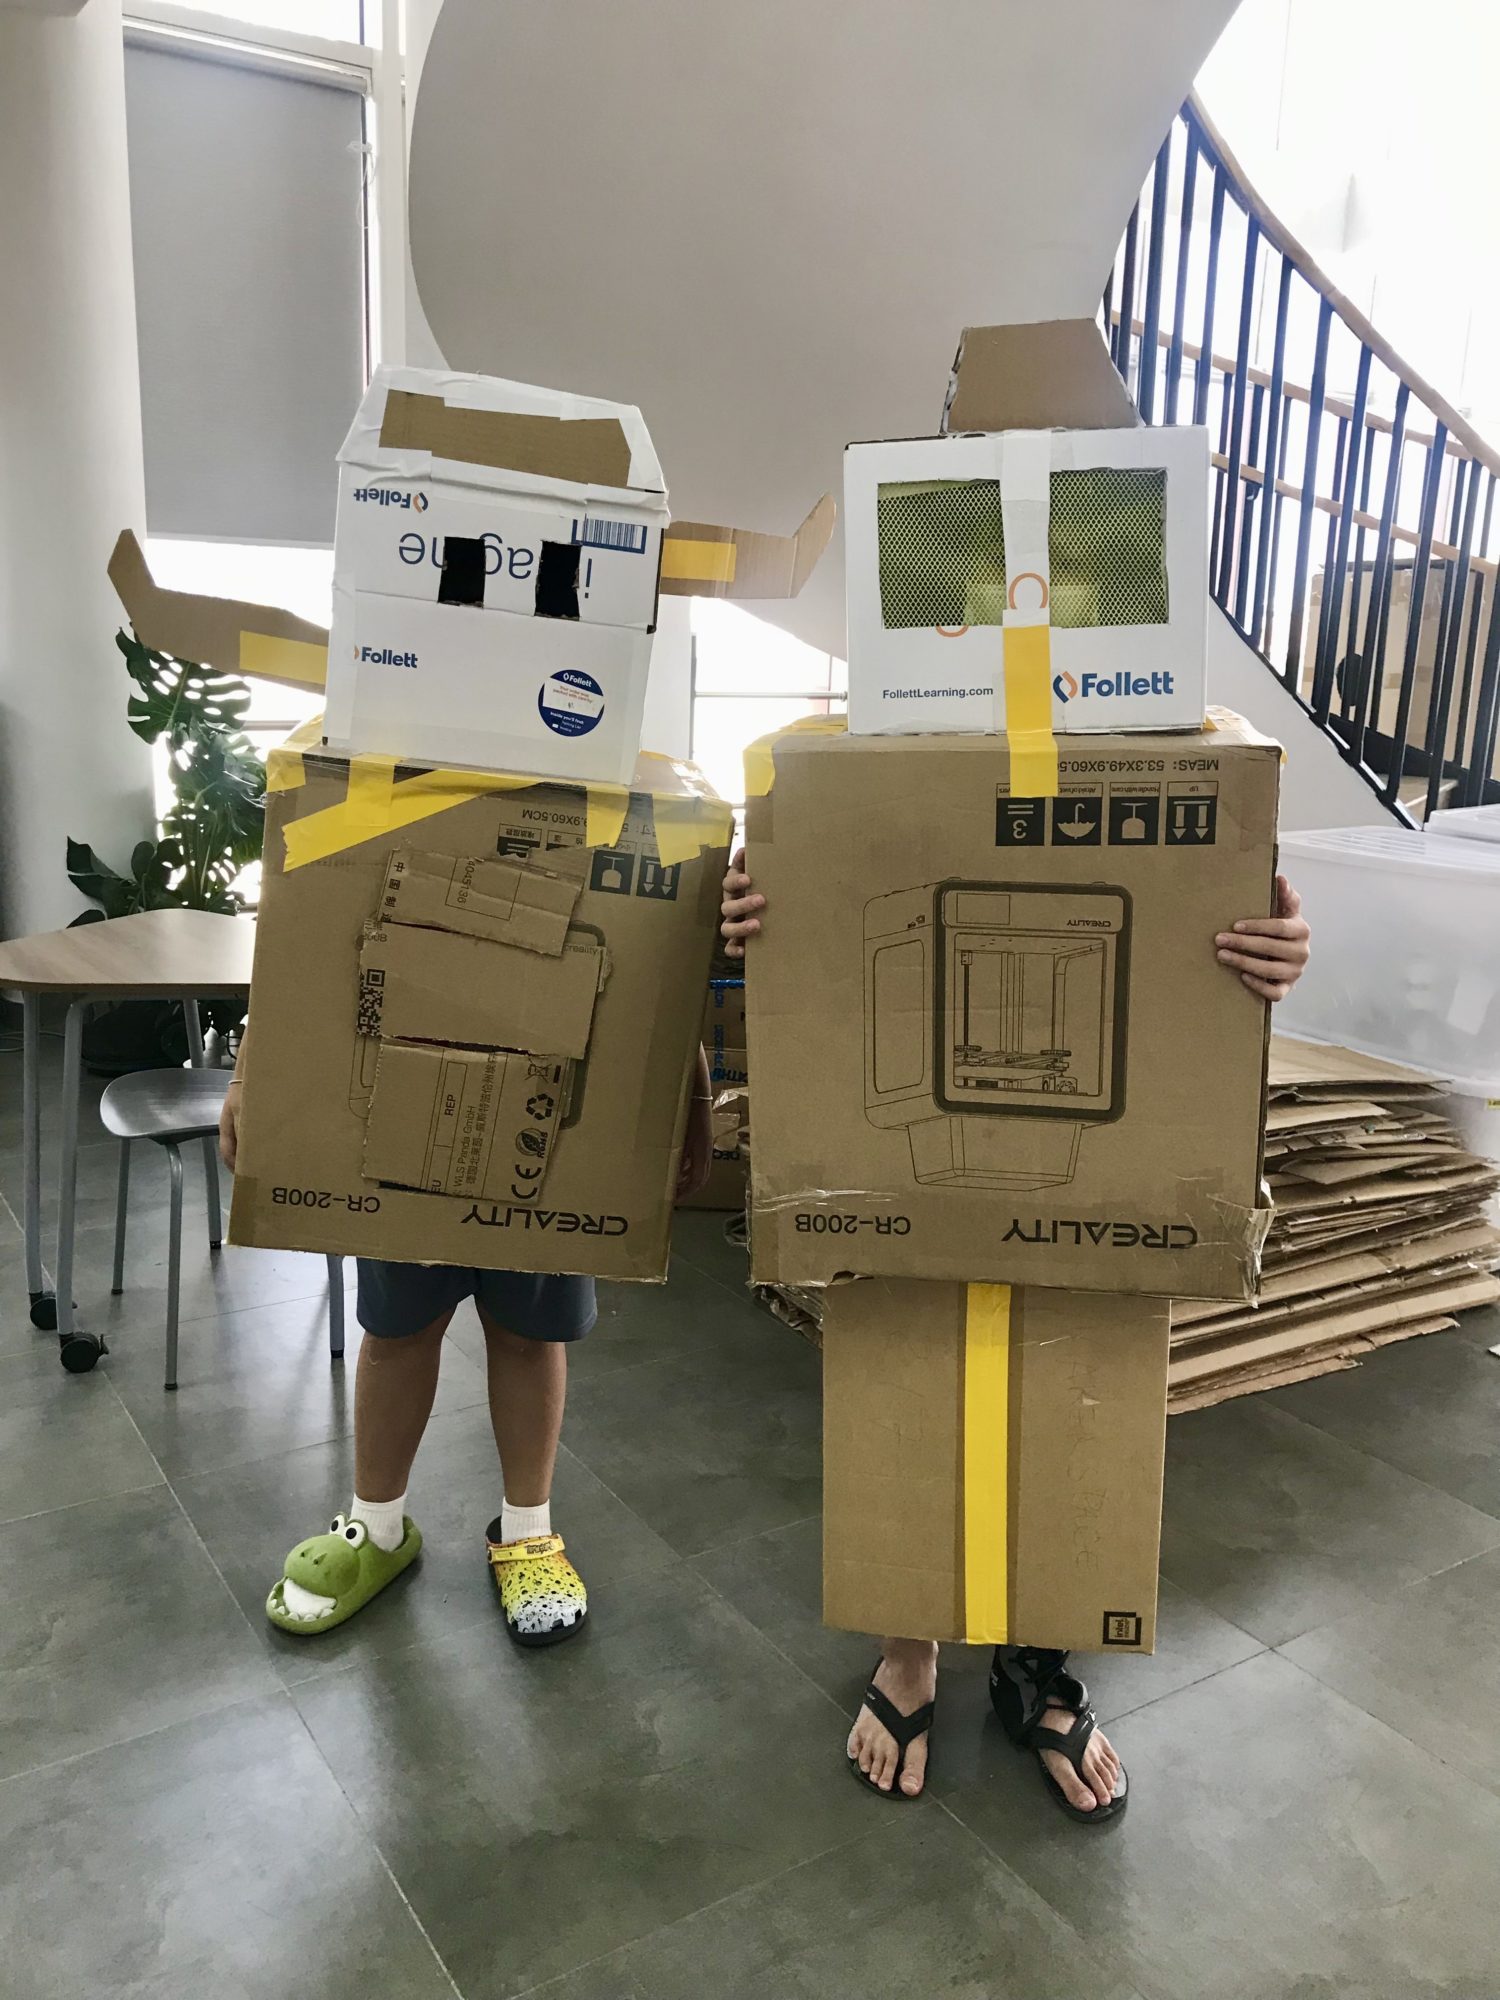
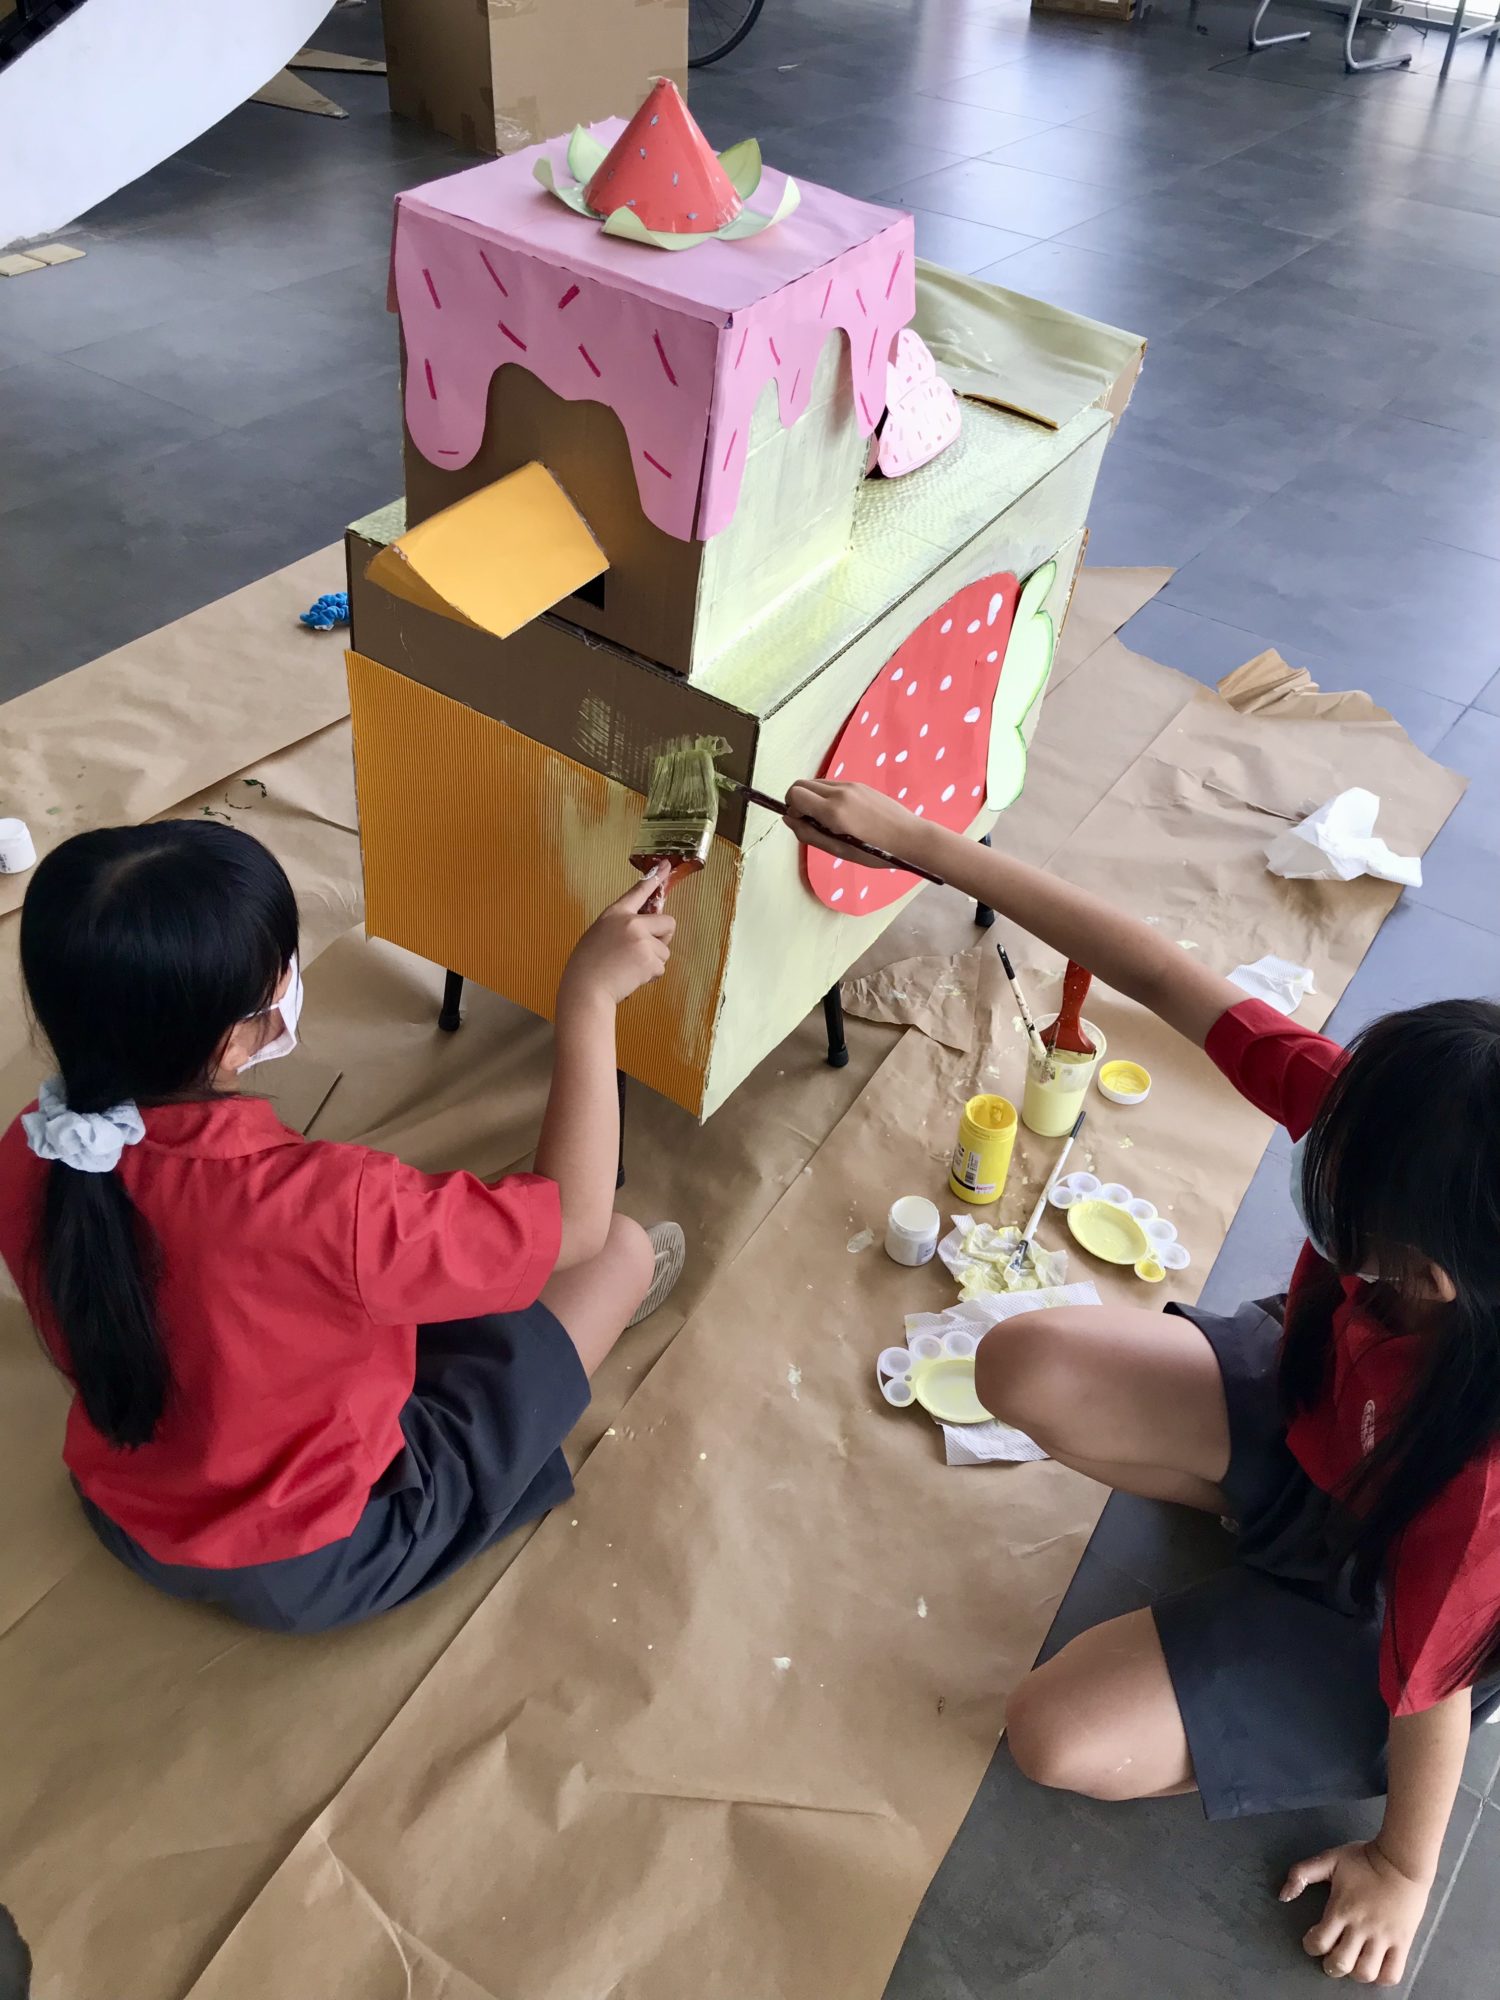
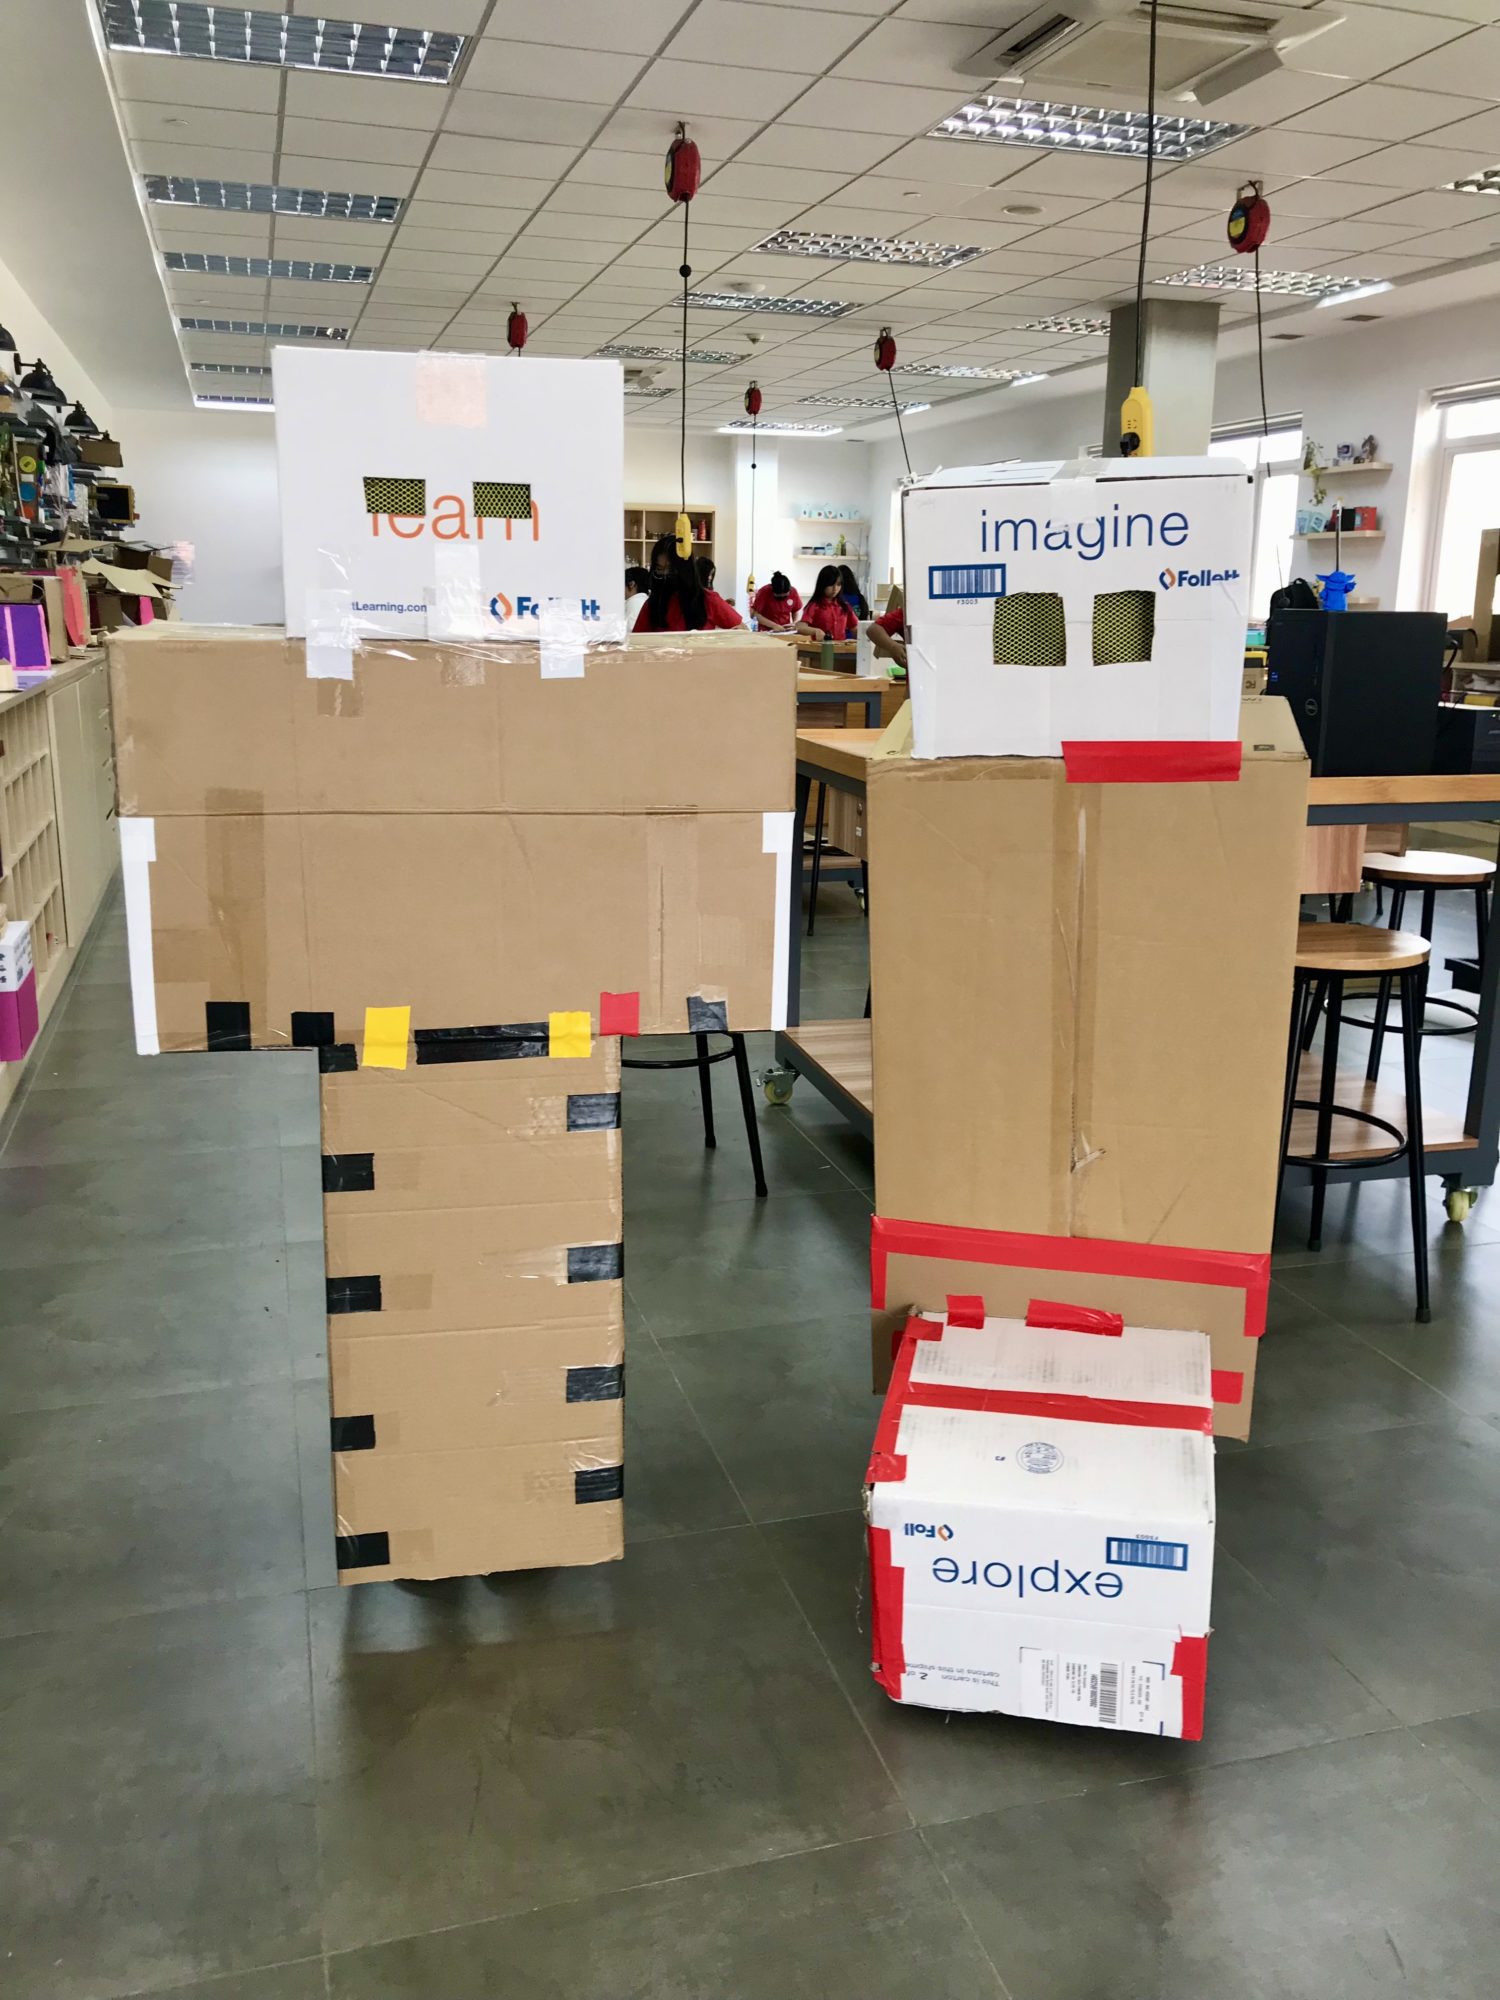
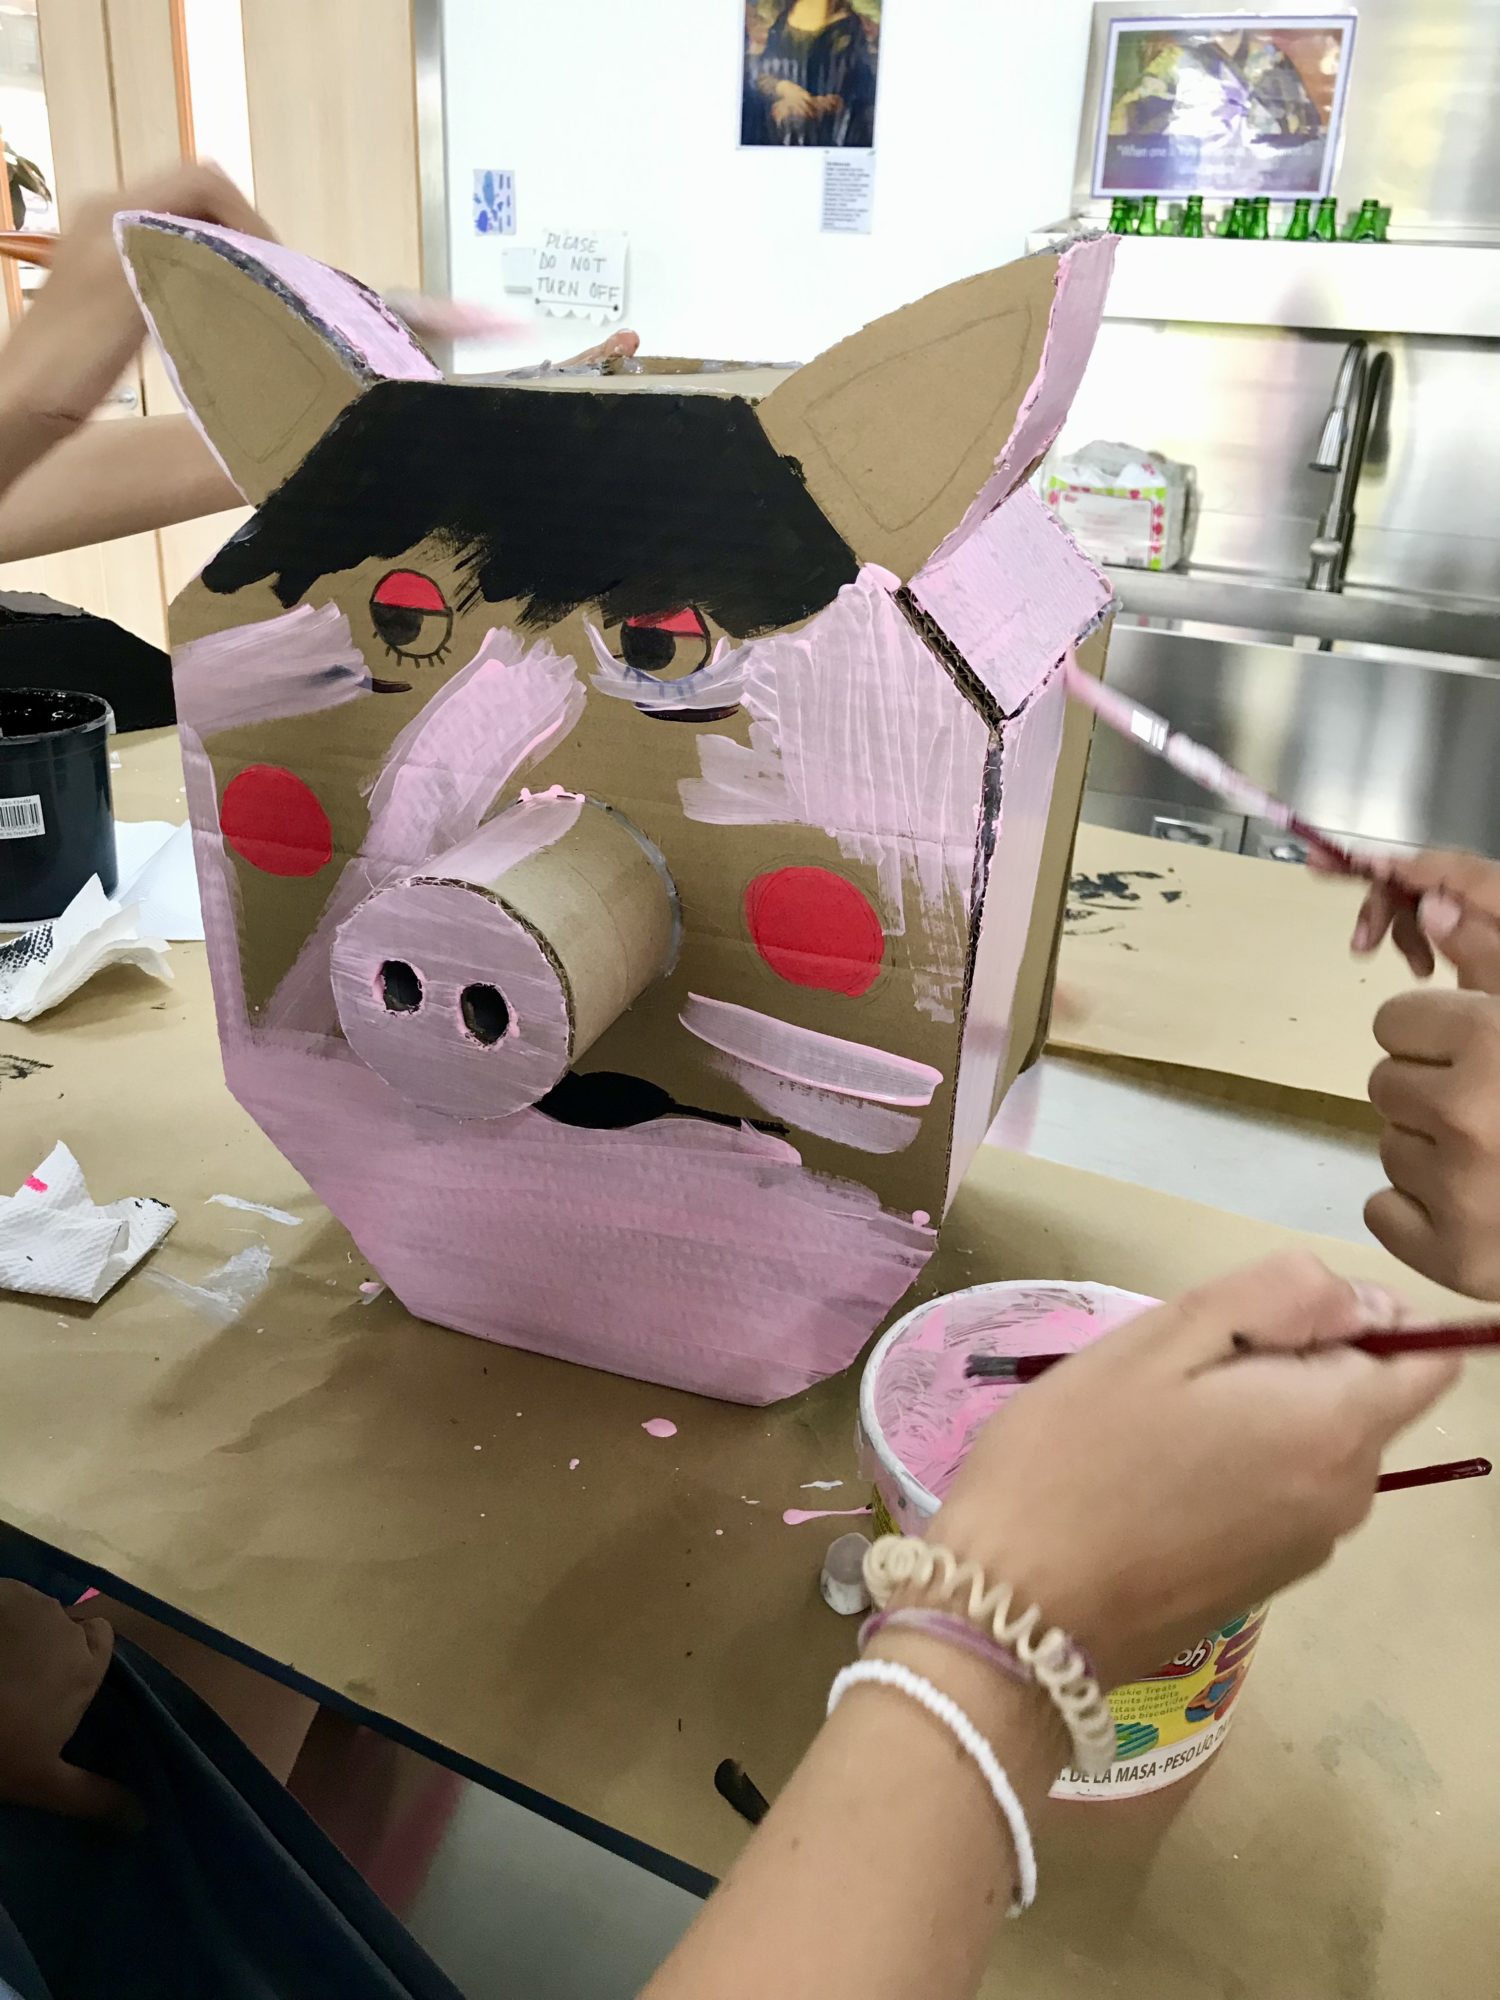
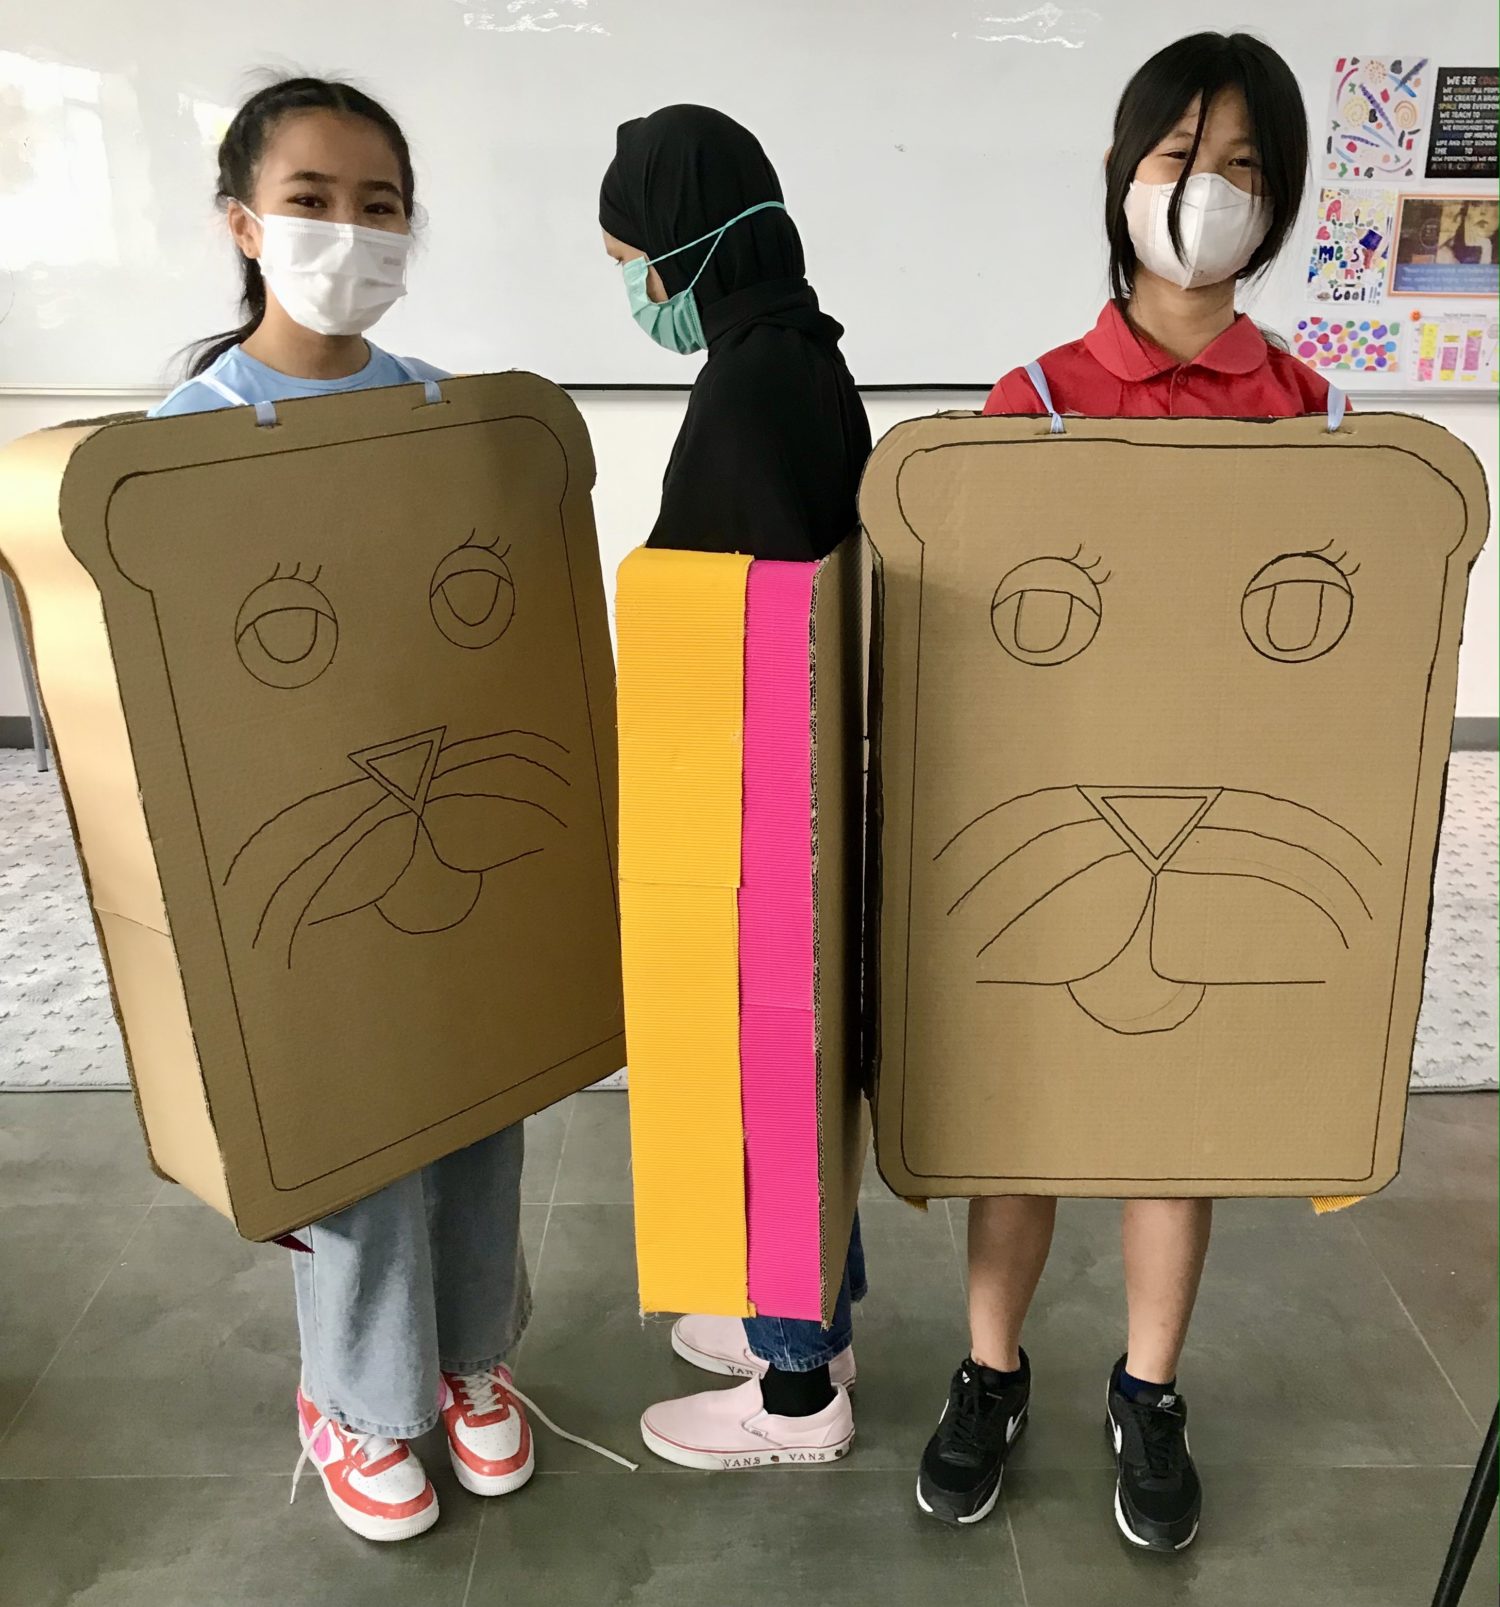
Step 5: Image capture. Students put on their artwork and model it for me. This is a very important step. They must be able to wear it properly and have it photographed. A clear photograph of this work needs to be used in their final step and uploaded to Google classroom for their grade. So, I take all of the pictures. Either in front of a white wall or a green screen. I take 3 – 5 images for each student and airdrop or email them their images.
If the students worked in pairs or groups, each person in the group needs to be able to wear the costume for a photograph. And each individual student works on step 6 alone.
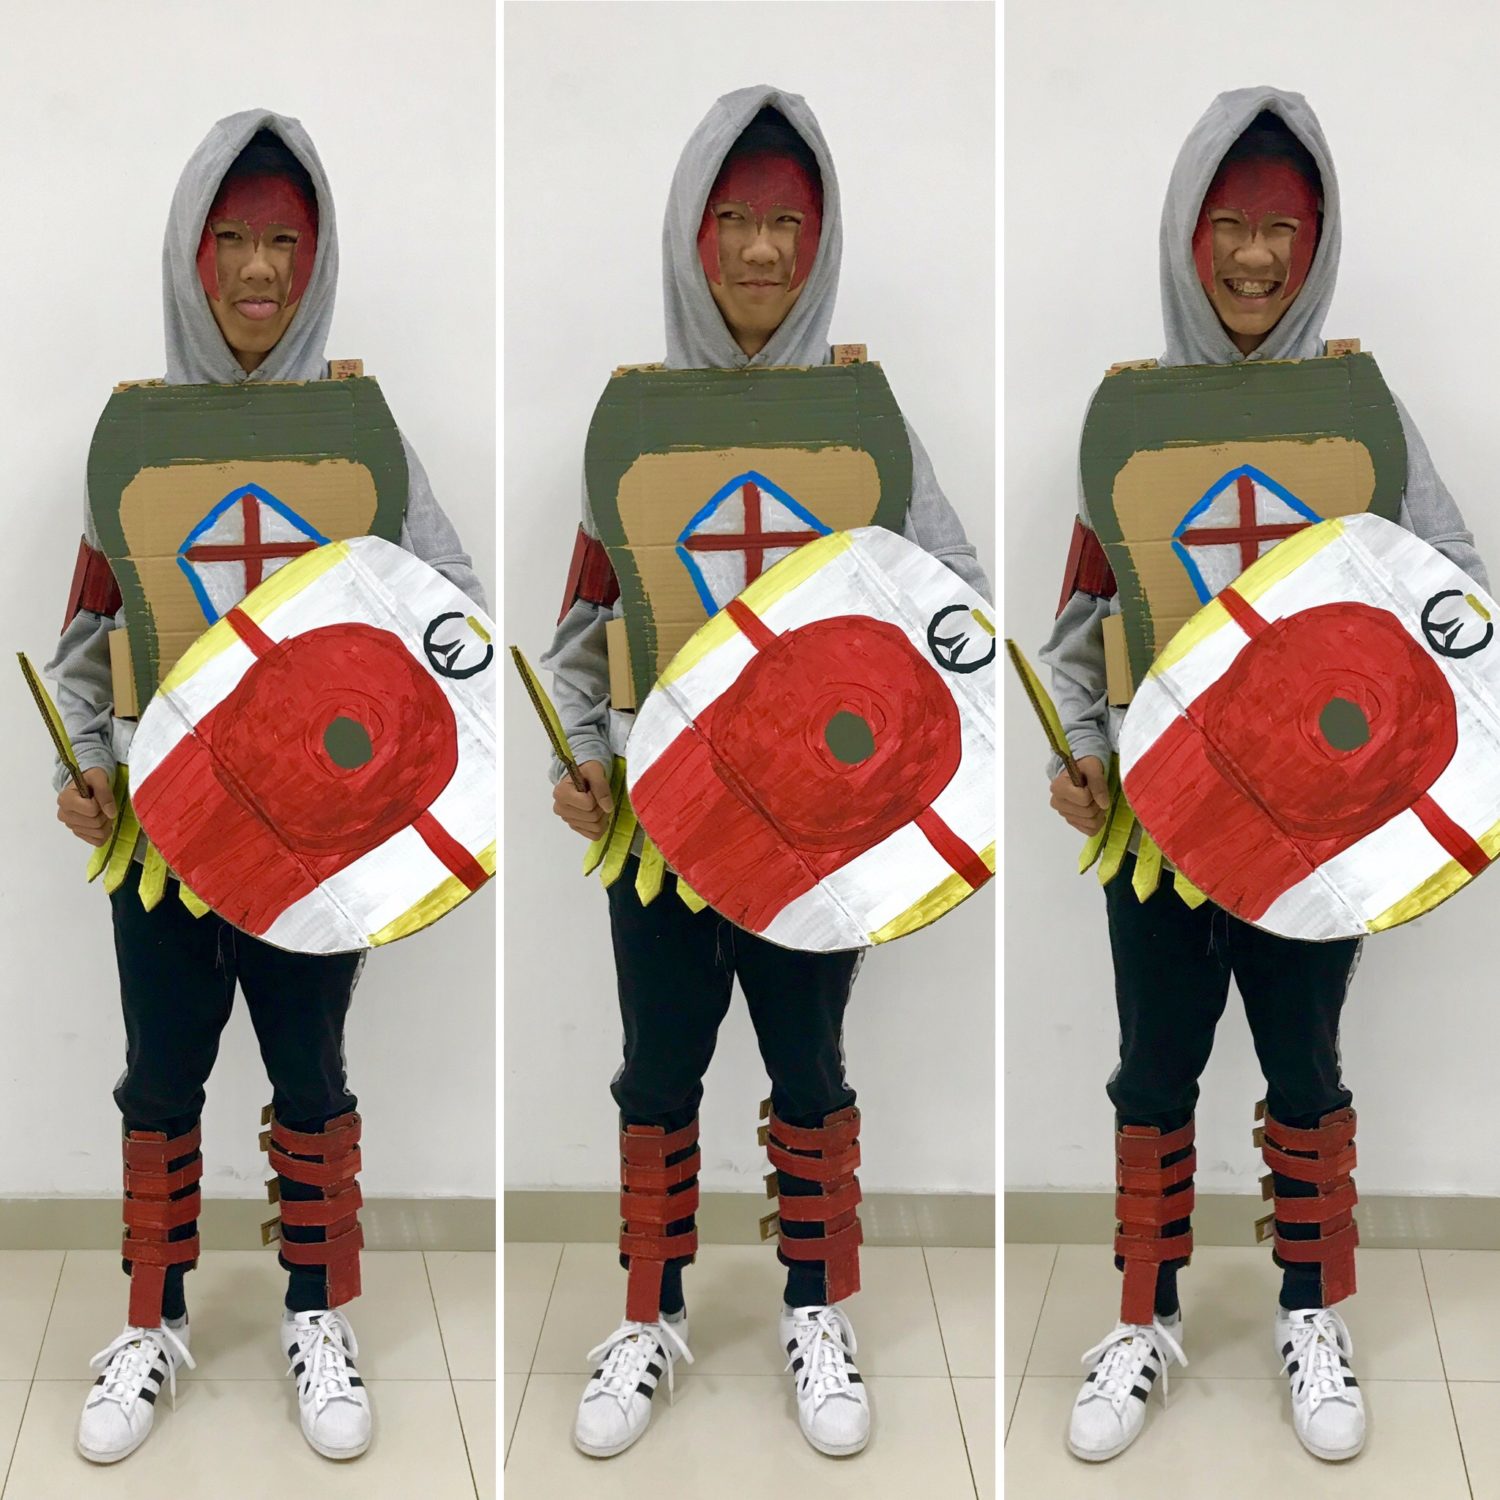
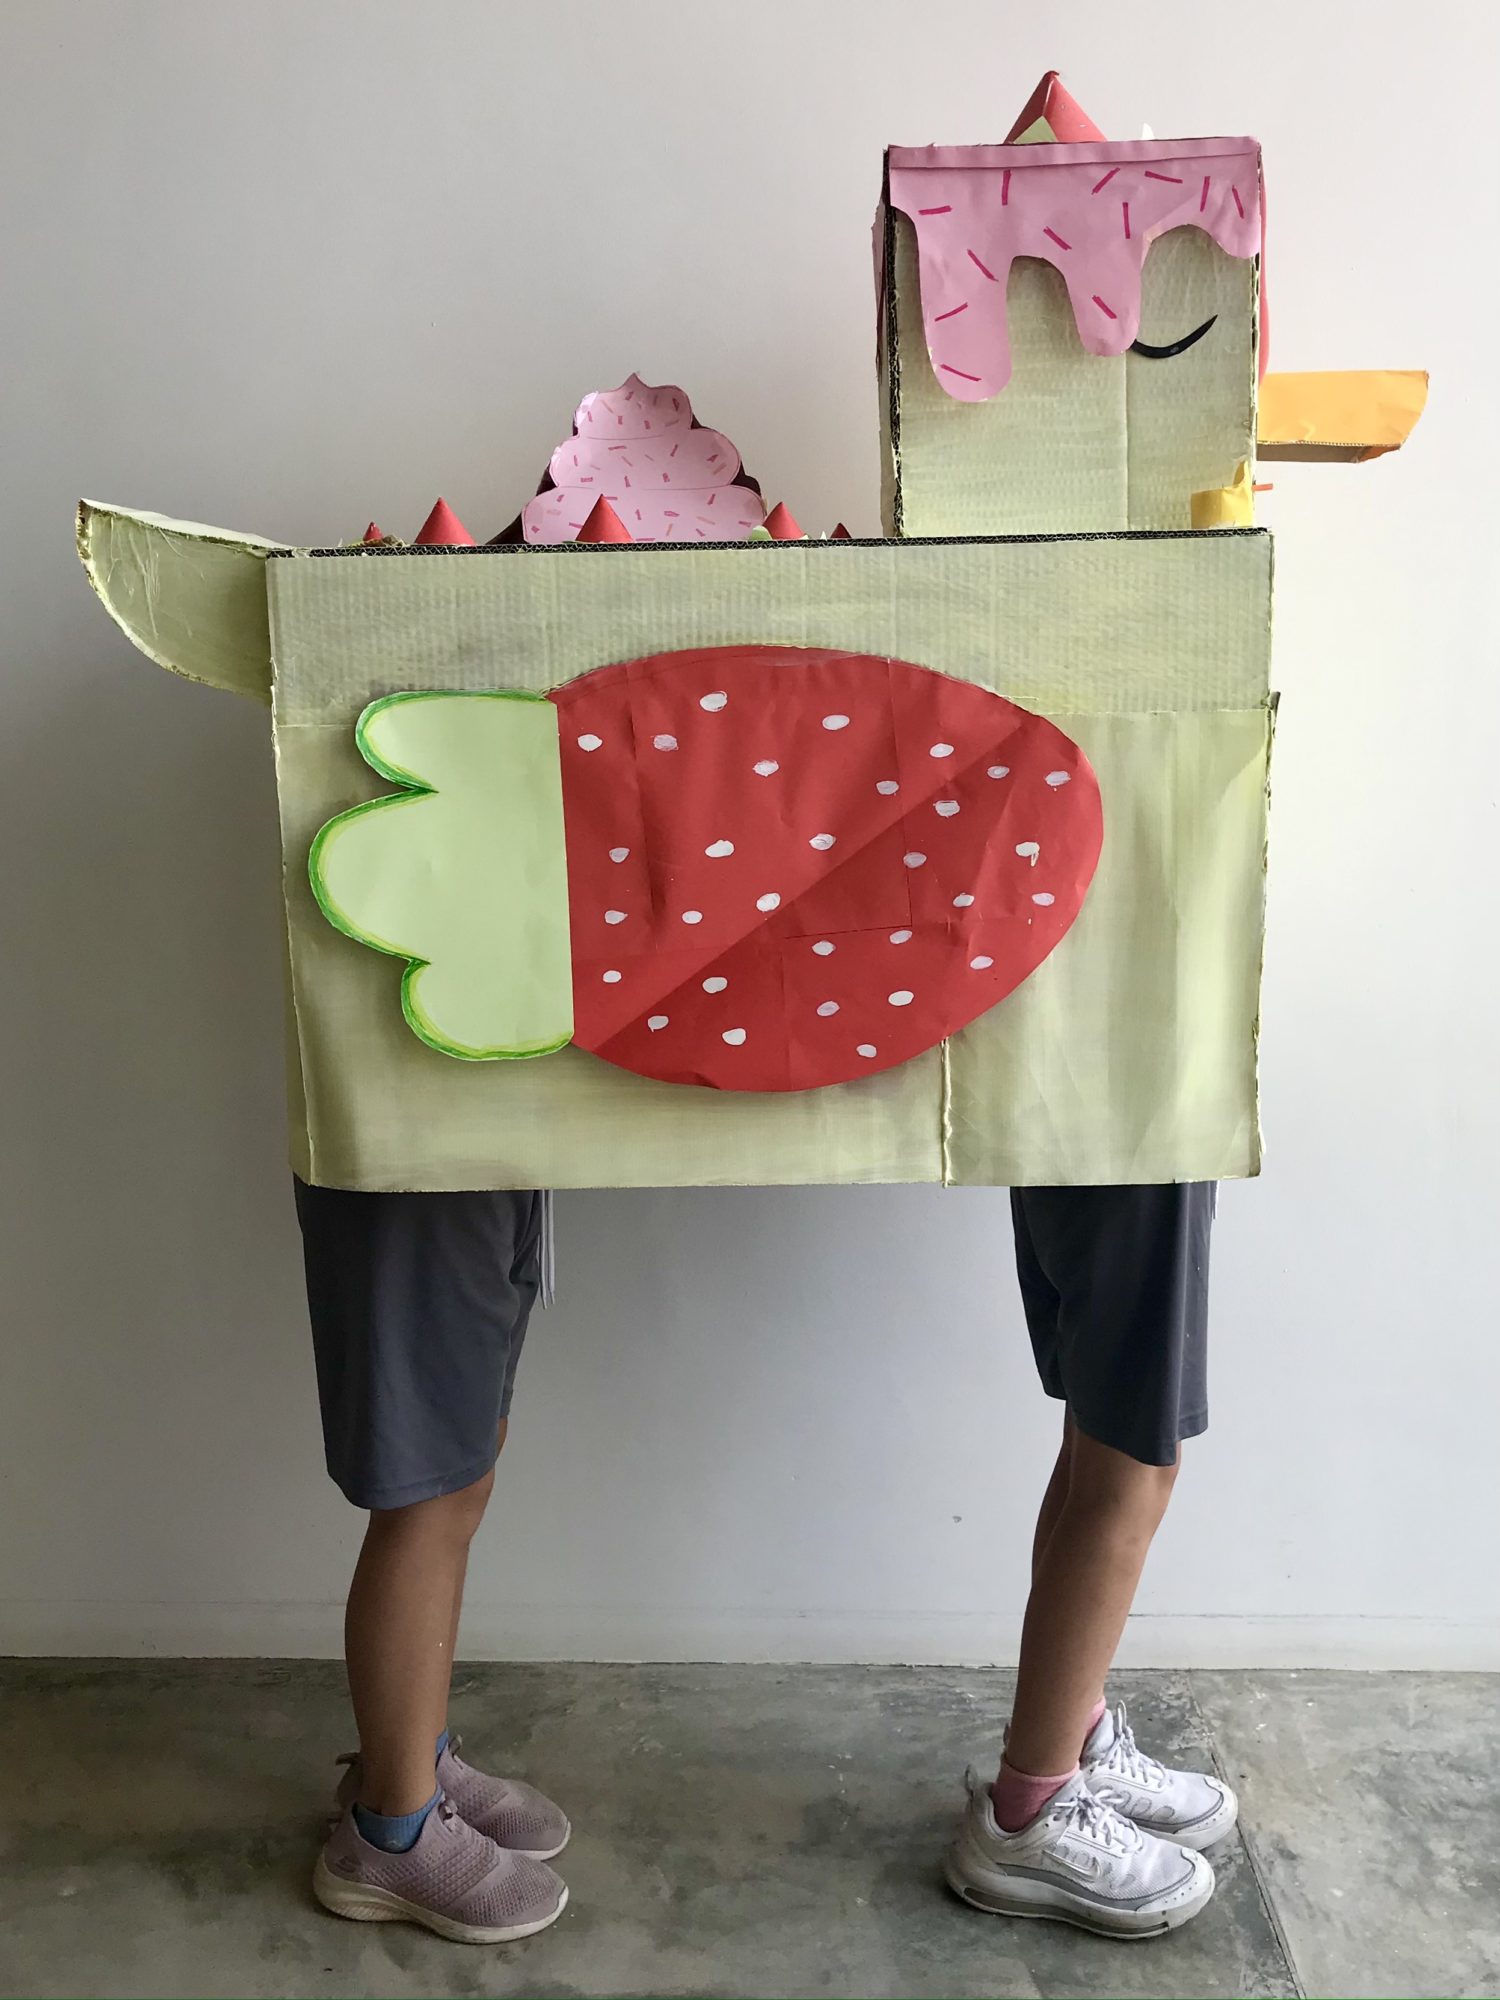
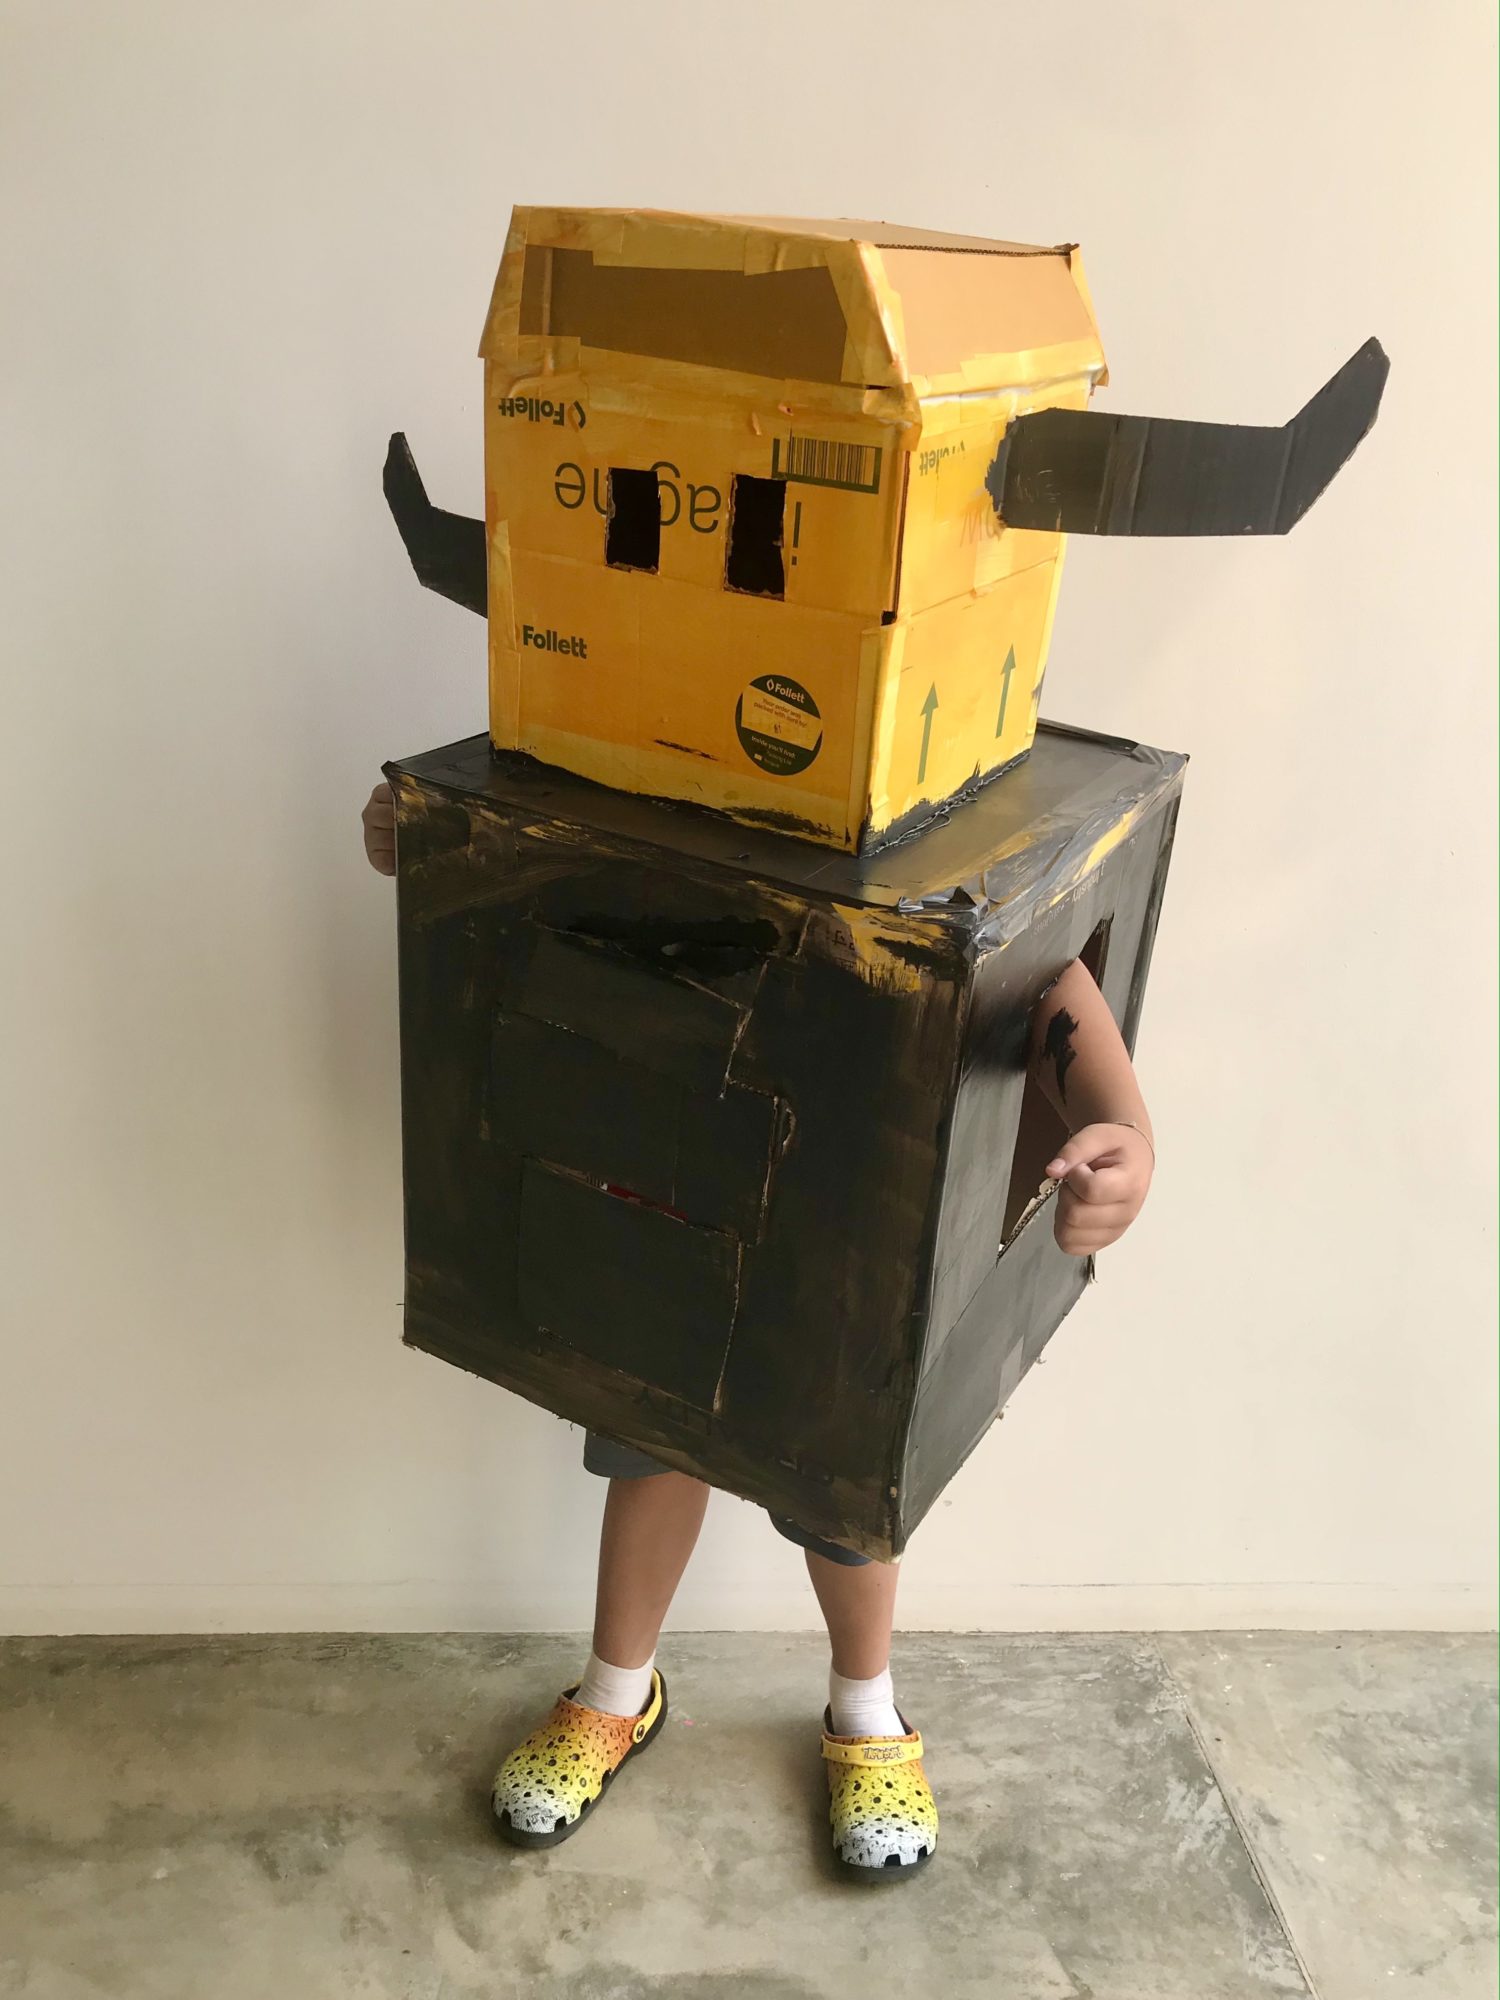
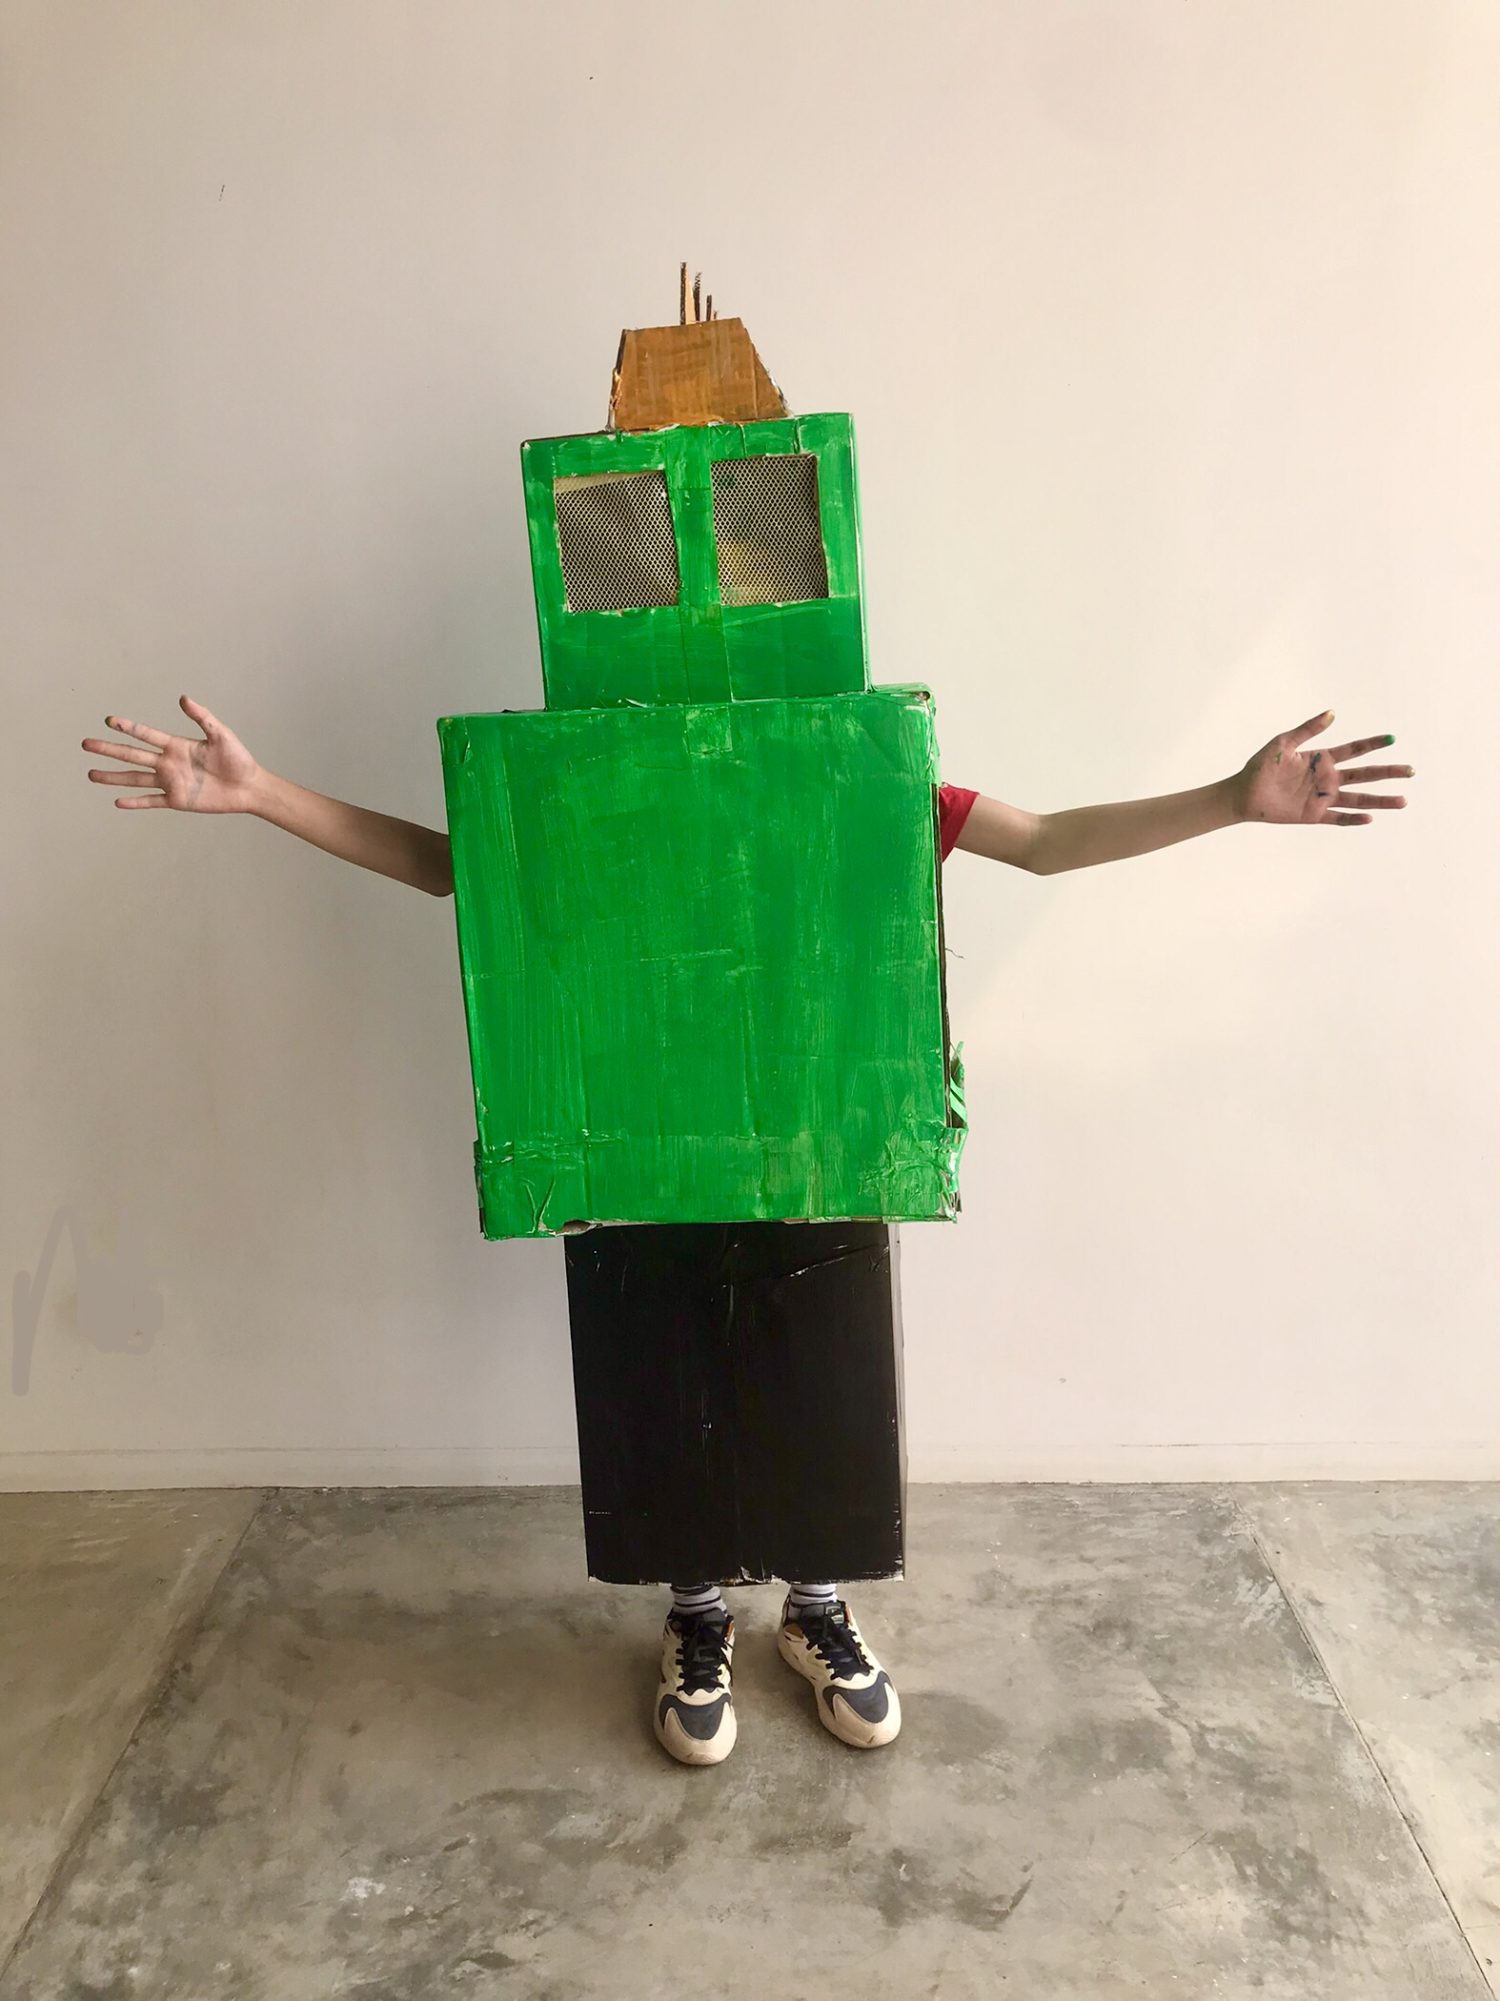
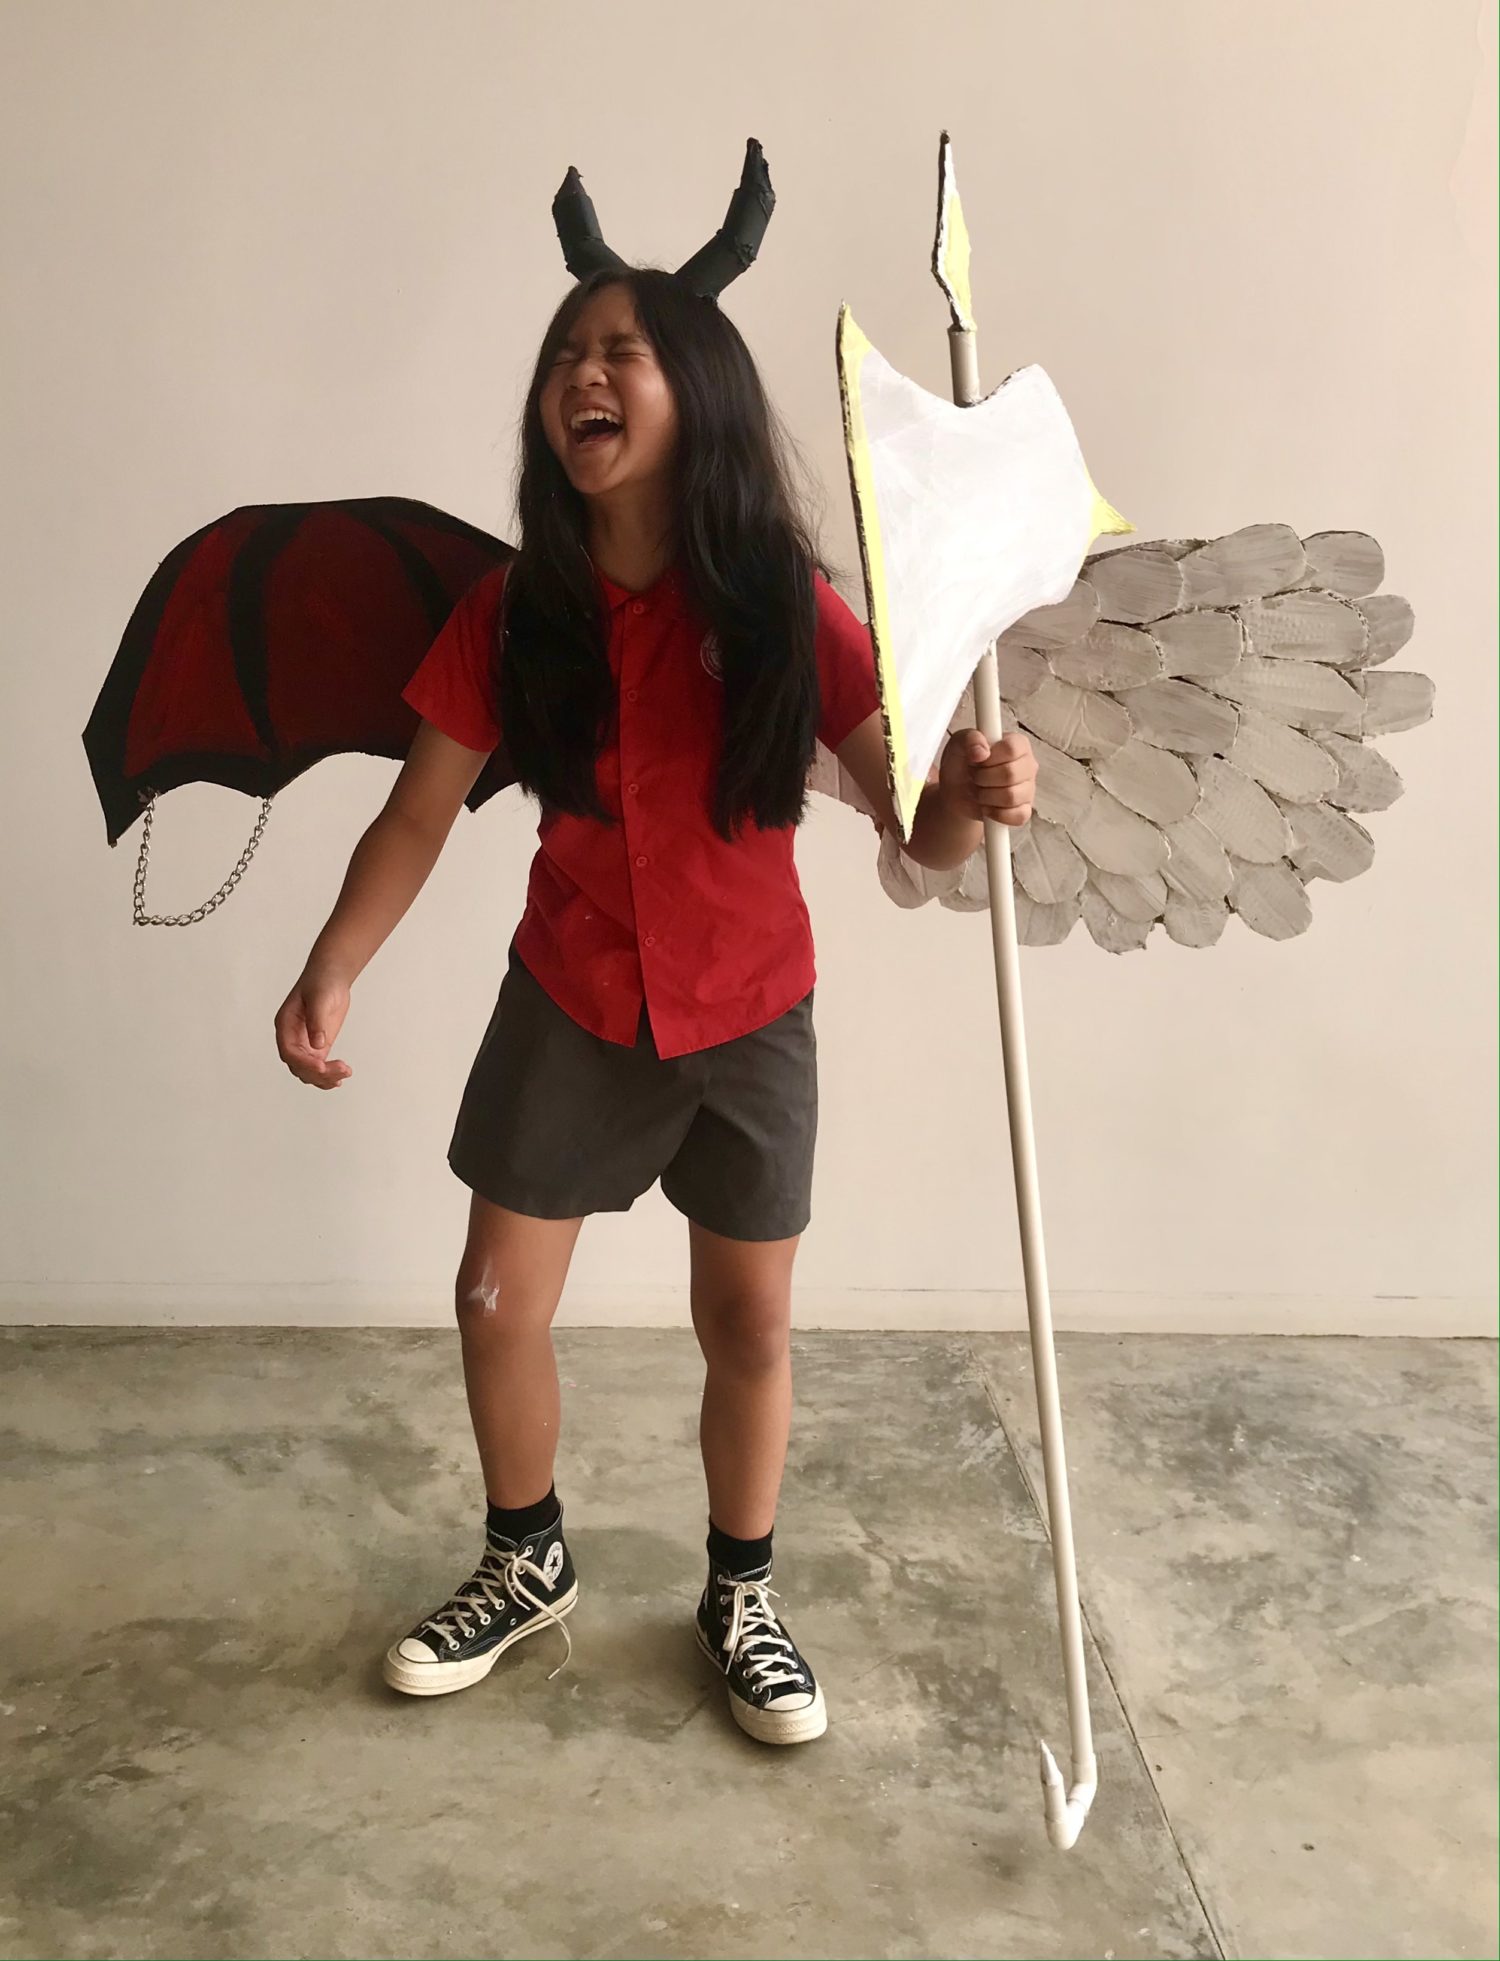
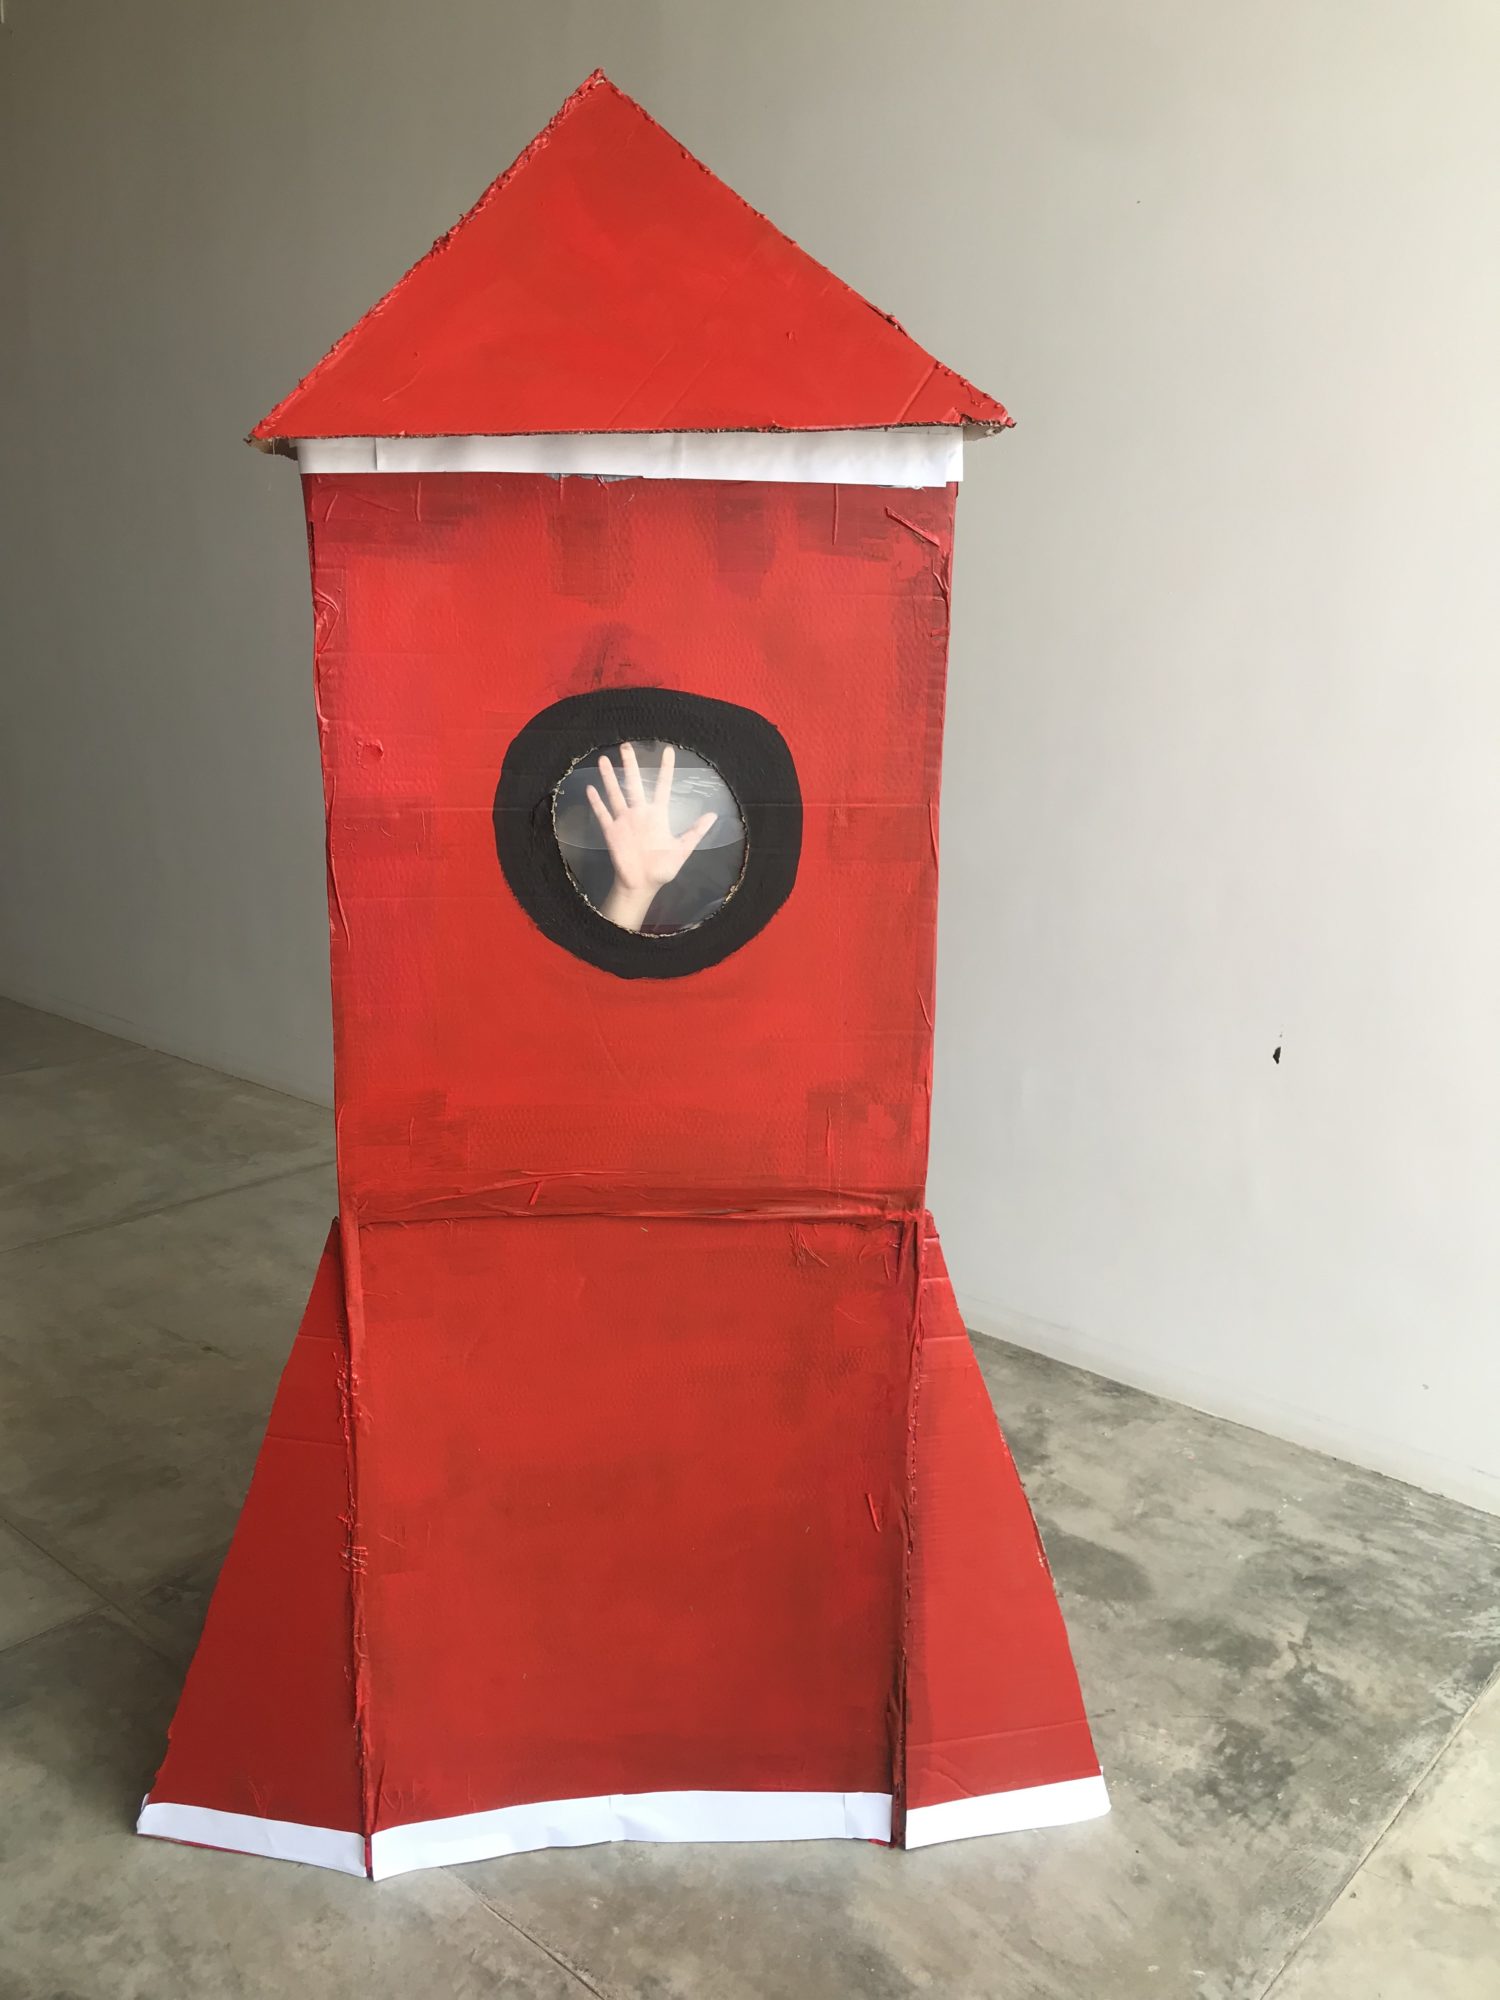

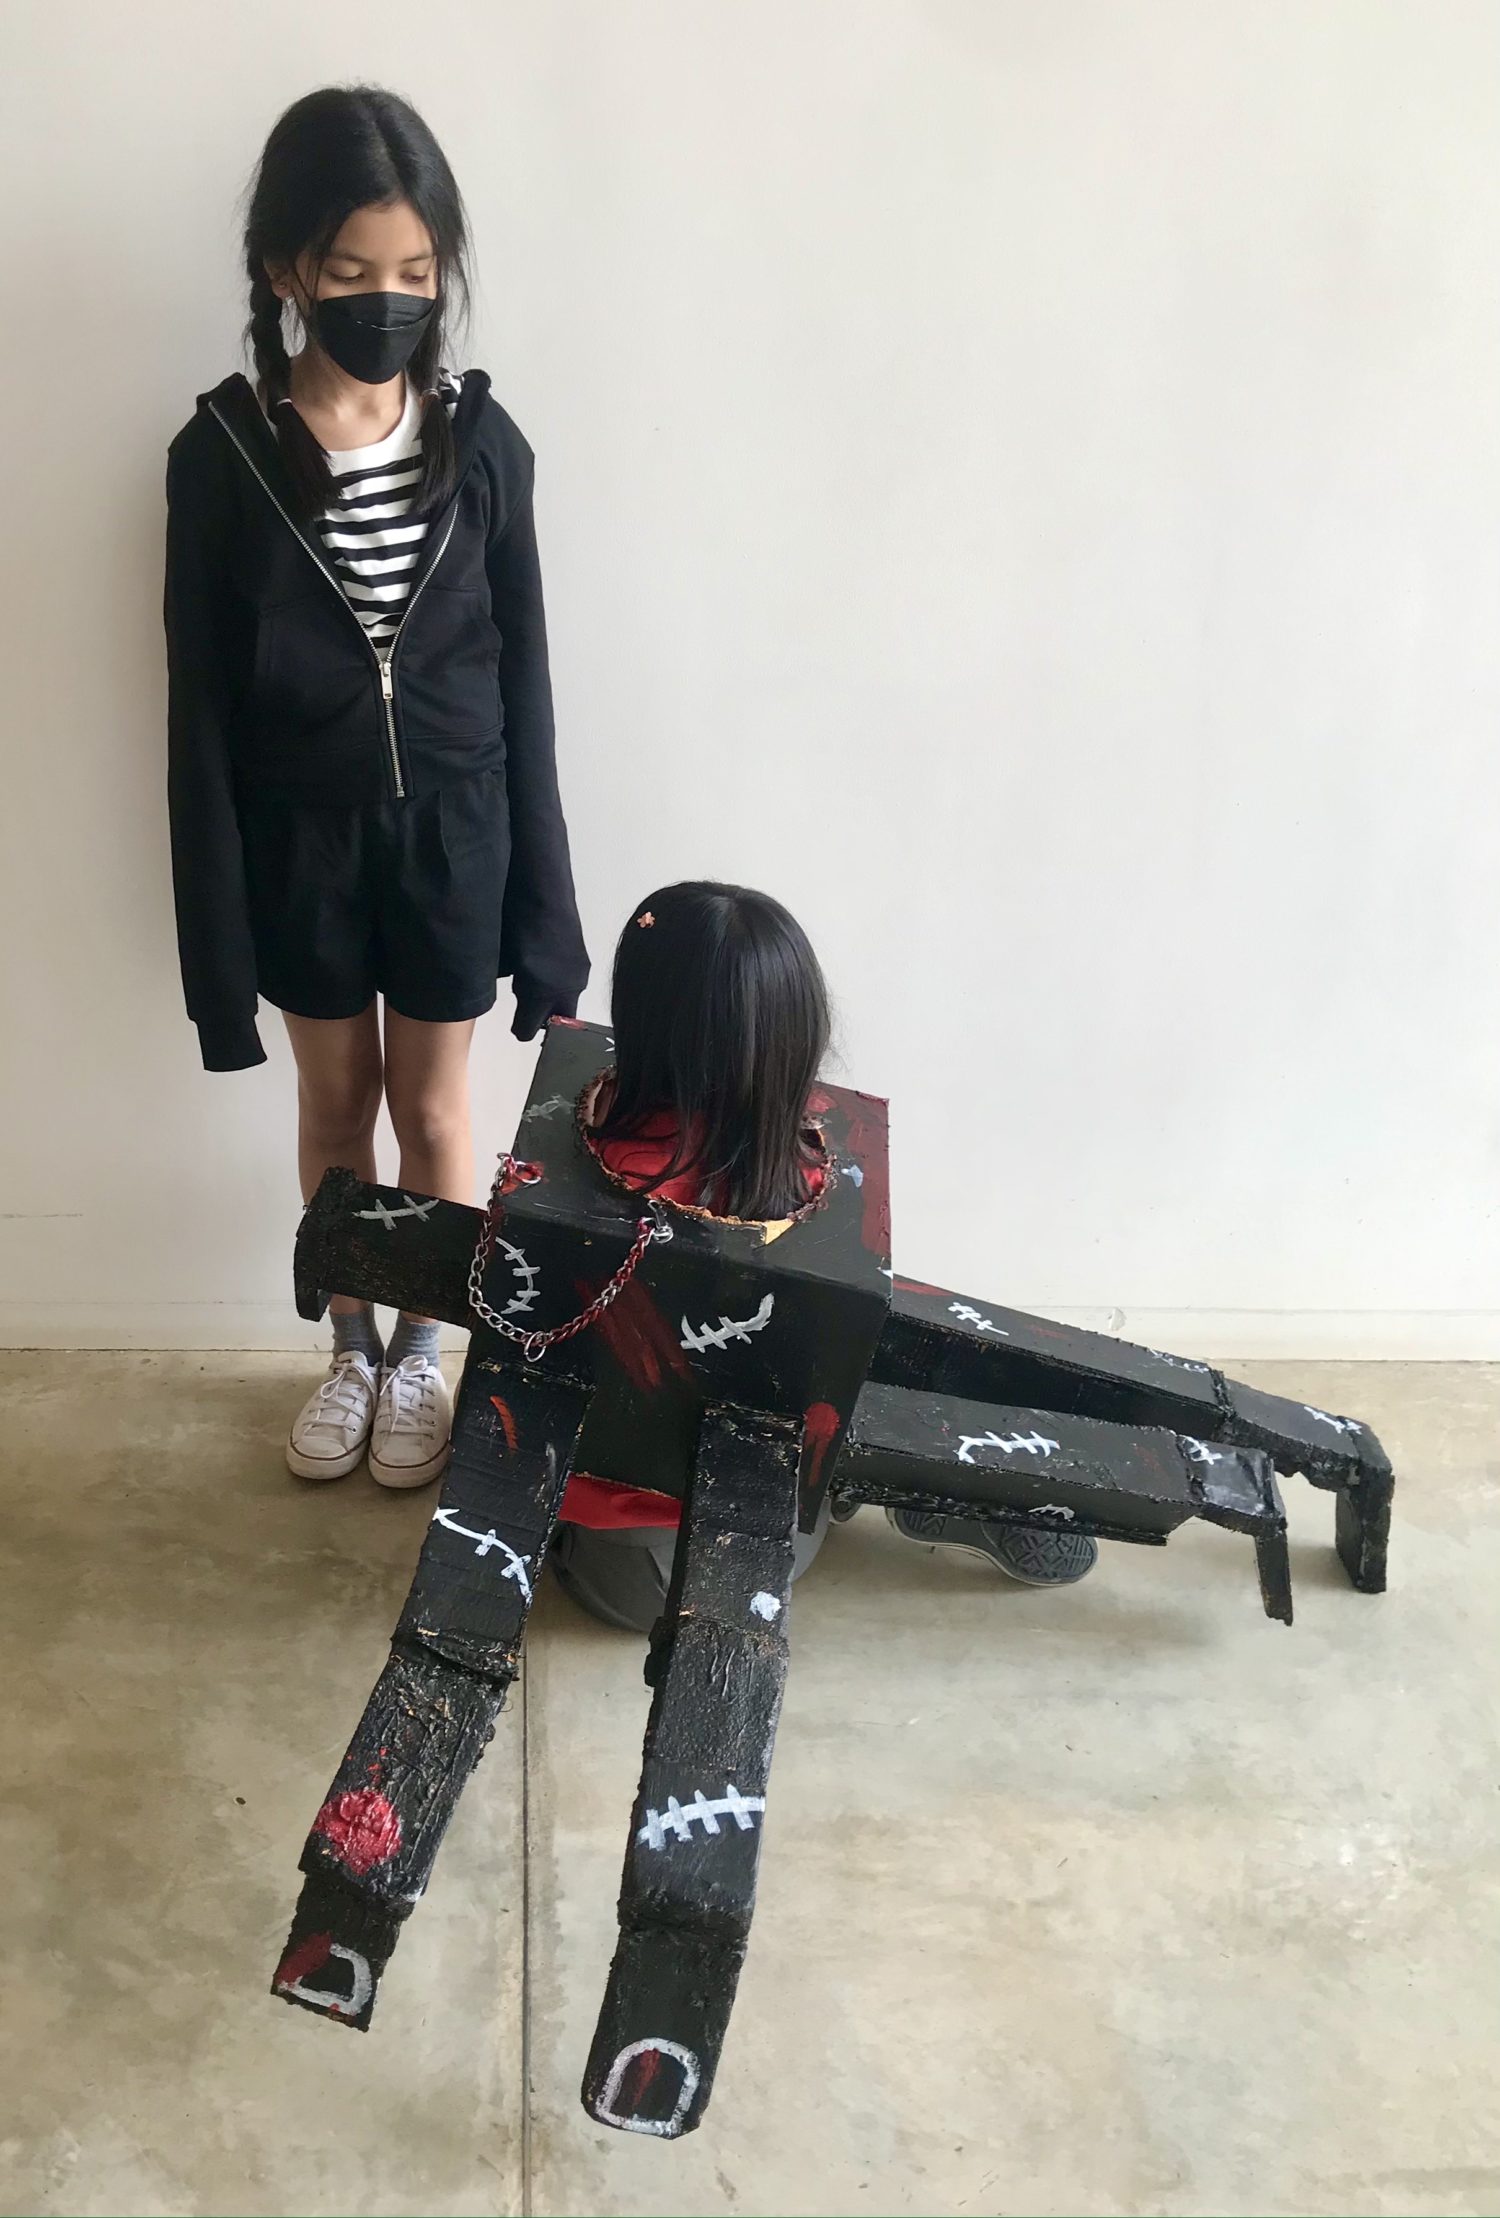
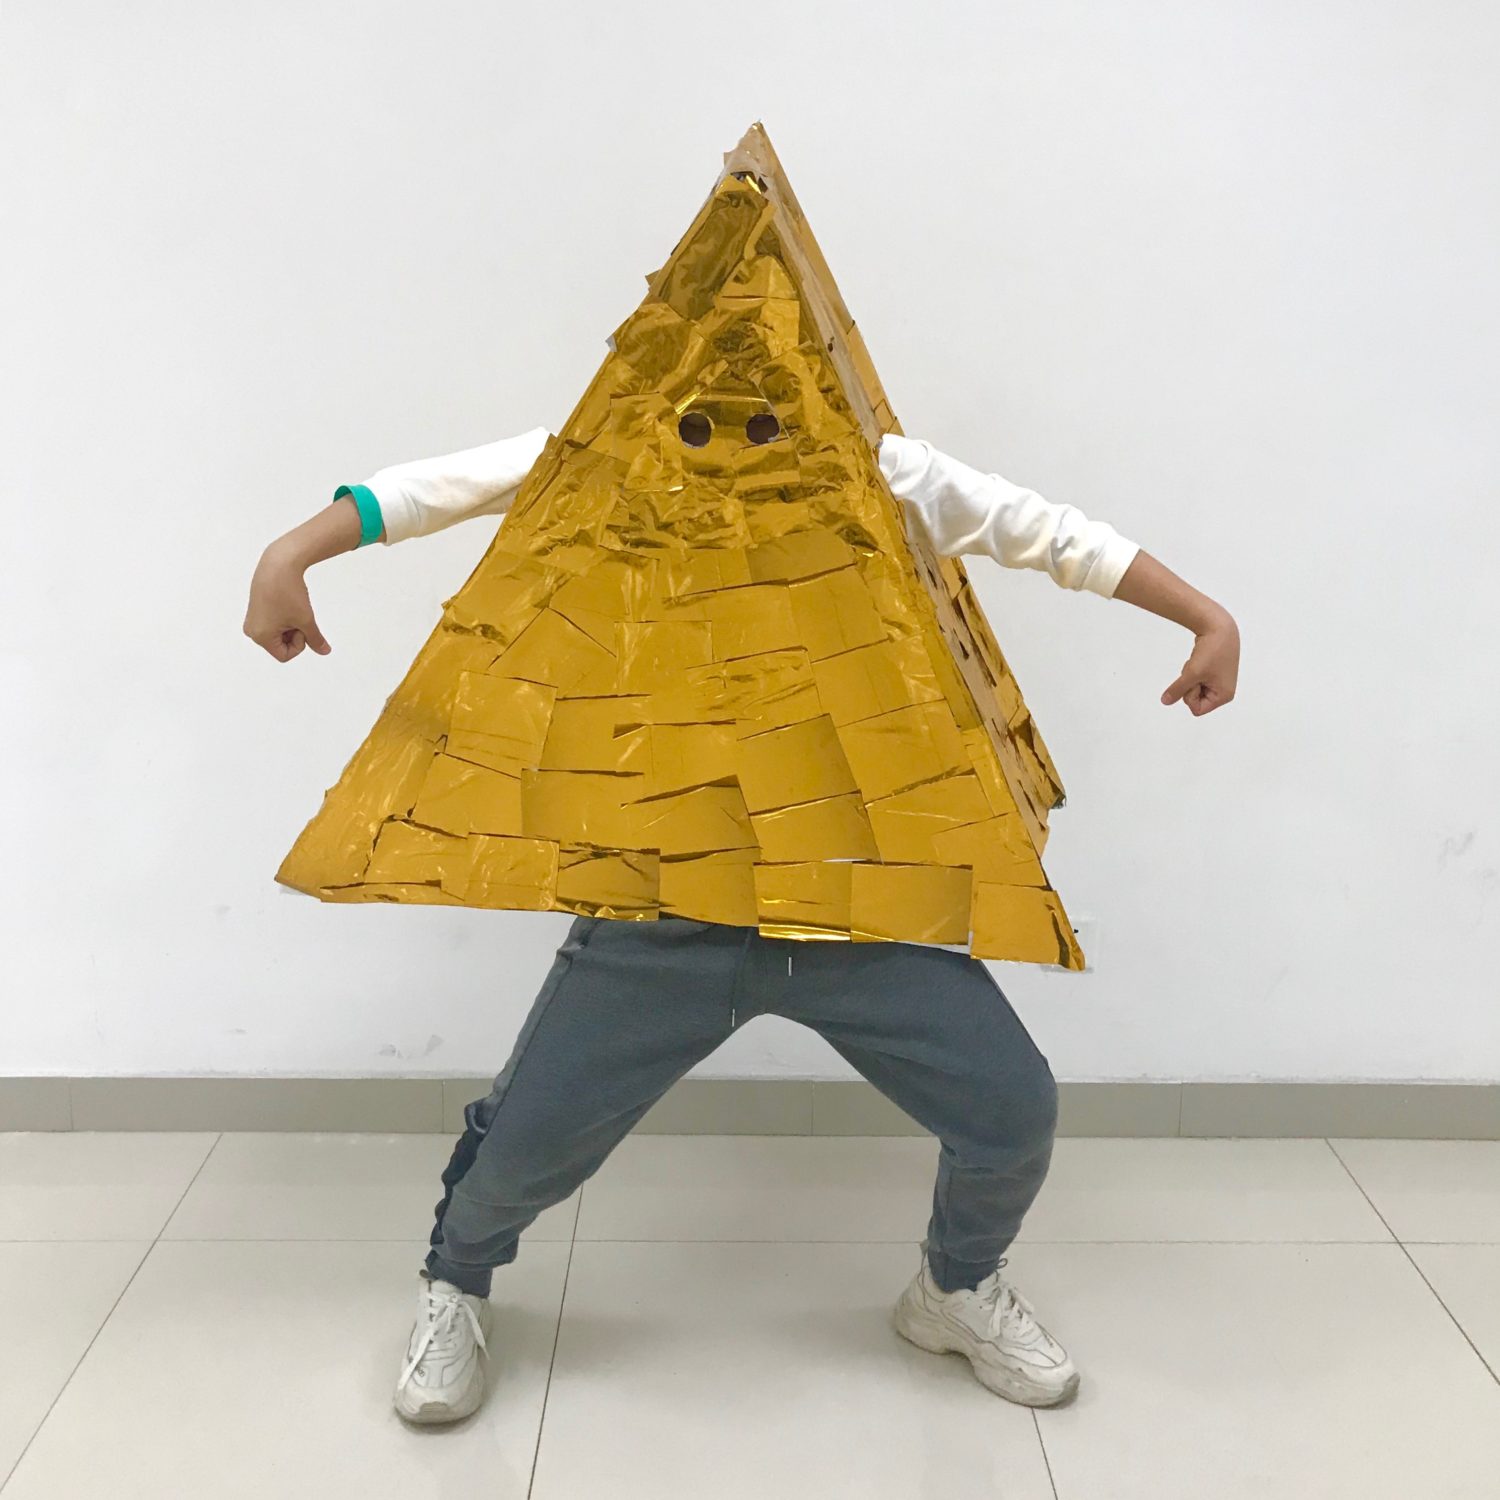
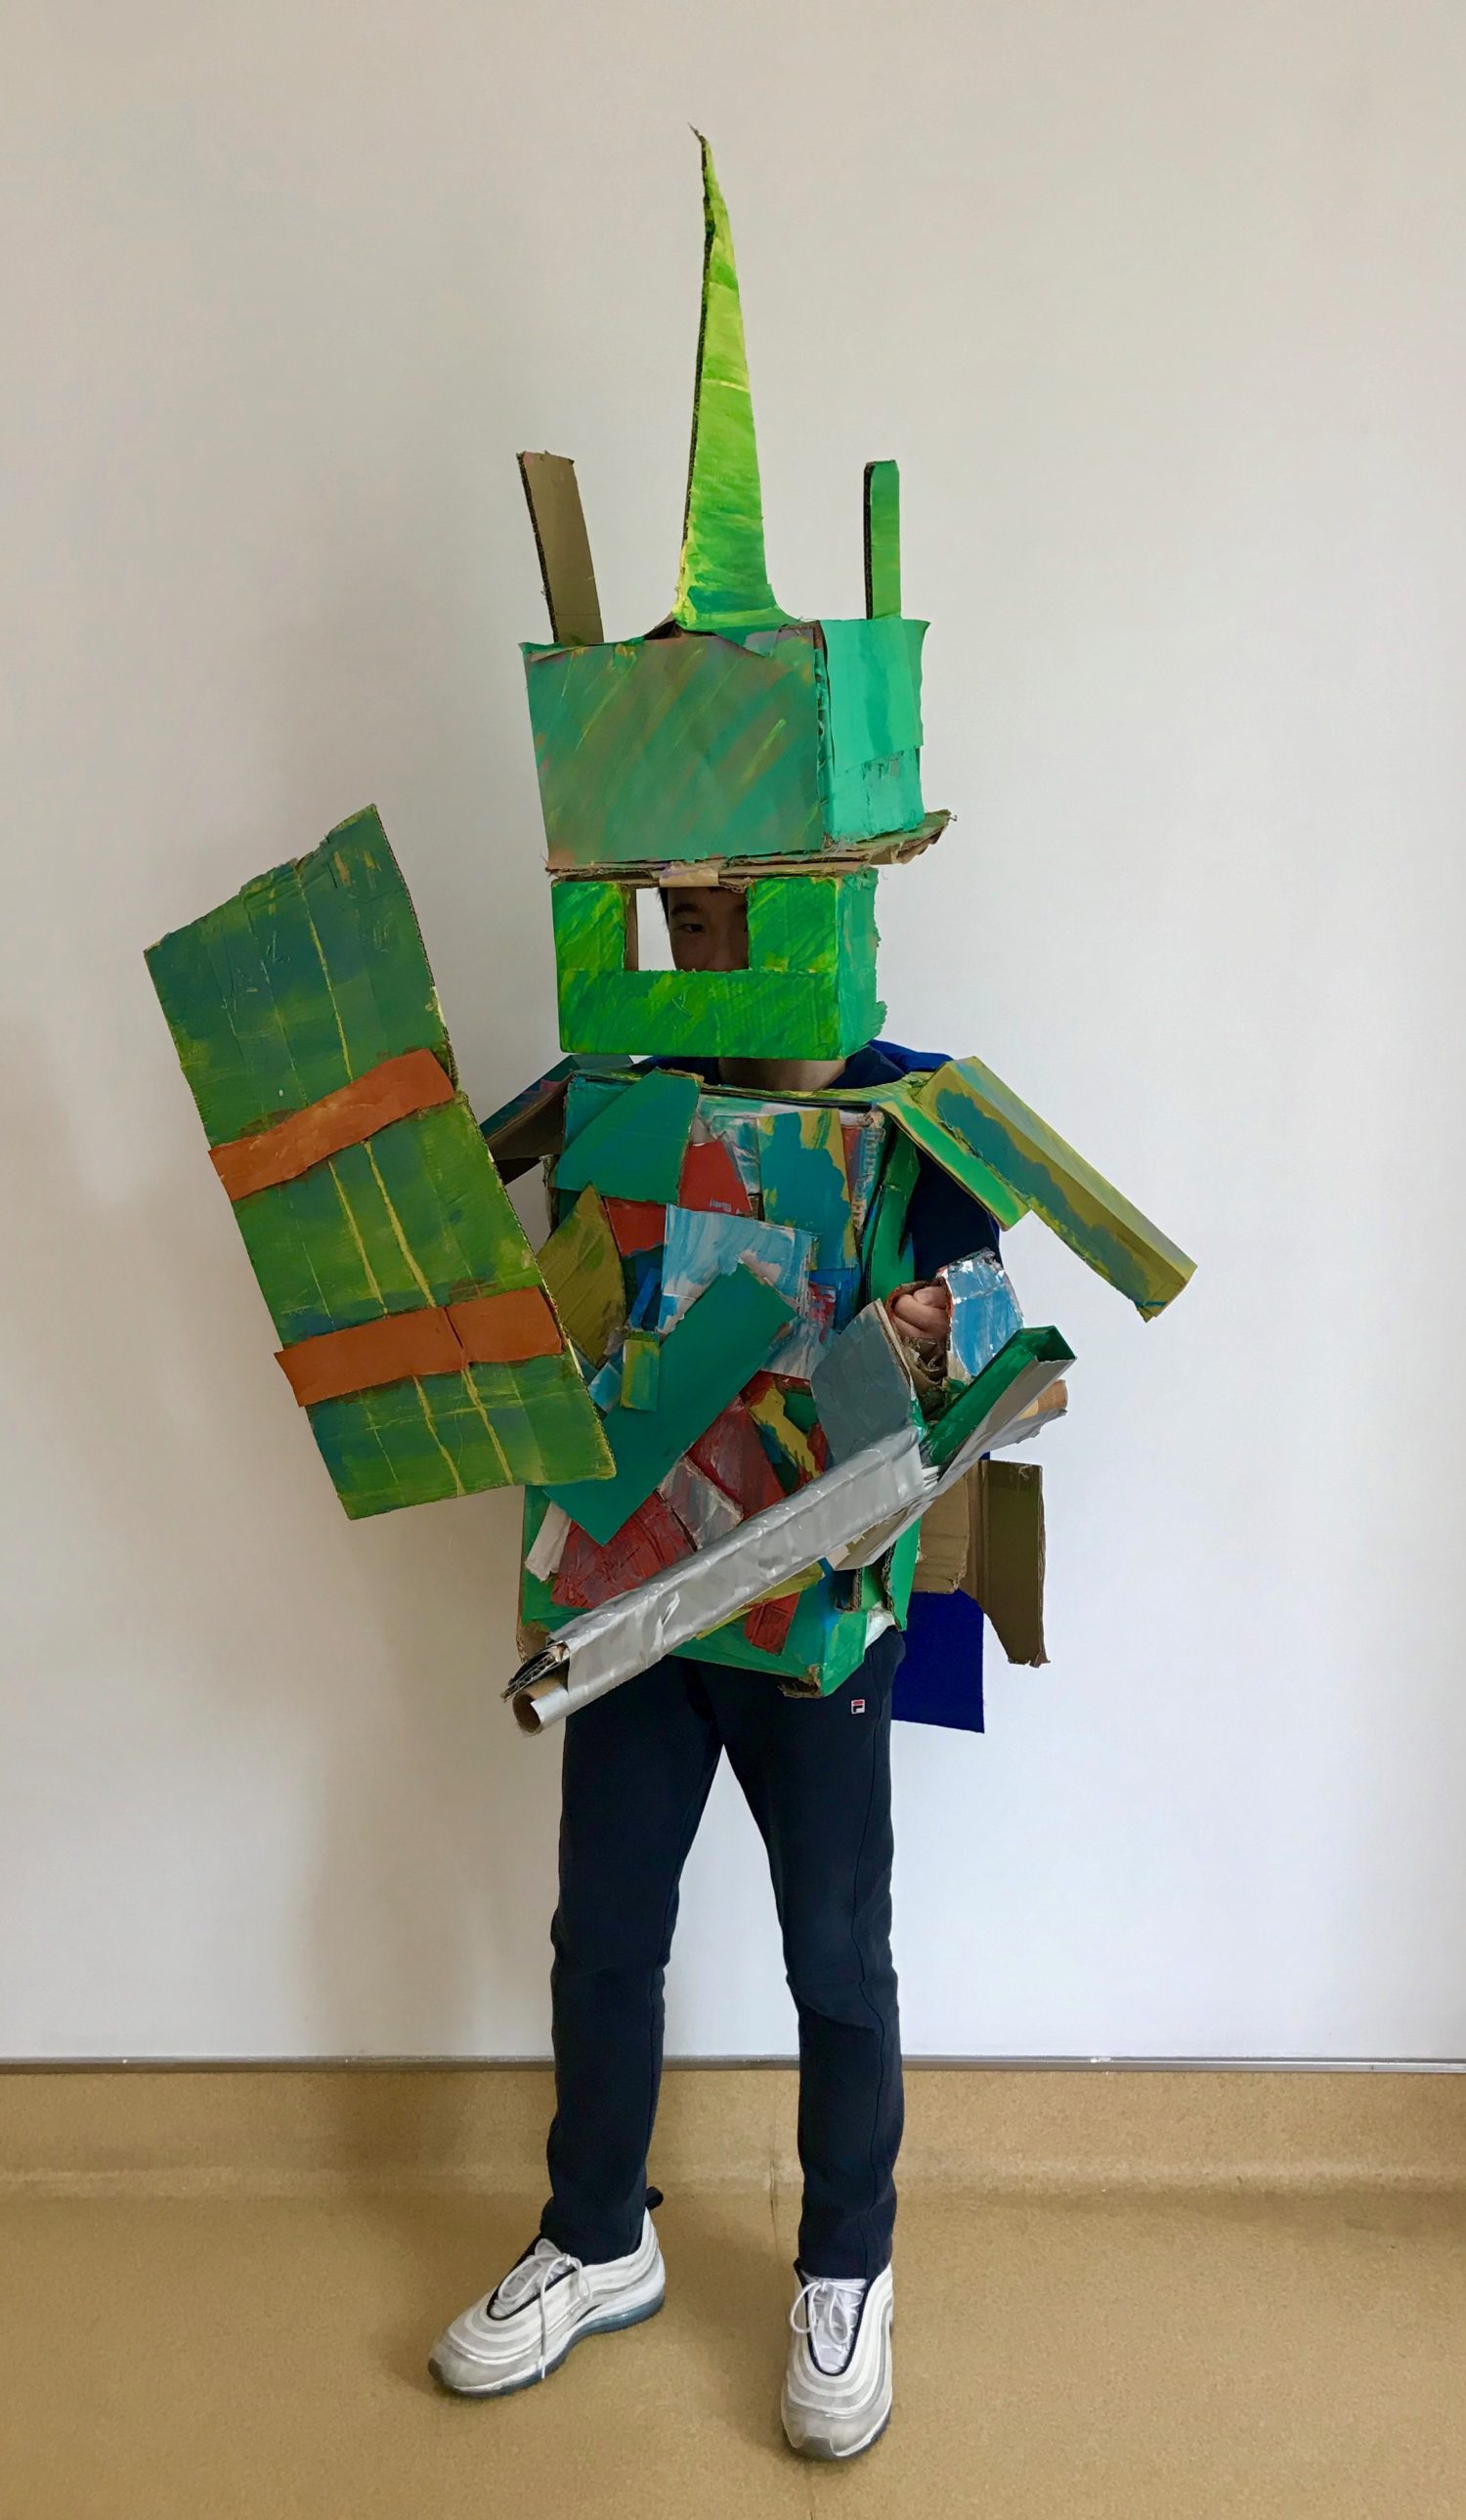
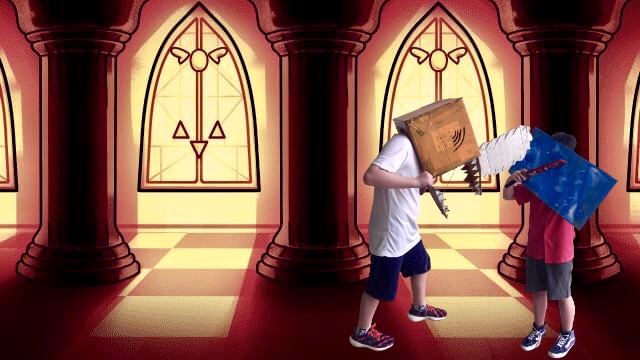
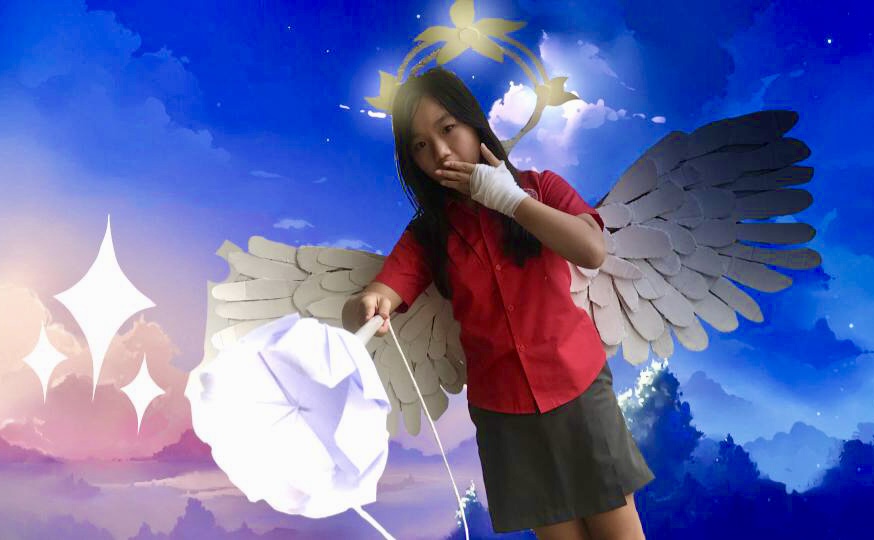
Step 6: For this final step, the students must use one of the photographs I took of them and place that image into a background that they found either on Google images or captured/created on their own. A lot of students use images from video games or something from pop culture. My favorite one from this year was a background featuring Rick Astley and mushrooms.
Once they have inserted their image into a digital background, they need to send me their final image (through airdrop or email) and I will grade their project. Some of their final projects make me laugh out loud when I am looking through them: they are so funny! Humor is so important in art making! Especially with middle schoolers!


This is my last year working in middle school classrooms for a while. I will be teaching grades 2 – 5 next year, which I am super excited about. And while I won’t be able to do a big 12-week cardboard armor project with my Grade 5 students next year, I will be able to incorporate smaller cardboard-themed projects (like a mixed media mini-golf course and a relief sculpture shoe design with Posca pens).
I cannot thank my friend Steve enough for all of his help on this year’s cardboard armor project. He always knew just how to tweak something to make it work or take the students’ projects to the next level. So, if you have a Makerspace Steve in your school, make sure you plan to work with them on your next cardboard armor project!
Go. Make. Fun.
